15
CHANGES AND T YPING ERRORS RESERVED
CHANGES AND T YPING ERRORS RESERVED
7. o
peraTion
insTrucTions
7.1. s
TarTing
The
machine
•
Before starting the machine, read carefully the operation manual and become fully acquainted with all the
details.
•
The operator should be familiar with all the rules and points of attention for running and maintaining the
machine.
•
Strictly follow the instructions for lubrication. Fill the oiling places with lubricant at regular intervals.
•
When you push in the tool unloading spacing shaft, there should be a clearance between the end of the
taper shank of the spiral drill and the ram of the tool unloading device. Unqualified taper shanks and sleeve
adapters can not be used.
•
Remove all the anti-rust coating or grease from the machine. Fil the machine with lubricant. Run the machine
from low to high speed without load and check for normal functioning.
7.2. d
escripTion
of
conTrol
elemenTs
See figure A
7.2.1. p
osiTion
of
The
conTrol
elemenTs
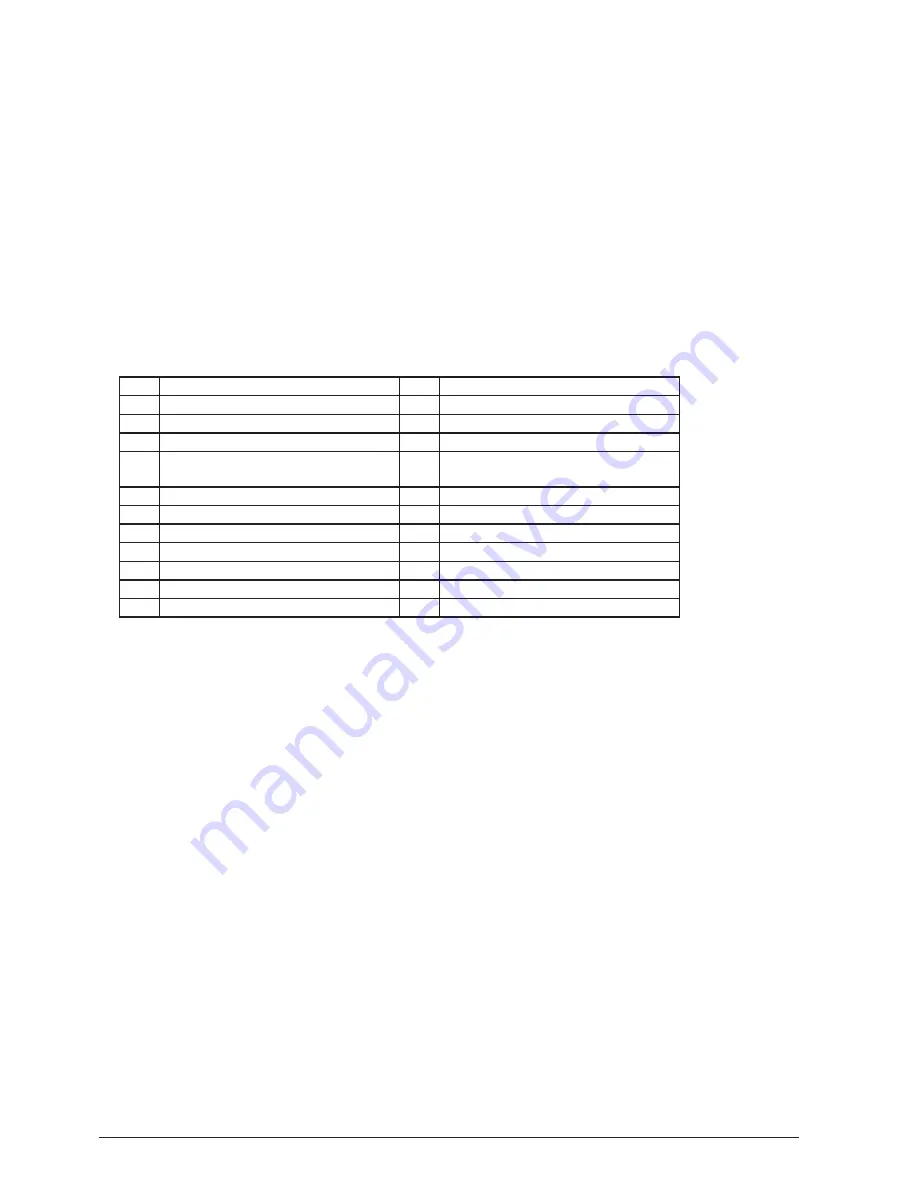
1
Table bracket lift handle
13
Electrical cabinet handle
2
Feed depth adjusting handle
14
Table bracket lowering button
3
Feed depth leadscrew lock handle
15
Main motor start button
4
Hand feed handle
16
Main motor stop button
5
Connect/disconnect button for
electromagnetic feed clutch
17
Lamp button
6
Feed regulating lever
18
Coolant pump button
7
Coolant supply valve
19
Tapping select button
8
Spindle speed change handle A
20
Motor speed switch
9
Spindle speed change handle B
21
Power supply switch
10
Table bracket lifting button
22
Table clamp/loose lever
11
Emergency stop button
23
Bracket clamp/loose lever
12
Tool unload handle
7.3. s
pindle
speed
change
conTrol
The 12 steps of the spindle speed are accomplished by a gear driving system and 2-speed motor (see figure E).
To change the speed, first stop the motor.
Turn the speed change handles (8 and 9) to the desired position. Then turn the switch (20) to position 1 or 2. The
speed for forward is selected. Turn the switch to position “R” for the same speed in reverse running.
7.4. s
pindle
feed
operaTion
7.4.1. a
uTomaTic
feed
First stop the motor. Turn the feed change lever (6) tot the desired feed rate on the feed chart. Push down the
button (5) on the end of the hand feed lever (4) to engage the electromagnetic clutch. Auto feed with the
selected speed starts. If you need to stop during the process, push button (5) on the control panel to disengage
the electromagnetic clutch.
7.4.2. h
and
feed
Turn the handles (4) counter clockwise for hand feed of the spindle during drilling.
7.4.3. T
apping
The auto feed button should not be pushed down when tapping, because the spindle feeds according to the
pitch. For safety, please turn the tapping select button (19) to the tapping position and keep it interlocked with
auto feed.
Summary of Contents for HU 40 TI
Page 1: ...HU 40 TI HU 40 TI D R I L L I N G M M A C H I N E S...
Page 2: ...2 A B C A1 A2 A3 A4 A5 A6 A7 CHANGES AND TYPING ERRORS RESERVED...
Page 3: ...3 D E CHANGES AND TYPING ERRORS RESERVED...
Page 4: ...4 F G H CHANGES AND TYPING ERRORS RESERVED...
Page 5: ...5 I J3 J2 J1 J4 CHANGES AND TYPING ERRORS RESERVED...
Page 6: ...6 K L CHANGES AND TYPING ERRORS RESERVED...
Page 7: ...7 M CHANGES AND TYPING ERRORS RESERVED...
Page 8: ...8 N CHANGES AND TYPING ERRORS RESERVED...
Page 9: ...9 O CHANGES AND TYPING ERRORS RESERVED...
Page 23: ...23 CHANGES AND TYPING ERRORS RESERVED...
Page 26: ...26 CHANGES AND TYPING ERRORS RESERVED...
Page 27: ...27 CHANGES AND TYPING ERRORS RESERVED...
Page 28: ...2014 V1...


