HCT User Guide
page 25
Copyright © 2001 HutchColor, LLC
User_Guide_43.docx 2/10/19
The ideal camera profiling curve should capture a full range of subject tones from deepest blacks to
very bright highlights and distribute the camera’s RGB values evenly throughout the visible range.
The best default curve for art copying should be almost a straight line from highlights to middle-
tones, with a slow roll-off in deep shadows. This curve will produce the best profile from most
targets and make an excellent starting point when critical product matching is required. Ironically,
shooting with a ‘straight line’ curve will often make the subject look a little ‘flatter’ than normally
desired, at least in the basic capture. If the subject looks flat it is easy to add contrast with a slight
highlight roll-off at the time of live capture, but generally it is safer to do any curve moves later in
editing software.
Remember it is better to profile and shoot with a straight-line camera curve and add editorial
contrast later, than to shoot with a strong ‘S’ curve and try to compensate later for blown-out
highlights or plugged shadows.
Contrast or ‘f-stop’ range
If your camera software expresses dynamic range in f-stops, extend the black end to yield a long
range of at least 8 f-stops, or more. Although you may seldom use the extra range, it’s better to
have it and not need it than need it and not have it. If most subjects look a little flat or ‘smoky’ in
deep shadows it’s a simple matter to correct this later in Photoshop. But with too little shadow
detail, or not enough f-stops, deep shadows may ‘plug-in’ or ‘block-up’ (don’t you just love those
terms?) which is difficult or impossible to correct in Photoshop.
Bit depth and file format
For maximum quality and the greatest possible post-capture editing capabilities, always save images
in the highest bit-depth possible and in a “RAW” format.
Profiling via Photoshop’s RAW workflow
•
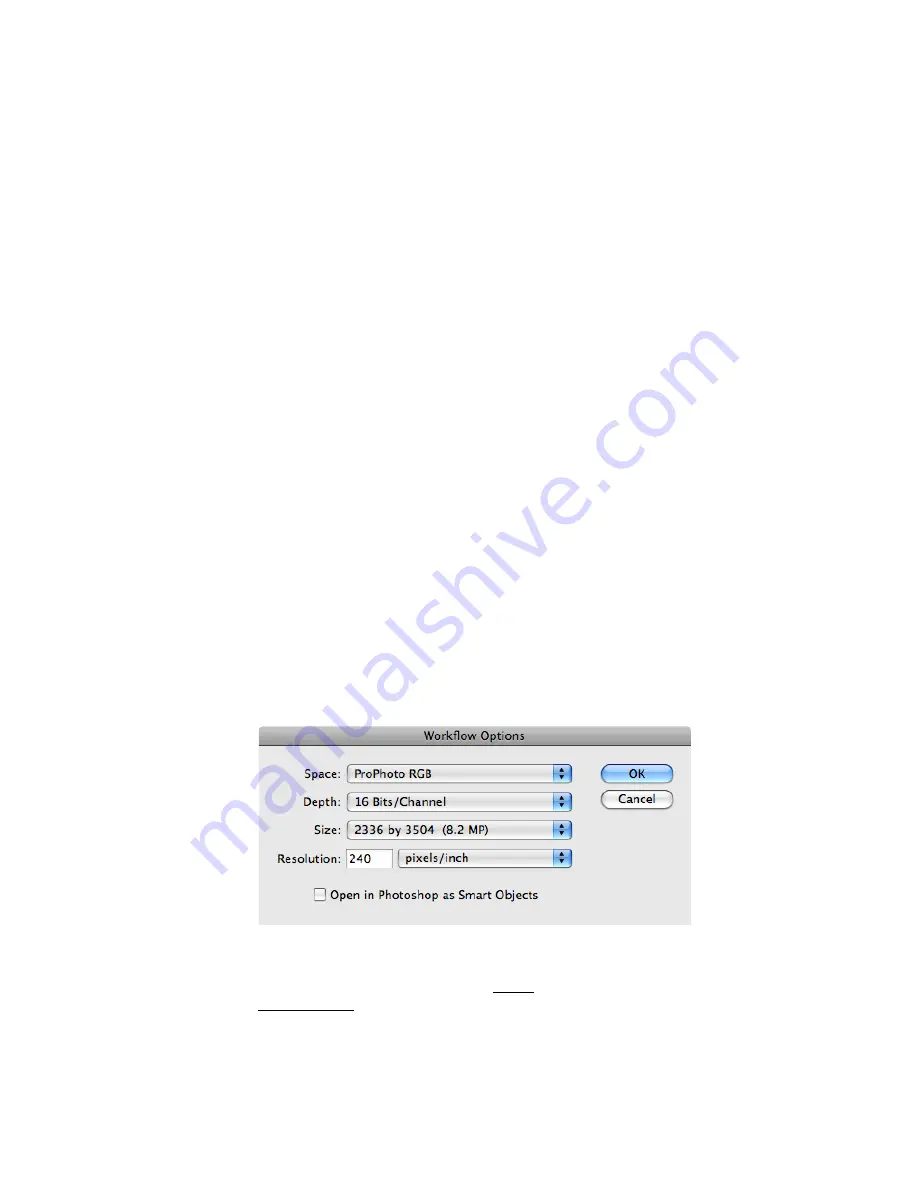
Import the target capture with Workflow Options set to 16 bits / Channels and ProPhoto RGB.
This retains the maximum possible gamut and precision.
•
Save the image as TIFF and create the profile in the software of your choice.
•
Import live images with the identical Photoshop RAW settings.
•
After importing a live image as ProPhoto RGB, assign your custom profile to display the image
correctly. Do not convert from ProPhoto RGB to the custom profile.
•
Convert the image from your custom profile to your working space before editing.
CAUTION
: ProPhoto RGB is a dangerous editing space encompassing illegal (non-exsistent) CIELab
calues. Safer editing spaces for highly-saturated images are DonRGB or BestRGB.


