HCT User Guide
page 17
Copyright © 2001 HutchColor, LLC
User_Guide_43.docx 2/10/19
Correcting individual color hues
•
Once gray balance has been corrected, compare the color of the displayed collage with the
originals. Ask yourself; “Do the individual red, yellow, green, cyan, blue and magenta color
families in the displayed image match the physical originals?”
HINT
: Correcting gray balance often corrects color errors but colors may still need additional corrections.
•
Be sure any color errors you observe are not a result of the monitor. Remember certain highly
saturated colors in the original transparencies may be outside the gamut of your monitor and
may appear incorrect in terms of hue, saturation or lightness.
•
If there are no obvious color errors, go straight to “Modifying the HCT scan".
•
If one or more colors need correction, adjust the appropriate color region(s) in the
Hue/Saturation adjustment layer until the displayed image matches the physical originals as
closely as possible.
NOTE
: If you are not working with an accurately-profiled monitor, make some estimated changes then
reproduce the collage on a profiled printer. Compare the print to the collage in a viewing booth and
repeat until the print is as close as possible to the original collage.
Modifying the HCT scan
•
Once the Curves and Hue/Saturation correction layers are adjusted optimally, drag the whole
Adjustment Layer Group (or Set) from the collage image to the original HCT scan from which
you made the scanner profile. (In order to drag a layer Group from one image to another, both
images must be open at once.)
•
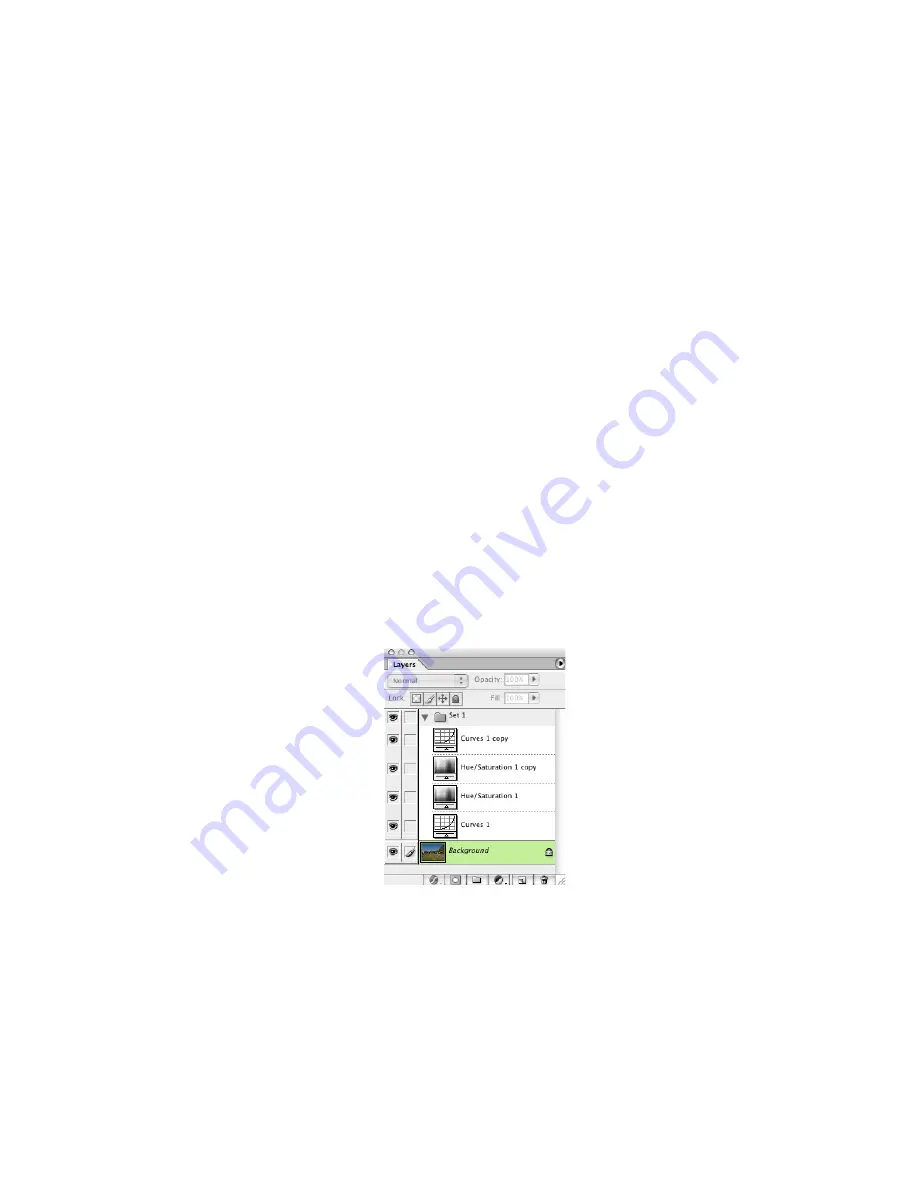
In the layer Group on the HCT scan, duplicate both the “Curves 1” and “Hue/Saturation 1”
layers, then move the “Curves 1 copy” layer to the top of the stack, as shown below;
The adjustment layers set on the HCT scan
Curves inversion
•
On the “Curves 1 copy” layer, swap the Input and Output values for each control point on the R,
G and B channels. For example, if the Blue curve in the “Curves 1” layer goes from Input 95 to
Output 90, change the “Curves 1 copy” layer to Input 90 to Output 95, as shown below.
IMPORTANT
: Do not change the original Curves 1 layer.


