B
A
B
A
28 – GETTING READY TO SEW
Cut!
Fig.2
Fig.1
Fig.3
Fig.4
Basic techniques
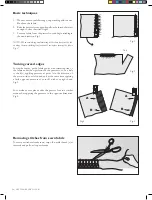
1. When you reach the fabric edge, stop stitching with the nee-
dle above the fabric.
2. Raise the presser foot and gently pull on the thread chain just
enough to clear the stitch finger.
3. Turn the fabric, lower the presser foot and begin stitching in
the new direction. Fig. 1.
NOTE: When overlocking and trimming at the same time, cut the fab
-
ric along the new stitching line for about 3cm, before turning the fabric.
Fig. 2.
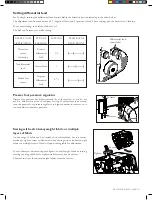
Turning curved edges
For inside curves, guide fabric gently with trimming line of
the fabric under the right front of the presser foot (or a little
to the left), applying pressure at point A in the direction of
the arrow with your left hand, and at the same time applying
a little opposite pressure at point B with your right hand.
Fig.3.
For outside curves place under the presser foot in a similar
manner but applying the pressure in the opposite directions.
Fig. 4.
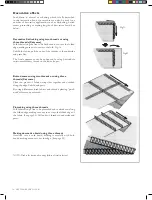
Removing stitches from sewn fabric
To remove stitches already sewn, snip off needle thread (s) at
intervals and pull out looper threads.


