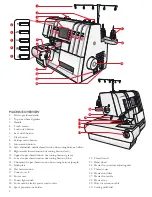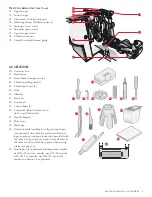
8
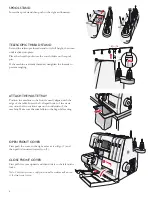
SPOOL STAND
Insert the spool stand then push to the right as illustrated.
TELESCOPIC THREAD STAND
Extend the telescopic thread stand to its full height, then turn
until it clicks into place.
3ODFHWKHWKUHDGVSRROVRYHUWKHFRQHKROGHUVRQWKHVSRRO
pin.
If the machine is already threaded, straighten the threads to
prevent tangling.
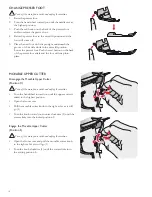
ATTACH THE WASTE TRAY
3RVLWLRQWKHPDFKLQHVRWKHIURQWLVQHDUO\DOLJQHGZLWKWKH
edge of the table. Insert the U-shaped hooks of the waste
tray onto the two suction cups on the underside of the
machine. Make sure the trim falls into the bag while sewing.
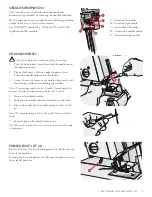
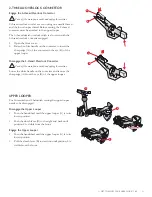
OPEN FRONT COVER
)LUVWSXVKWKHFRYHUWRWKHULJKWDVIDUDVLWZLOOJRDQG
WKHQSXOOLWGRZQZDUGWRZDUG\RX
CLOSE FRONT COVER
First pull the cover upward and then slide it to the left until it
locks.
Note: The front cover has a safety switch and the machine will not sew
LI WKHIURQWFRYHULVRSHQ
1
2
Summary of Contents for Huskylock S25
Page 1: ...KEEPING THE WORLD SEWING User s Guide ...
Page 4: ......
Page 30: ...28 ...
Page 44: ...42 ...
Page 49: ...6 MACHINE MAINTENANCE 47 ...
Page 50: ...48 ...


