INSTALLATION
9
Inside or Ceiling Mount Installation
For outside mount installations, see “Outside Mount Installation” on page 11.
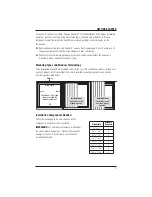
Measure and Mark Installation Bracket Location
■
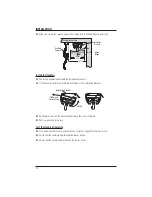
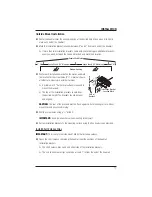
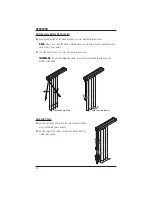
Mark installation bracket locations between 2" and 4" from each end of the headrail. Evenly
space intermediate installation brackets between end installation brackets at 24" to 30"
intervals.
IMPORTANT:
If you do not have a mounting template, measure the depth and add
1
⁄
2
"
clearance between the louver and the window (i.e. 2
1
⁄
2
" for 3
5
⁄
8
" louvers). Blinds having
widths greater than 120" will require additional brackets to support the stacked louvers.
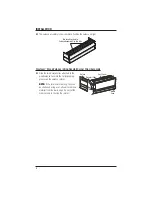
Install Installation Brackets (and Assembled Valance)
IMPORTANT:
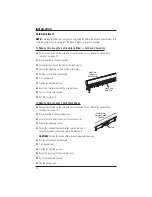
The inside surface of the dust cover has three parallel grooves, use the center
groove to position drill holes.
■
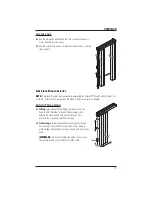
Drill pilot holes through the dust cover valance at
the installation bracket locations as marked.
■
Turn the DualFold
™
Valance upright. Insert the
valance into the window opening with the returns
fl ush to the wall.
IMPORTANT:
The returns may need to be
trimmed to the desired length.
■
Hold the valance in position and drill through the
valance into ceiling.
■
Position an installation bracket at each hole and
screw into place.
2"-4"
Space Evenly
30" Maximum
Jam
Jam
2"-4"
Space Evenly
30" Maximum
Center
Groove
Valance
Installation
Screw
Installation
Bracket


