2
INSTALLATION OVERVIEW
Before you start installation, we encourage you to read these instructions carefully in
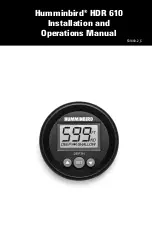
order to get the full benefit from your HDR 610 Digital Depth Gauge. You will install your
HDR 610 depthsounder first, then your transducer. When you are done with both of
these installation tasks, you should perform a final installation test before operating
your HDR 610.
Please make sure that the following parts are included for your depthsounder:
• HDR 610 depthsounder
• "U" bracket and mounting hardware
• 2 cable ties.
Also, please make sure the following parts are included for your transducer:
• Transom mount or Puck transducer with 20' of cable
• Transducer mounting hardware kit.
In addition to the hardware supplied, you will need the following for installation and
operation:
• Powered hand drill and various drill bits, including a 2 1/8" hole saw, if your boat
does not have an existing gauge hole
• Phillips-head and flat-head screwdrivers
• Ruler or measuring tape
• Pen or pencil
• 12 Volt power source (your boat's battery)
• Marine-grade silicone sealant (for sealing drilled holes)
• Two-part, slow-cure epoxy (for inside-the-hull transducer installation only).
NOTE:
If you are wiring directly to the boat's battery, you will also need a 1 Amp fuse and
a fuse holder.


