INSTALLING A NETWORK
PRINTER
Setting up the
hardware
The first stage of installing a
network printer is setting up the
hardware. There are two steps to
this: setting up the printer
hardware and connecting the
print server.
Set up the printer hardware --
Remove any shipping materials.
Install the paper trays and ink or
toner cartridges (as appropriate).
Add paper. Plug in the power
cord and switch on the power.
Print a test page. Do not connect
the printer to your computer.
(For detailed instructions, check
your printer manual or setup
poster.)
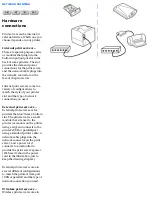
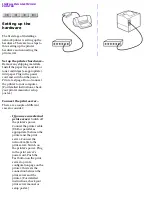
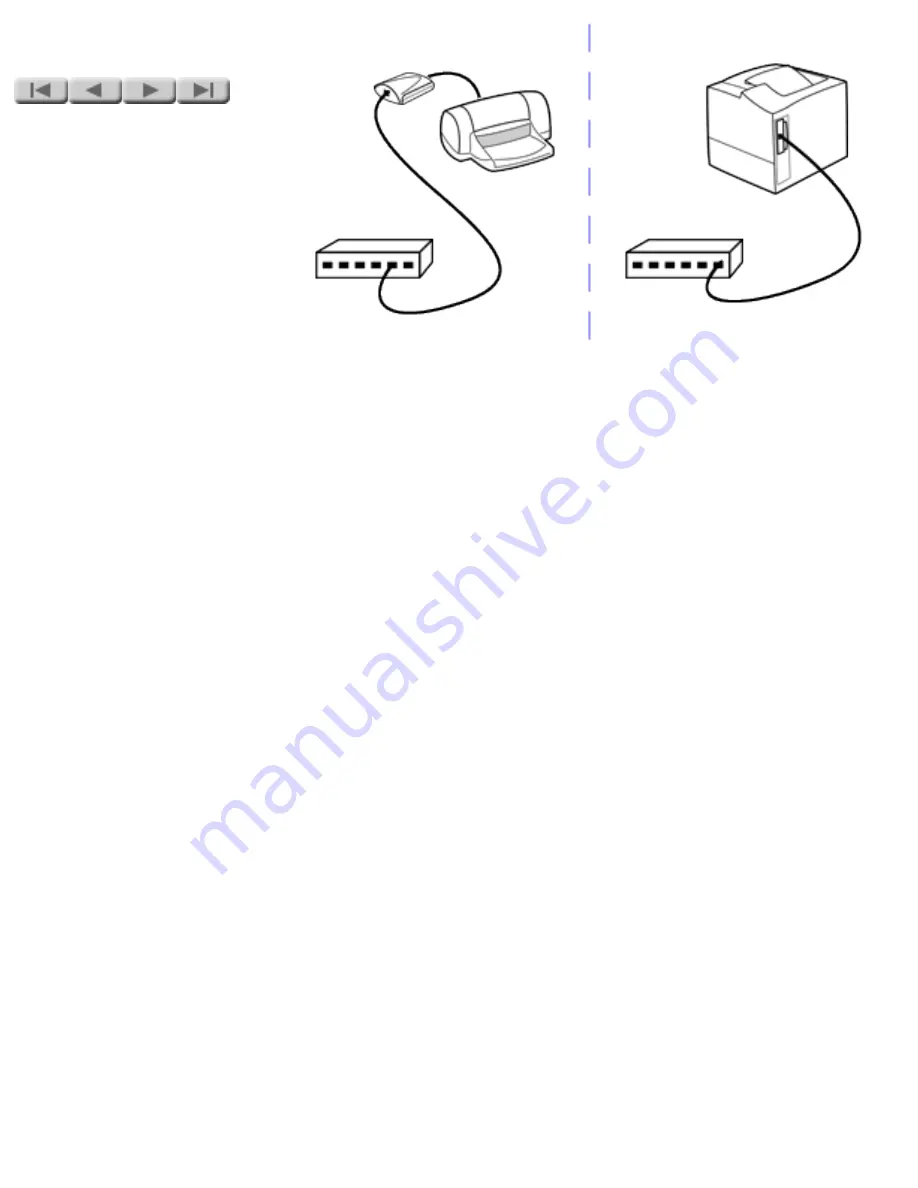
Connect the print server --
There are a couple of different
cases to consider:
●
If you use an external
print server:
Switch off
the printer's power.
Connect the printer cable
(USB or parallel, as
appropriate) between the
printer and the print
server. Connect the
network cable to the
print server. Switch on
the printer's power. Plug
in the print server's
power cord. Push the
Test button on the print
server to print a
configuration page on the
printer; this tests the
connection between the
print server and the
printer. (For detailed
instructions, check your
print server manual or
setup poster.)
Summary of Contents for J6039C - JetDirect 200M Print Server
Page 4: ...Section 1 Networks Click the button to continue ...
Page 10: ......
Page 13: ......
Page 27: ...Section 2 Network Printing Click the button to continue ...
Page 33: ...infrastructure and ad hoc peer to peer wireless topologies ...
Page 35: ......
Page 37: ...Section 3 Installing a Network Printer Click the button to continue ...
Page 40: ...cable we have omitted power cords from the illustration to keep the drawings simple ...
Page 46: ...End of Network Basics tutorial ...
Page 58: ...Green flickering intermittently on and ready flickering indicates network activity ...
Page 80: ...Does the control panel display on your printer show an error message ...
Page 91: ......
Page 98: ......
Page 100: ...Does the page indicate I O Card Ready ...
Page 119: ......
Page 130: ......
Page 132: ......

