92.
Center the bracket on the fuselage and use a felt-tipped pen
to mark the positions for the three mounting screws on the
bottom of the fuselage.
93.
Remove the bracket. Use a drill and 5/64-inch (2mm) drill
bit to drill the holes for the mounting screws. Make sure to
prepare the holes by threading a #4 x 1/2 inch sheet metal
screw into each hole. Remove the screw and apply two to
three drops on thin CA in each hole. Allow the CA to fully
cure before proceeding. Attach the tail wheel bracket to
the fuselage using three #4 x 1/2 inch sheet metal screws.
Tighten the screws using a #1 Phillips screwdriver.
LANDING GEAR INSTALLATION
95.
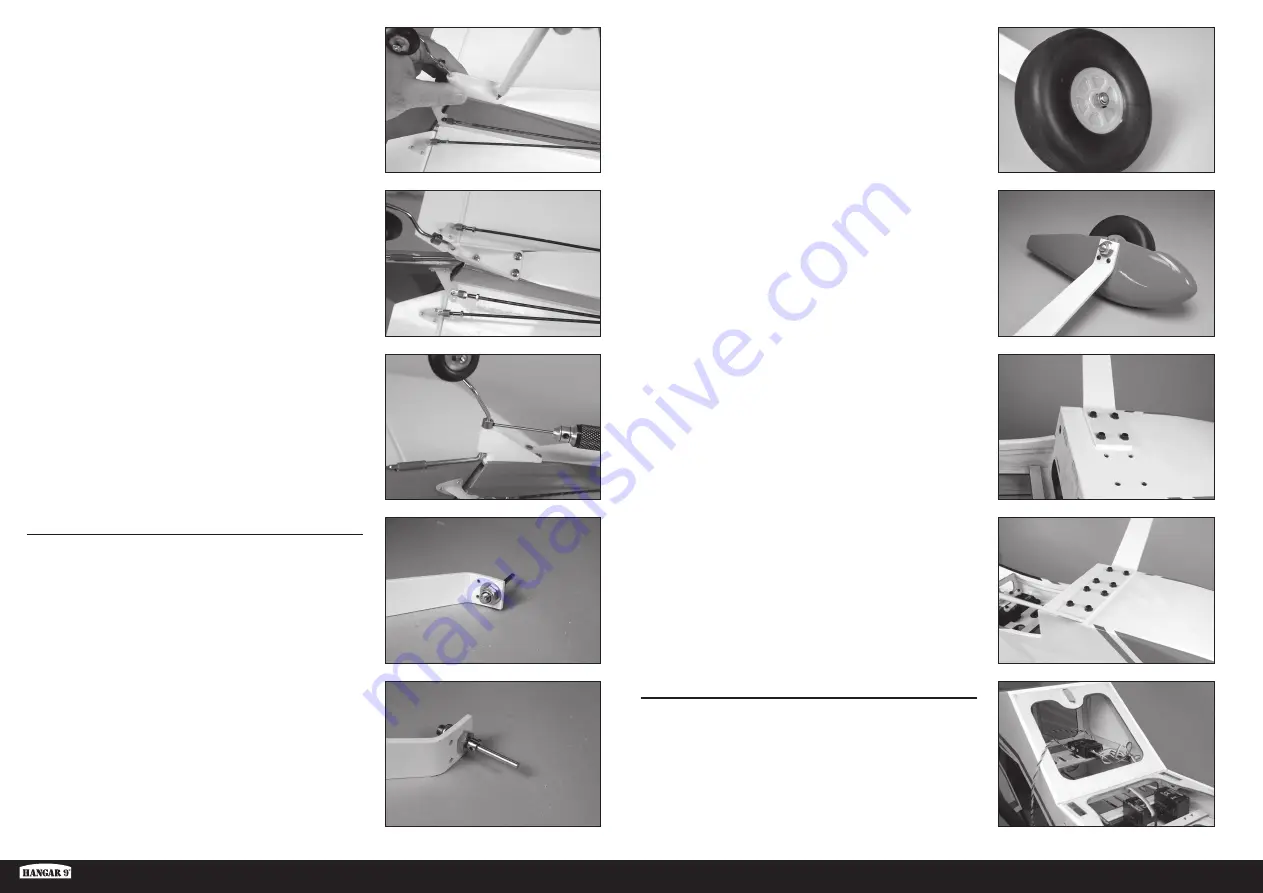
Attach the axle to the landing gear using the axle nut. Use two
1/2-inch wrenches to tighten the nut, securing the axle. Make
sure the fl at areas face toward the bottom of the landing gear.
96.
Slide a wheel collar on the axle. Place a drop of thread lock
on a 3mm setscrew. Use the setscrew and a 1.5mm hex
wrench to secure the wheel collar.
94.
Slide the wheel collar against the bracket. Use a .050” hex
wrench to tighten the setscrew in the wheel collar.
97.
Slide the wheel on the axle. Secure the wheel using a wheel
collar and 3mm setscrew. Place a drop of thread lock on the
threads of the setscrew before tightening it using a 1.5mm
hex wrench.
98.
Attach the wheel pants to the landing gear using two M3 x 9
button head screws and a machine screws. Apply a drop of
thread lock on the threads of each screw before tightening
them using a 2mm hex wrench.
100.
Repeat the previous step for the remaining landing gear.
RECEIVER INSTALLATION
101.
Install the receiver in the fuselage. Mount any remote
receivers in the fuselage using hook and loop tape.
99.
Attach the landing gear to the fuselage using four M4 x 15
socket head cap screws and four M4 washers. Apply a drop
of thread lock on the threads of each screw before their
installation. Tighten the screws using a 4mm hex wrench.
15
EN
Tiger 30cc ARF
Summary of Contents for HANGER 9 Tiger 30cc
Page 95: ...95 Tiger 30cc ARF...


