Introduction
______________________________________________________________________________________________
18
Quick Start Guide
1.
Turn on the DVR. See the Turning on the DVR section for more details.
2.
Log in -- Use the number buttons to enter the password when prompted –
The password is <none> – Press ENTER.
3.
Complete System Configuration to set up the date, time and system ID.
See the System Configuration section for more details.
4.
Complete Sensor Configuration to enable any external devices connected
to sensor inputs or relay outputs. See the Motion/Event Configuration
section for more details.
5.
Complete Disk Configuration to set overwrite options and enable SMART
Check. See the Disk Configuration section for more details.
6.
Complete User Configuration to change the Admin password and add
additional users. See the System >User Configuration section for more
details.
7.
Complete Camera Configuration for all attached cameras. See the Camera
Configuration section for more detail.
8.
Complete PTZ Configuration for any attached Pan / Tilt / Zoom cameras.
See the PTZ Configuration section for more details.
9.
Create a recording schedule. See the Record section for more details.
10.
Complete Motion/Event Configuration to trigger recording on an event:
motion, sensor, video loss. See the Motion/Event Configuration section for
more details.
11.
The DVR is now configured to record, search and playback video. See the
Operations section in this manual for more information on using the DVR.
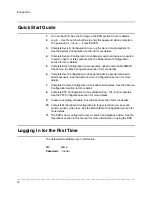
Logging In for the First Time
The default administrative log in information:
ID:
admin
Password:
<none>


