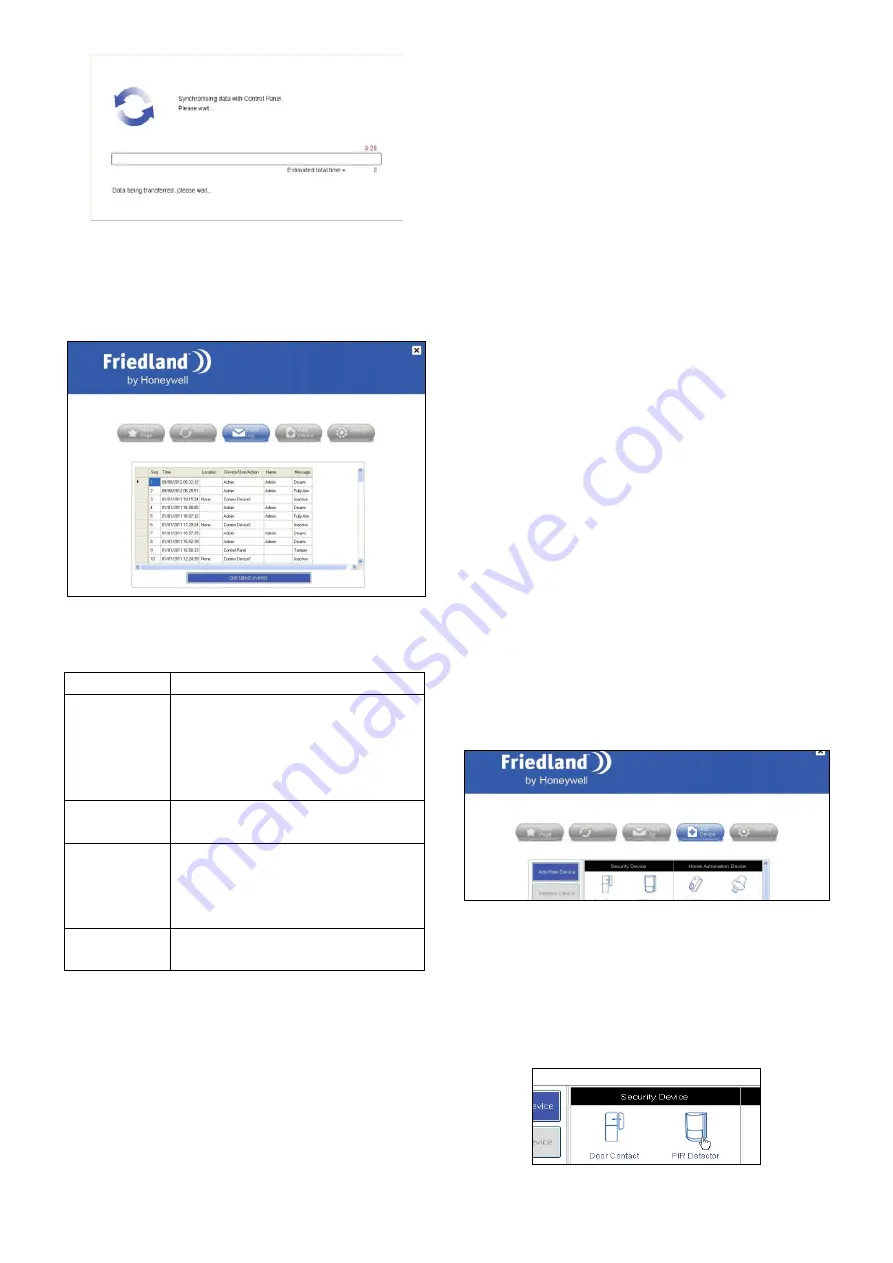
9
After the system has finished loading the latest event
log from the Control Panel, it will be promptly displayed
in the window.
The event log consists of the following information:
Time
The date and time of the event.
Location
The place where the event
happened. For instance, if a PIR
detector assigned to Bedroom is
triggered, the location column will
show “Bedroom”.
Device/User
/Action
This column displays what or who
triggered the event.
Name
If the event is triggered by a user,
this column will display the name of
the User (such as Admin or
User1…).
Message
This column shows the content of
the event.
2-5. Add Device
There are two ways to add new devices to the system;
using the Control Panel (refer to Hardware manual) or
using the GlobalGuard PC setup software. The PC
software provides an intuitive interface so the user can
add devices more easily.
Note: The first two wireless security devices (PIR
movement or door contact detector) added to the
system will have a preconfigured 30 second
entry/exit delay. It is recommended to install the 1
st
detector (zone1) you add at the entry/exit point of
your property
The entry delay period for a security device can be
setup in ‘Advance Settings’ of that device. The exit
delay can be setup in ‘Settings-Device-Control
Panel’ page
2-5-1. Add New Device
On the interface screen you can find two buttons on the
left side: [Add New Device] and [Replace Device]. As
their titles suggest, [Add New Device] is to add a new
device to the system, while [Replace Device] is to
replace an existing device with a new one. On the right
side are the icons of preconfigured device groups.
To add a new device, all you need to do is to click on
the [Add New Device] button, and then select a desired
device icon and follow the screen prompts to complete
the procedures.
Note: All devices with exception to the optional
GlobalGuard camera can be linked and displayed
in this software. The camera is not displayed here
and is only linked via the GlobalGuard remote
access online software.
Example 1: Adding a PIR movement detector:
Note: Please also refer to the Hardware manual for
information on how to configure the device into
learning mode.
1. Click on the PIR Detector icon.


