


Function of the interface:
1.on/off
A. Press”on/off” key to turn the robot on or turn it off. The”on” function on the
remote control will work only after turn on the robot manually.
B. Press”on/off”key, blue, green and red lights on, which mean the robot is on.
Press”on/off” key again, the robot will turn off.
C. Use the remote control to turn off the robot, the blue light of “on/off” key is
on, which mean the robot is the standby status.
2.Cleaning mode
Turn on the robot, and press the auto,spot,dock/mop key to choose different
cleaning mode in sequence.
2.1 All blue, green and red light is on, which means the robot is in”auto”
cleaning mode.
2.2 Both blue, green light on, which means the robot is in”spot” cleaning mode.
2.3 Both blue, red light on, which means the robot is in”dock/mop”cleaning
mode.
Remark:When the robot is in “auto,spot or dock/mop” cleanining, press cleaning
mode key, the robot will pause its work.
A.Auto cleaning mode
Turn the robot on, all blue, red, green lights are on, press start/pause key, the
robot will enter into”auto”cleaning mode to start working (Under this cleaning
mode, the robot will be in line walking route first. If the robot perceives there is
too much dirt,it will change into”fan”or”spiral” route automatically. After cleaning
the dirtier place,turns back into auto mode again. After 20 minutes working, the
robot will turn into wall-f cleaning mode automatically to clean the corner more
effectively. In 10 minutes under wall-f cleaning mode, the robot turn back to its
auto cleaning walking route again).
B. Spot cleaning mode
Turn on the robot, choose”spot” cleaning mode, the blue and green light on,
press”start/pause”key to start cleaning working under such mode. (the robot
will choose a spiral route from inside to outside, and then outside to inside, the
robot will work 10 minutes under this cleaning mode and pause).
C.Dock/mop mode
Choose this mode, the blue,red light is on, press”start/pause”key start the
work. Under this mode, if the robot is in short power, he will turn into docking
mode to find the charging base. However, if it gets enough power, you can cut off
the charging base and put the mop on to make the robot mop the floor.
3. Start/pause
Turn on the robot, press”start/pause”key to control the robot pause or start
its working.
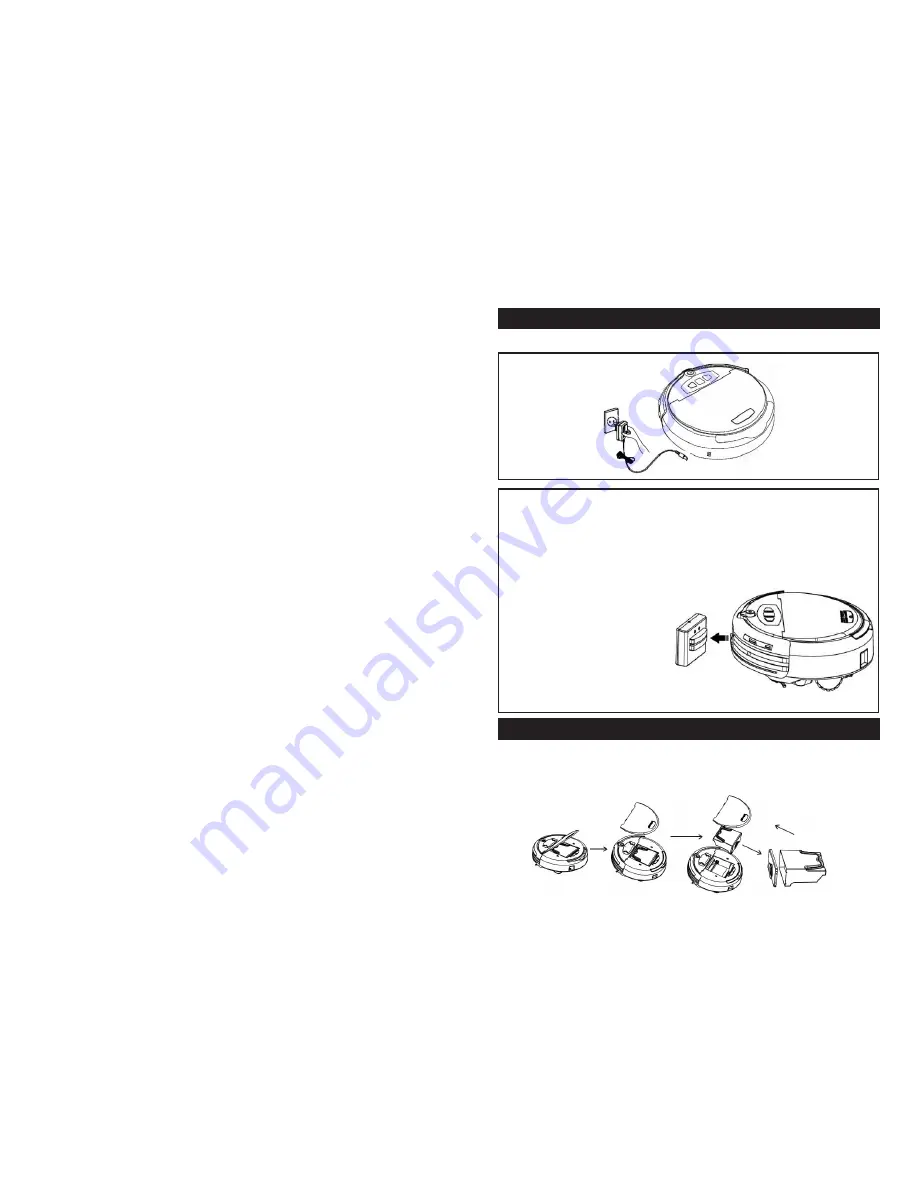
4. Charging for the cleaner
5. Assembly & Disassembly
I. Manual Charge:
Figure 1
High voltage! Dry
hands before
using
1. You can use the adaptor to charging the robot directly.
2. Connect the output terminal of the adaptor with DC socket while using the
adaptor for charging (Figure 1)
Attention
Usually, the robot will be fully charged in 3 - 4 hours.
The robot will last 45-55 minutes working after fully charged (depend on the
condition of the floor)
II. Auto charging:
When the robot is in short power,
it will turn into docking cleaning
mode to find the charging base.
The Cleaner may fail to find the
Docking Station due to the obstacle,
decreased battery and complex condition,
so the Docking Station should be put in wide space as far as possible.
I. Assembly & Disassembly and Cleaning of Dustbin
How to use & clean the dustbin:
1. Extract the dustbin by pressing the key on the top.
(22
(23


