


HOBO MicroRX Station for HOBOnet (RX2105 and RX2106) Manual
1-800-LOGGERS
6
www.onsetcomp.com
Notes on LCD Operation:
•
The LCD will turn off after 5 minutes of inactivity. Press
any button to turn the LCD back on.
•
There can be a delay before the LCD updates. For
example, if you plug in an AC adapter, it may take a few
seconds before the lightning bolt icon appears on the
LCD. This delay is by design to preserve battery life.
Setting up the Station
Follow these steps to set up the station.
1.
Log into HOBOlink.
Go to www.hobolink.com and log into an existing account
or create a new one. You’ll receive an email to activate the
new account.
2.
Register the station.
In HOBOlink, click Devices, then RX Devices, and click the
Register a Device link. Give the station a name and enter
the serial number and device key from the label inside the
station door.
Note:
If you are using your own micro SIM card, follow the
instructions at https://www.onsetcomp.com/support/
manuals/23845-installing-micro-sim-rx2100-station before
continuing.
3.
Plug in smart sensors if applicable.
Plug the smart sensors into the ports below the LCD When
using multiple smart sensors, it is easiest to start by
plugging one into the leftmost or rightmost connector and
then working your way across the connectors in order.
Route the cables through the holes in the cable channel.
See
Installing the Cable Channel
for more details.
4.
Plug in the battery and wait for the station to
connect to HOBOlink.
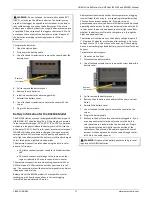
a.
Plug in the battery cable. For RX2106 models, plug in
the solar panel cable for the built-in solar panel. If you
are using an external solar panel, tuck the built-in solar
panel cable inside the station door.
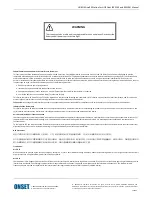
b.
Once the battery cable is plugged in, “Initializing
System” will flash on the LCD. A checkmark appears
next to “System” after the station initialization is
complete.
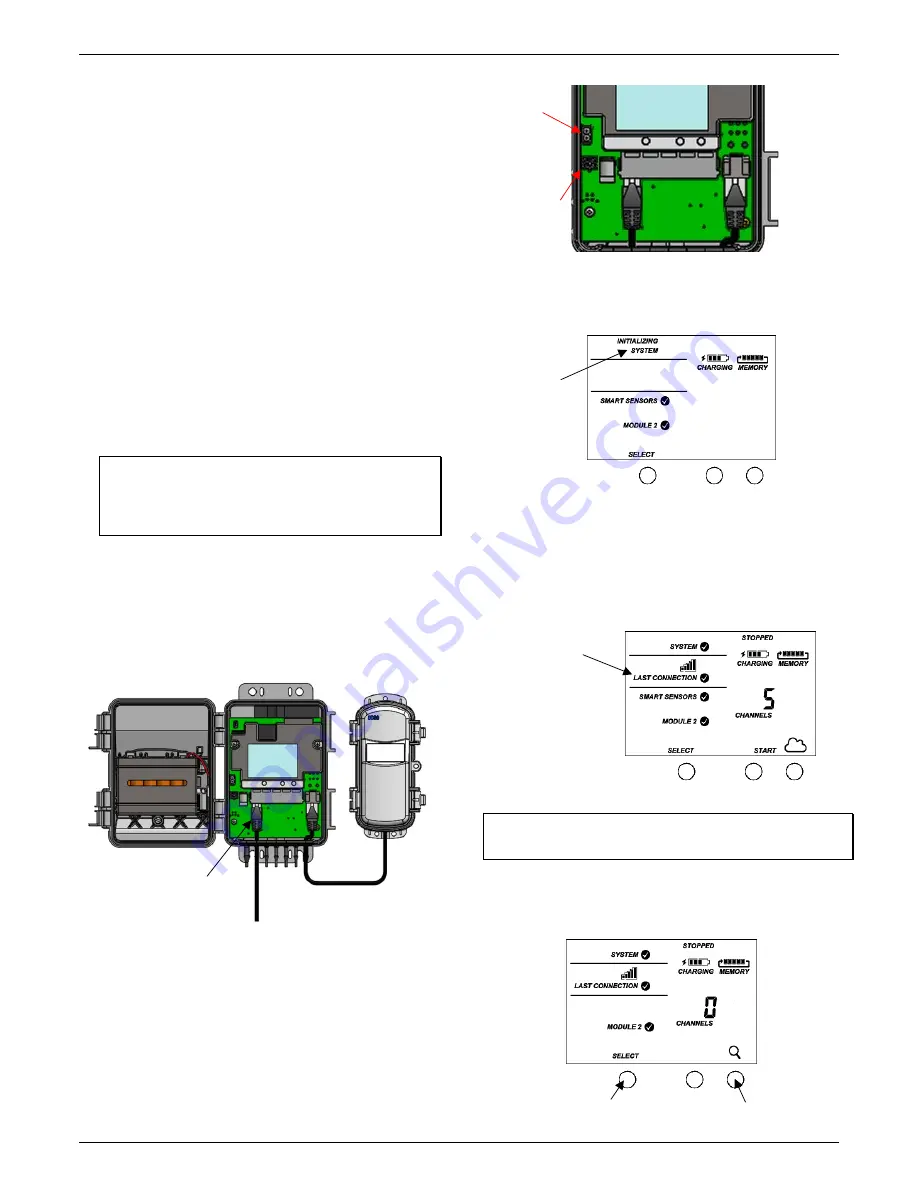
c.
After the station powers up, it will connect to HOBOlink
automatically within two minutes. The cellular icon and
“Connection” will flash while the connection is
underway. Once the connection is complete, a
checkmark appears next to Last Connection. Note that
the entire initialization process may take several
minutes; wait until Last Connection and the checkmark
appears before continuing to step 5.
5.
Add any wireless sensor motes.
Important:
Keep the mote(s) near the station while completing
these steps.
a.
Press select to switch to module 2 and then press the
Search button to wait for motes to join the network.
The magnifying glass icon will blink while the station is
in search mode waiting for motes to join the network.
“Initializing
System”
flashes when
the battery
cable is first
plugged in
A checkmark
appears next to
Last Connection
after connecting
to HOBOlink
Press the Search button for the
station to search for motes to join
Press the Select button
to switch to module 2
Plug in smart sensors
into the five ports
Plug in solar
panel cable
here in
RX2106
models
Connect the
battery
cable here


