


HOBO MicroRX Station for HOBOnet (RX2105 and RX2106) Manual
1-800-LOGGERS
15
www.onsetcomp.com
grounding wire may prevent the logger from being flat
against the surface. Be careful not to bend the case when
tightening screws.
Mounting the Station
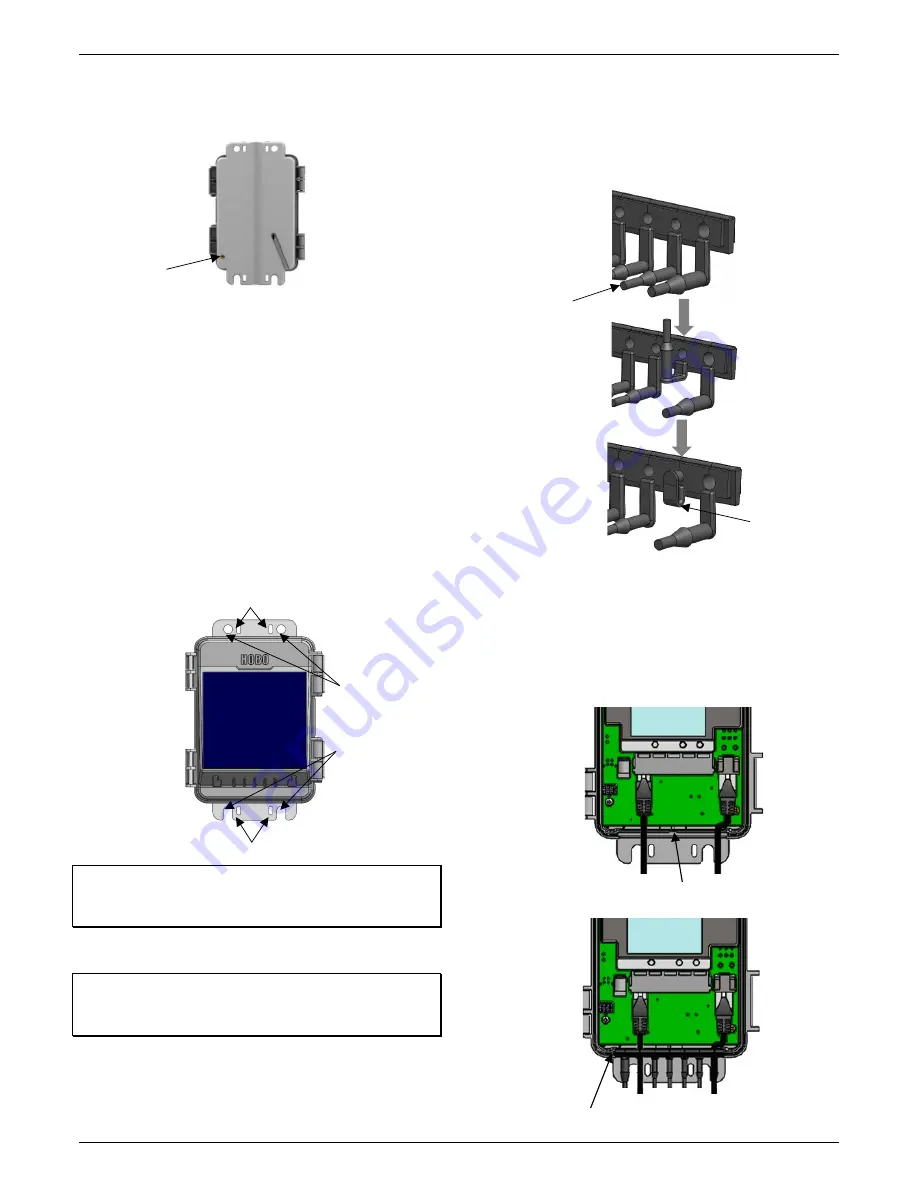
There are three ways to mount the station using the built-
in mounting tabs.
•
Use the two sets of outer holes and 1-5/8 inch saddle-
clamp U-bolts to attach the logger to a tripod or mast
(this is the recommended method for mounting on a
mast). Do not use U-bolts without the saddle clamps as
that could bend the mounting tabs and damage the
housing or compromise the weatherproof seal in
outdoor environments. The flat portion of the saddle
clamps should be against the mounting tabs.
•
Use the included cable ties with the two sets of inner
holes to affix the logger to a PVC pipe or mast.
•
Use the included screws and washers with the two sets
of outer holes to adhere the logger to a wall or flat
surface.
Important:
See
Deployment Guidelines
and
Installing the
Grounding Wire
for installation steps and other deployment
guidelines.
Installing the Cable Channel
Important:
This is required for outdoor and weatherproof
deployments and recommended for harsh indoor environments
where debris could enter the station.
1.
Make sure all sensors and cables are installed, including the
solar panel, AC adapter cable, or external DC power cable,
and the grounding wire.
2.
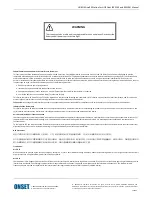
Use the integrated plugs to fill any unused holes. Bend the
plugs up so that you can push them into the holes. Once a
plug is partially pushed through, you can pull on the part of
the plug that is inside the case. You may need to bend the
ends of the channel slightly to widen the holes for installing
the plugs.
3.
Lightly coat the portion of the sensor cables that will be in
the cable channel with a small amount of silicone grease
(about the size of a pea).
4.
Lightly coat the bottom and two sides of the cable channel
with silicone grease.
5.
Reinstall the cable channel in the station making sure the
key on the bottom is inserted in the notch in the station
enclosure.
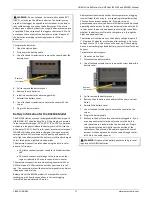
Connect the
grounding
wire here
Inner mounting holes; use with cable ties
Outer mounting
holes; use with
screws and washers
or saddle-clamp
U-bolts
Inner mounting holes; use with cable ties
Bend a plug
and insert
the end into
an empty
hole
The plug should
look like this
when properly
installed
Use this notch as a guide to install the
key in the bottom of the cable channel
Cable channel reinstalled


