
Last updated: 08/13/20108 Rev. 9
46
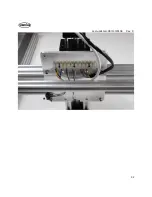
Step 2:
Make sure the E-
Stop is “out” this allows power to the control board.
Step 3:
Plug in a USB style
Mouse and Keyboard
to either USB port on the front.
Step 4:
Plug an HDMI monitor into the port on the face.
Step 5:
Plug the 110VAC cable into the fused connection on the far left.
Step 6:
Turn on the master switch.
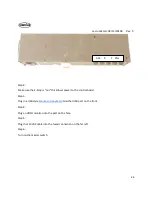
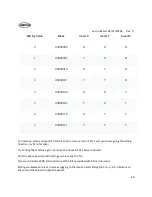
ACC X Y YNL
Z
Summary of Contents for R7
Page 6: ...Last updated 08 13 20108 Rev 9 6 Limit switch and barrier block shown installed ...
Page 19: ...Last updated 08 13 20108 Rev 9 19 ...
Page 27: ...Last updated 08 13 20108 Rev 9 27 ...
Page 28: ...Last updated 08 13 20108 Rev 9 28 ...
Page 30: ...Last updated 08 13 20108 Rev 9 30 ...