Last updated: 08/13/20108 Rev. 9
15
Step 5:
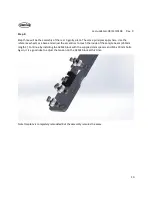
Step five we will mount the spindle to the Z gantry. The Z gantry will be the up and down axis of the
machine. Note, the spindle clamp has been modified from the video. These spindle clamps are very
fragile in the un-mounted state. Be cautious with these. Do not try to bend them or force them open
with excessive force. Simply slide the clamp on the end of the C-Beam, install with a T-nut and M5 x 8
screw on both sides, and tighten. The clamp will be tight when installing the spindle. You can gently
spread the clamp by hand and slide in the spindle. The clamps should be on the stainless caps of the
spindle.
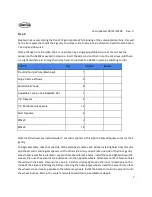
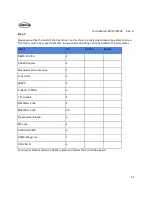
STEP 5
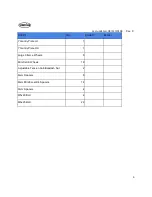
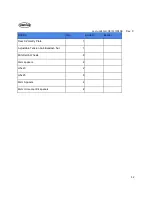
Qty.
Smw3d
Builder
800w Spindle
1
Spindle Clamps
2
M5 T-Nuts
4
M5x8
4
M5x35
2
250mm C-Beam
1
Summary of Contents for R7
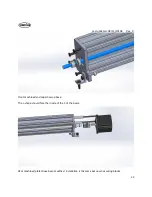
Page 6: ...Last updated 08 13 20108 Rev 9 6 Limit switch and barrier block shown installed ...
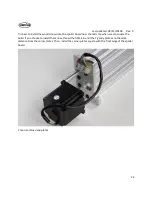
Page 19: ...Last updated 08 13 20108 Rev 9 19 ...
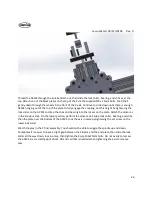
Page 27: ...Last updated 08 13 20108 Rev 9 27 ...
Page 28: ...Last updated 08 13 20108 Rev 9 28 ...
Page 30: ...Last updated 08 13 20108 Rev 9 30 ...


