
Last updated: 08/13/20108 Rev. 9
31
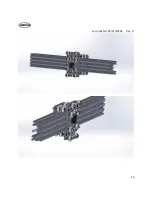
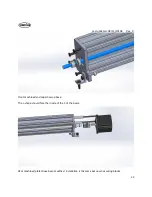
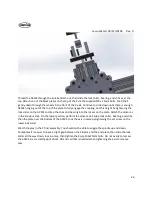
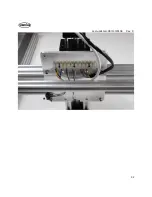
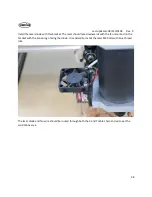
Mount the X cable chain in the same method. Attach the upside-down end to the back of the Z gantry.
There is a threaded hole in the upper corner of the rear plate. Use two 9mm spacers and the M5 x
25mm bolt, attach the other end to the top of the 20x20x1000mm v-slot with the drop-in tee-nut and
M5x10mm bolt.
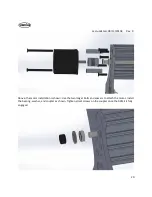
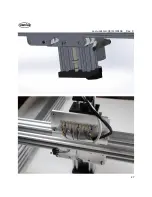
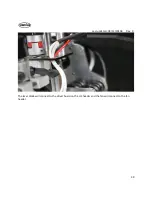
At this time, it is best to remove the cable chain tops, as we will route wires and cooling hoses through
both.
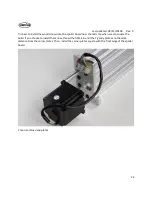
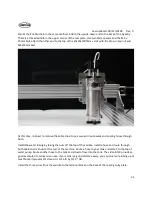
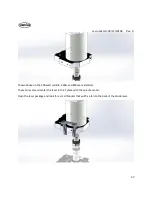
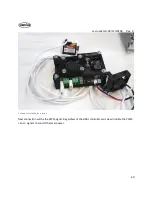
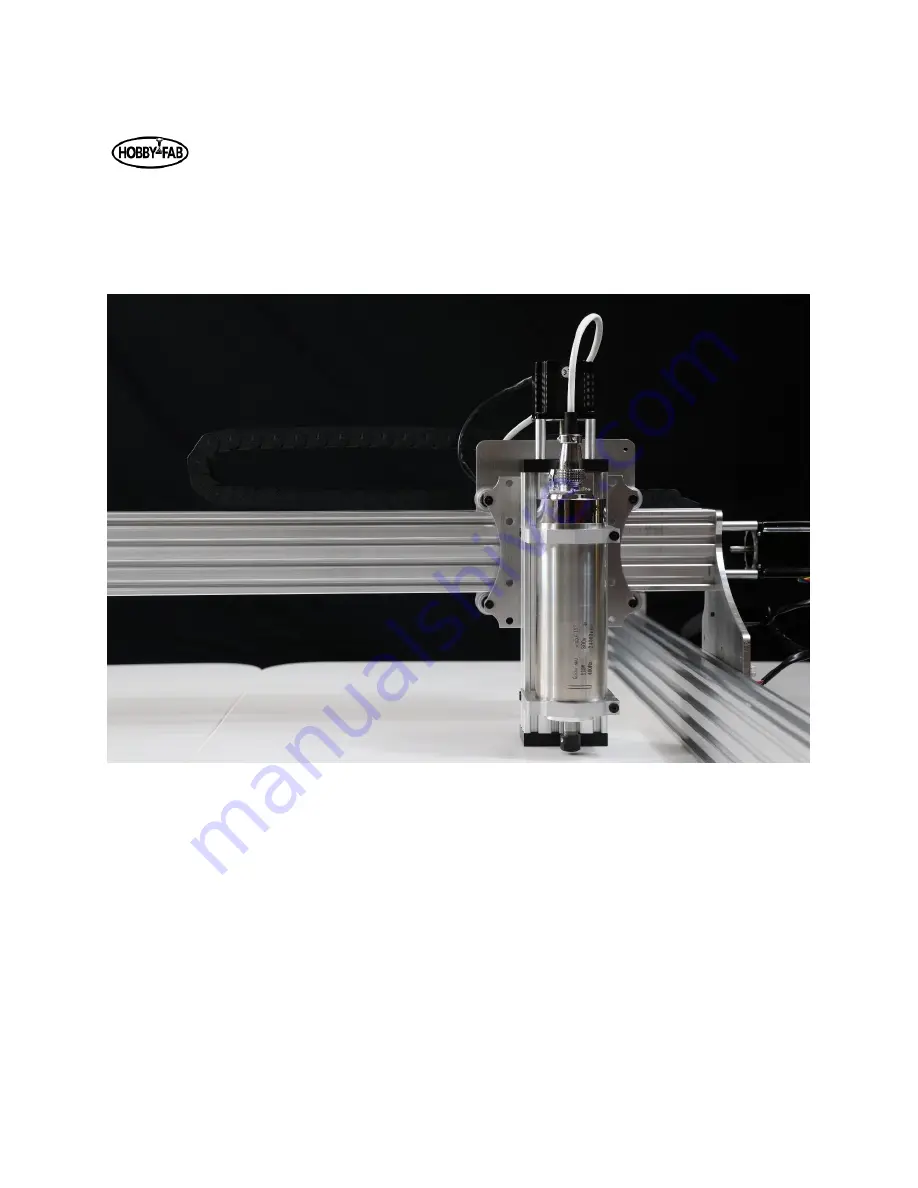
Install the water tubing by taking the nuts off the top of the spindle. Install a hose and route through
both cable chains to exit at the rear of the machine. Route a hose to your tank and attach to the top of
water pump. Route another hose to the tank and allow to flow into the tank. The video R7v9 provides a
good example of a tank you can use. If your tank is a good distance away, you can pick more tubing up at
most home improvement stores it is 3/16 ID by 5/16
“
OD.
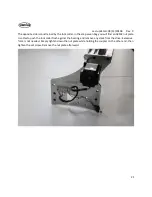
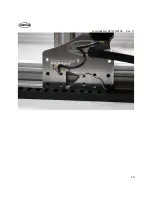
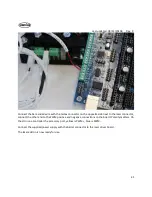
Install the three wires from the spindle to the terminal block on the back of the rear X gantry plate.
Summary of Contents for R7
Page 6: ...Last updated 08 13 20108 Rev 9 6 Limit switch and barrier block shown installed ...
Page 19: ...Last updated 08 13 20108 Rev 9 19 ...
Page 27: ...Last updated 08 13 20108 Rev 9 27 ...
Page 28: ...Last updated 08 13 20108 Rev 9 28 ...
Page 30: ...Last updated 08 13 20108 Rev 9 30 ...