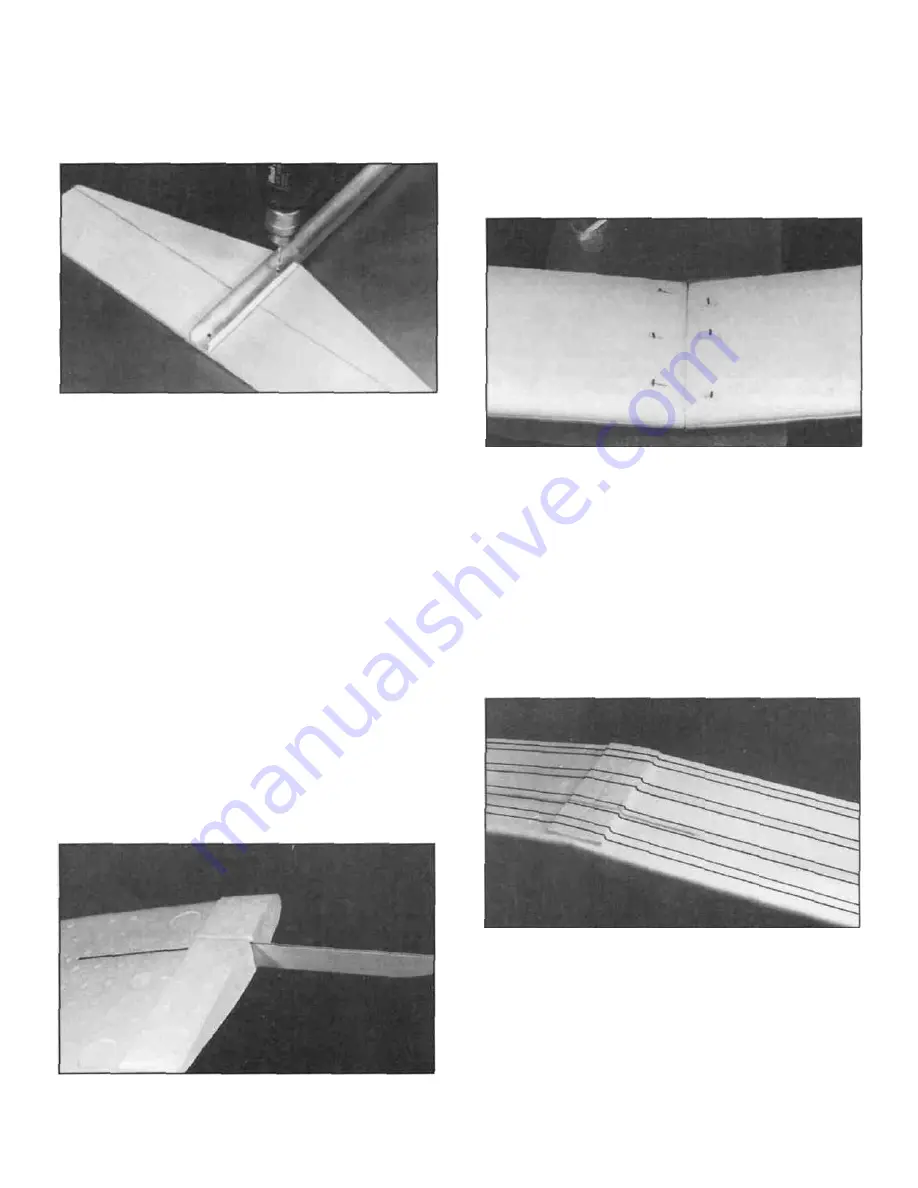
bottom of the channel and line the stabilizer up with the
channel (using the line you just drew) When you are
satisfied with the alignment draw a line down both sides
of the channel on the top of the stabilizer.
D 19. Remove the pencil and rubber band and with the
stabilizer centered over the lines, drill two 1/8" holes
through the stabilizer using the holes in the channel as a
guide The trailing edge of the stabilizer should be
slightly past the end of the channel.
D 20. Use a sanding block with some fine sandpaper to
round off the leading edges, trailing edge and the tips as
you did tor the fin and rudder Also sand the top and
bottom surfaces smooth This completes the basic
assembly of the stabilizer and elevator The control horn
and the hinges will be installed after the tail is covered
slots in the wing to make sure it fits nicely Mix up
about 1/2 oz of epoxy and spread it throughout the
slot in one wing panel With the wing panel upside
down, insert the joiner in place and squeeze out all the
excess epoxy so that the joiner is f l u s h with the bottom
of the wing (which is facing up) Try to use enough
epoxy so that the slot is completely full and level with
the surfaces of the wing
D 23. Lay some waxed paper down on the work surface
and mix up another ounce or so of epoxy Spread the
epoxy throughout the slot and on the root (middle end)
of the other wing panel Slide the two wing panels
together and line them up as close as possible Use
several T-pins and masking tape to help hold them in
alignment Flip the wing assembly over so that the
bottom of the wings are facing up and make sure that the
joiner is seated properly in the slot Wipe oft any excess
epoxy before it starts to cure It is important that the
wings are joined with both panels being accurately
aligned with each other.
WING ASSEMBLY
D 21. Using a sanding block with some fine grit
sandpaper, (240-320 grit) remove the little nubs and any
mold lines left on the wing from the molding process.
D 22. Test fit the 1/8" plywood dihedral joiner in the
D 24. After the epoxy from the last step has f u l l y cured,
place the wing upside down on the edge of a table so that
only 1/2 of the wing (from one wing tip to the center
joint) is resting on the table Starting at the wing tip that
is resting on the table, lay a strip of nylon reinforced
strapping tape down so that it crosses over the center
joint directly over the w i n g j o i n e r Press the tape firmly
onto the wing and down into the fillet (where the bottom
of the wing meets the mounting platform) and then flip
the wing around and continue the strip of tape out to the
8


