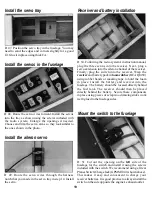
Apply epoxy to the wing root rib Test fit the aileron servo
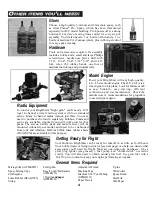
D 10. Apply epoxy inside the joiner cavity of the
remaining wing panel. Next, coat the wing root ribs on
both panels. Quickly proceed to the next step.
Join the wing halves
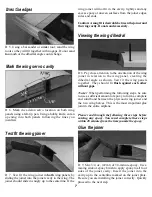
D 11. Assemble the two wing halves with the tightest
seam possible. No gaps should be showing between
the two wing halves. Clean any excess epoxy from the
outside of the wing using a paper towel dampened
with rubbing alcohol. Use several strips of masking
tape on both sides to hold the wing halves tightly
together. Let the epoxy fully cure before continuing.
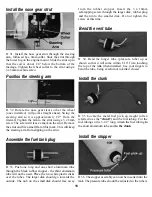
D 13. Test fit the aileron servo into the servo tray and
the hole in the top of the wing. Enlarge either hole, if
needed, with a hobby knife or a fine-toothed file until a
proper fit is achieved. The plywood tray should not
actually contact the the sides of the servo. Leave a
1/64" gap all the way around. Remove the servo. The
servo should not touch any of the wing surface.
Install the servo tray
Trim the covering
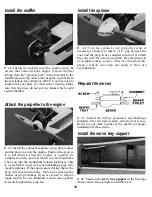
D 12. Hold the plywood aileron servo tray over the
hole in the top of the wing. Trace the outside of the tray
with a felt-tip pen and then remove the tray from the
wing. Carefully remove the covering within the lines
using a new #11 blade in a hobby knife, being careful
not to cut into the balsa wing sheeting.
D 14. Mix l/8oz. (3.5ml) of 6-minute epoxy to glue the
servo tray to the top side of the wing. Attach the servo
tray to the top of the wing. After the epoxy has cured,
cut a small notch in the servo tray to allow the servo
lead to pass through.
Apply the wing center tape
D 15. Starting at the front of the aileron servo tray,
apply the 1/2" (12.5mm) white wing center tape
8


