Install the muffler Install the spinner
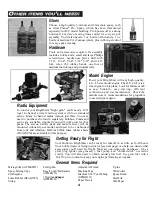
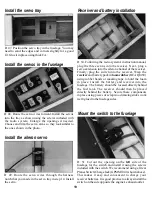
D 42. Install the muffler onto the engine using the
screws that came with the engine. Attach the fuel
tubing from the "pressure tube" in the fuel tank to the
muffler pressure tap. Attach the fuel pick-up tube from
the fuel tank to the carburetor. NOTE: You may wish to
shorten the fuel lines for more direct routing. Make
sure that the lines do not get any kinks which could
restrict fuel flow.
Attach the propeller to the engine
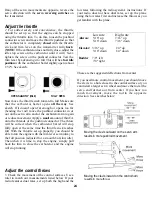
D 43. Install the spinner backplate, prop, prop washer
and the prop nut onto the engine. Position the prop so
it is horizontal when the engine is against its
compression (the point at which you feel resistance
when you turn the crankshaft counterclockwise). This
is a good habit to get into when installing props onto
model airplanes. If the engine quits during flight, the
prop will stop horizontally, therefore reducing the
chance of prop breakage if you are forced to land on
rough terrain. Use an adjustable wrench (not a pliers)
to securely tighten the prop nut.
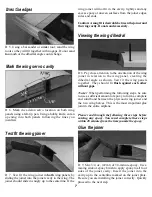
D 44. Trim the spinner cone propeller slots if
necessary so there is at least a 1/16" gap between the
cone and the prop. Once satisfied with the fit, attach
the cone with the screws provided. Be careful not to
overtighten these screws. They are threaded into
plastic which can strip out easily if they are
overtightened.
Prepare the servos
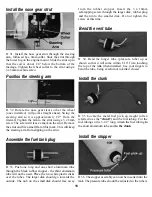
D 45. Install the rubber grommets and bushings
included with your radio system, onto the four servos.
Refer to your radio manual or the sketch for proper
installation of these items.
Install the servo tray support
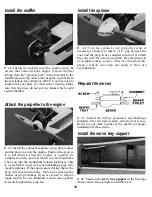
D 46. Position the servo tray support in the fuselage
where shown. Glue it in place with thick CA.
18

