7
clothespins to clamp the wing joiners together firmly. The
excess epoxy
must
be removed before it dries-see Step
#
5.
Removing the excess epoxy
❑
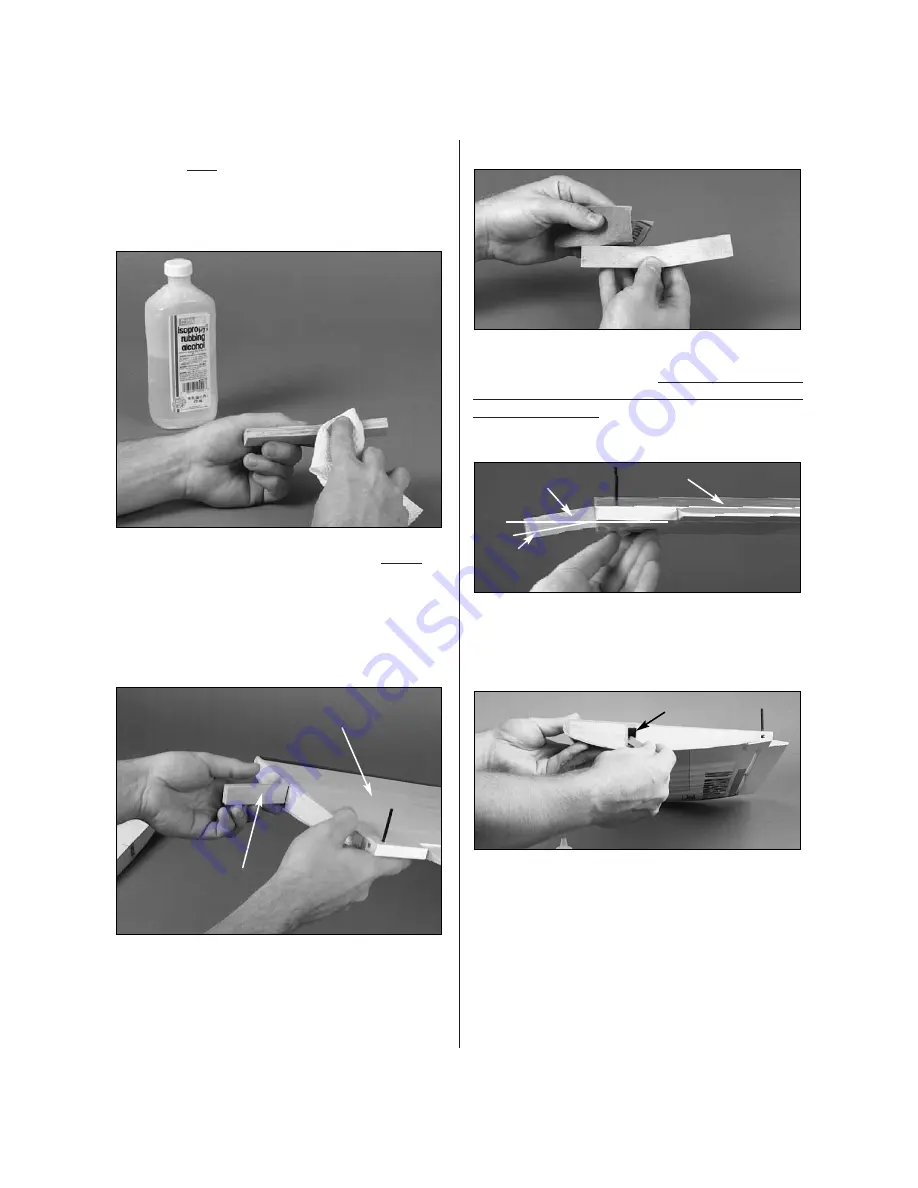
5. Excess epoxy will be squeezed out of the seams
between the joiners and must be removed
before
the
epoxy is allowed to cure. Use a paper towel and
rubbing alcohol to remove the excess epoxy. Be careful
not to disturb the alignment of the joiner pieces.
Test fit the wing joiner
❑
6. A f t e r t h e e p o x y h a s c u r e d a n d t h e
clothespins have been removed, test fit the wing
joiner in both wings by sliding the joiner into
the joiner cavity in the wing. The joiner should
s l i d e i n w i t h a l i t t l e r e s i s t a n c e u p t o t h e
centerline drawn on the both sides of the joiner.
Sanding the joiner
❑
7. If the wing joiner will not fit in the cavity, lightly
sand the excess epoxy and uneven surface joints from
the joiner edges and sides.
Caution:
A snug fit is
desirable between the joiner and the wing cavity. Do
not sand excessively.
Viewing the wing dihedral
❑
8. Pay close attention to the orientation of the wing
joiner in relation to the dihedral of the wings as shown.
Gluing the joiner in the wing
❑
9. Mix 1/4oz. (7.5ml) of 30-minute epoxy to glue
the joiner into one wing half. Use a mixing stick or
epoxy brush to apply epoxy to all four sides of the
joiner cavity wall. Insert the joiner into the cavity up
to the centerline marked on the joiner plate. Be sure
you are installing the joiner in the correct orientation
to the wing. Clean the excess epoxy from the wing
root rib. You must be sure all the excess glue is
removed from the wing root or the wings will not fit
together correctly. Allow enough time for the epoxy to
fully cure before proceeding to the next step.
7
Bottom of wing
Wing joiner
Bottom of wing
Note the direction
of the joiner
Wing joiner cavity
Dihedral angle
Summary of Contents for Awarf Series
Page 1: ...Easy as 1 2 3 V1 3 Copyright 1998 ...
Page 40: ......


