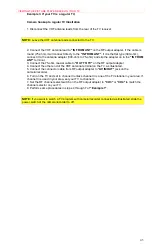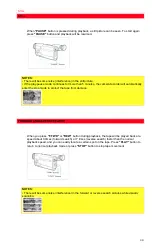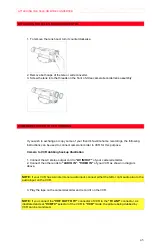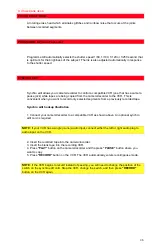
SECOND CLOCK SETTING
32
SECOND CLOCK SETTING
Since the camera/recorder has a dual time feature, if you go abroad to a country with a different
time, you can record the local time superimposed on the scene being shot.
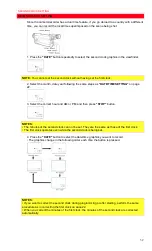
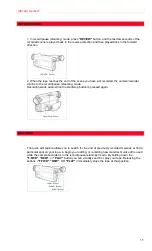
1. Press the
"DATE"
button repeatedly to select the second clock graphics in the viewfinder.
NOTE:
You cannot set the second clock without having set the first clock.
2. Select the month, date year following the same steps as
"DATE/TIME SETTING"
on page
22.
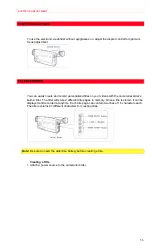
3. Select the correct hour and AM or PM, and then press
"STOP"
button.
NOTES:
• The minutes of the second clock can not be set. They are the same as those of the first clock.
• The first clock operates even while the second clock is being set.
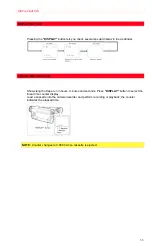
4. Press the
"DATE"
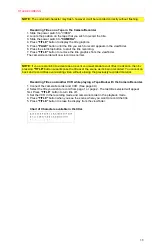
button to select the date/time graphics you want to record.
• The graphics change in the following order each time the button is pressed.
NOTES:
• If you want to correct the second clock during programming or after starting, perform the same
procedure as in correcting the first clock on page 22.
• When you correct the minutes of the first clock, the minutes of the second clock are corrected
automatically.


