IDENTIFICATION AND OPERATION OF CONTROLS
21
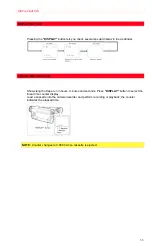
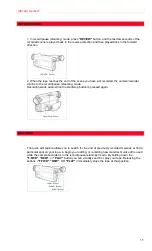
30. "RESET" Button
When the linear time counter is displayed in the viewfinder, pressing this button resets the
counter to "0:00:00".
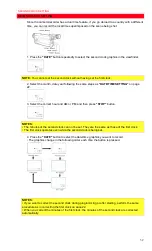
31. "DISPLAY" Button
When this button is pressed, the display in the viewfinder will change in sequence.
32. "DATE" Button
Press this button to display the date and time in the viewfinder. Whenever the date and time
appear in the viewfinder, they will be recorded on the tape.
33. "EJECT" Button
Operates with the power on or off, if a power source is connected to the camera/recorder.
34. "
" Switch
Use to select
or normal
for recording. This switch has no effect during playback.
Normally, set it to "
AUTO
". "
" appears in the viewfinder when the camera/recorder is
recording or playing in
mode.
35. Grip Cover
Open this cover when attaching the battery or external power adapter.
36. "MIC" Switch
This switch is used to reduce noise that occurs due to wind. Place the switch in the "NORM"
position for normal use.
37. Tripod Mount Screw
Use this screw to mount the camera/recorder on a tripod (generally available).
38. "BATT (Battery) EJECT" Lever
Move this lever to open the grip cover when attaching the battery or external power adapter to
the camera/recorder or detaching it.
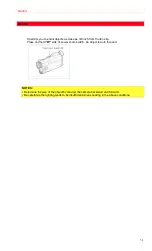
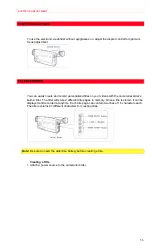
39. Camera/Recorder Control Buttons
These shaded buttons on the remote control function the same as those on the
camera/recorder.
40. "PAUSE (START/STOP)" Button
When this button is pressed during recording, the tape stops and the camera/recorder enters
the record/pause (stand-by) mode. When this button is pressed again, the tape runs to resume
recording. This button may also be used to display a still picture during playback mode.
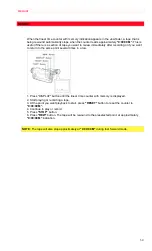
41. "AV DUB" Button
This button is used to record new audio and video in place of existing audio and video.


