3-26
Migration procedures
HVM Navigator User's Guide - Migration
7.
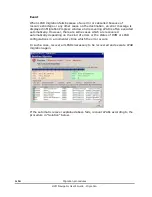
Scroll the horizontal bar to the right in Migration Path List group box.
Next, input an IPv4 address in the IP address column and then input a
subnet mask in the Subnet Mask column. Note that any IPv6 addresses do
not work as migration paths.
8.
Also, set at least one migration path for the source or destination HVM in
the same way as the way explained above.
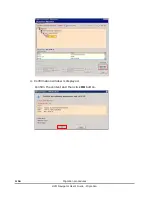
Then, click
Save
button.
We recommend that you set a VLANID for each migration path to isolate
packets from those in another network. As a result, the packets are not
referred to through another network.
Summary of Contents for NVM Navigator v03-07
Page 8: ...viii Contents HVM Navigator User s Guide Migration ...
Page 22: ...1 8 Overview HVM Navigator User s Guide Migration ...
Page 100: ...2 78 Usage environments HVM Navigator User s Guide Migration ...
Page 124: ...3 24 Migration procedures HVM Navigator User s Guide Migration ...
Page 138: ...3 38 Migration procedures HVM Navigator User s Guide Migration 10 Click Show Config button ...
Page 165: ...Migration procedures 3 65 HVM Navigator User s Guide Migration 4 Click Close button ...
Page 205: ...Migration procedures 3 105 HVM Navigator User s Guide Migration 3 Click OK button ...
Page 254: ...5 18 Usage notes HVM Navigator User s Guide Migration Figure 5 1 Migration Progress window ...
Page 258: ...5 22 Usage notes HVM Navigator User s Guide Migration Figure 5 3 HVM Console window ...
Page 266: ...5 30 Usage notes HVM Navigator User s Guide Migration ...
Page 310: ...6 44 Troubleshooting HVM Navigator User s Guide Migration ...
Page 314: ...7 4 List of icons HVM Navigator User s Guide Migration ...


