5 0
QM00971-1
Operating
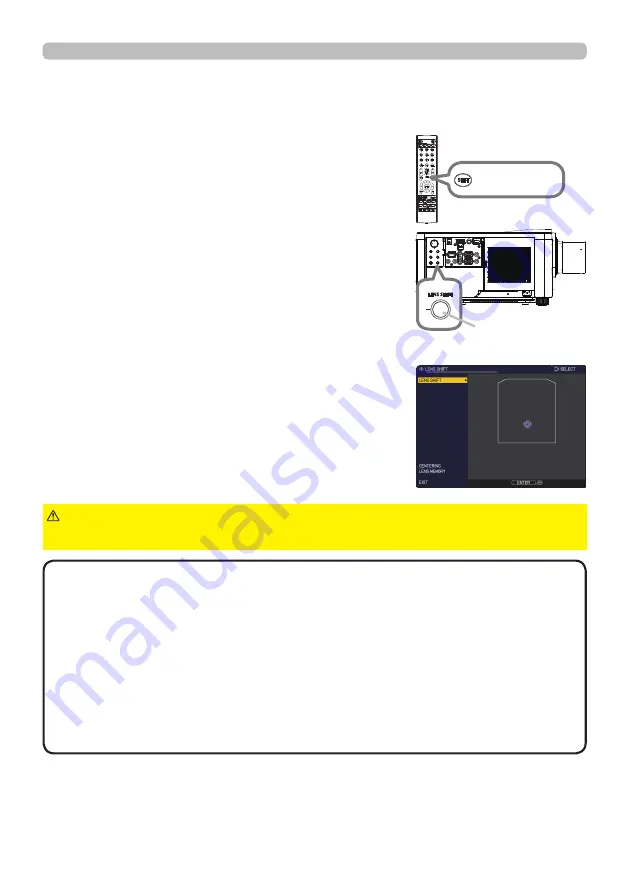
Press the
LENS SHIFT
button on the projector or the
SHIFT
button on the remote control to display the LENS
SHIFT menu. Press the ► or
ENTER
button to select
LENS SHIFT, then shift the lens with the ▲/▼/◄
/
►
buttons. Generally, better image quality can be got when
the lens is set to the center.
Press the ◄ or
ENTER
button to go back to menu
selection. To exit the LENS SHIFT function, press the
LENS SHIFT
button while LENS SHIFT menu is
displayed, or select EXIT and press the ► or
ENTER
button.
CENTERING
Select CENTERING in LENS SHIFT menu and press
the ► or
ENTER
button to execute the CENTERING
feature which adjusts the lens to the center.
A message dialog is displayed for confirmation.
Pressing the ►button performs CENTERING. You can
also perform CENTERING in the standby mode by
pressing the
INPUT
and
LENS SHIFT
buttons on the
control panel for three seconds at the same time.
Adjusting the lens position
►Do not put your fingers or any other things around the lens. The
moving lens could catch them in the space around the lens and result in an injury.
CAUTION
• While the lens is moving to the center, the menu disappears and an
hourglass icon appears on the screen. CENTERING may take some time until the
lens reaches the center.
• The projector may ignore operation by buttons while moving the lens.
• The CENTERING feature while the projector is in the standby mode is disabled if
the STANDBY MODE item of SETUP menu is set to NETWORK(WOL) or SAVING.
Perform CENTERING before the projector's power is turned off, or set the STANDBY
MODE to NORMAL or QUICK START.
• The adjustable range of LENS SHIFT varies depending on the lens unit mounted
on the projector to maintain picture quality. Therefore, LENS SHIFT adjustment may
not reach the end of the indicator in the dialog. This is not a failure.
NOTE
Adjusting the lens (continued)
INFO
NETWORK INTERACTIVE
SHIFT
button
INFO
NETWORK INTERACTIVE
LENS SHIFT
button


