background image

26

Sound and picture controls


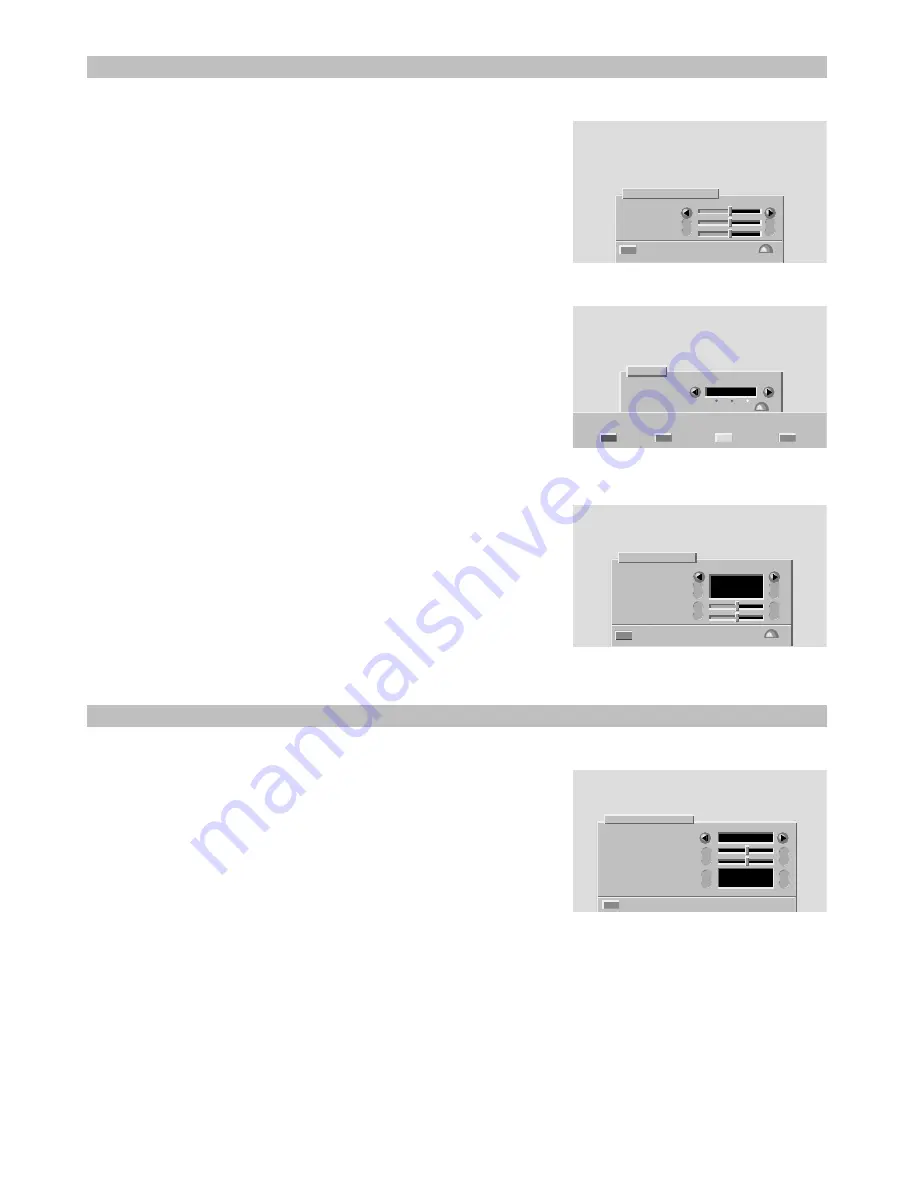
Picture set-up

Storing new preferred settings

Stored picture adjustments affect all programme channels.

1

Press the yellow button twice.

_________________________________________________________________________

2

Adjust the required setting with the cursor buttons.

_________________________________________________________________________

3

If you want to store the changes, press the OK button.

Changing display set-up and the menu language

1

Press the yellow button to select the Vision menu.

_________________________________________________________________________

2

Press the red button to select the Display set-up menu.

_________________________________________________________________________

3

Change the settings with the cursor buttons.

Settings available in this menu:

• Program number - Permanent display of programme number.
• Volume bar - Display of volume bar.
• Menu language - Screen display language selection.
• Sharpness - Picture sharpness control.
• Tint - Colour temperature adjustment (red-blue balance).
• Picture tilt (not in all models) - The Earth's magnetic field may 

influence the image orientation on large screen TV sets. You can 
compensate for it with this function.

_________________________________________________________________________

4

If you want to store the changes, press the OK button.

 Preferred settings

Brightness
Contrast
Colour

    Go back           Store  »

PREFERRED

           Vision

          Settings

                              Store  »
 
   Display                Preferred
   set-up                 settings     Go back

  HIDE

 ENGLISH

  SHOW

 Display set-up

Program number
Volume bar
Menu language

Sharpness
Tint

    
    Go back             Store  »

Programme settings

This function allows you to compensate for the difference in sound
volume and picture contrast between programme channels.
Noise reduction setting (not available in all models) allows individual
channel picture noise to be reduced to improve picture quality.

Press the MENU button (under the lid).

_________________________________________________________________________

2

  Select "Program settings" by pressing the cursor button (up or down).

_________________________________________________________________________

Press the OK button.

_________________________________________________________________________

Select the required programme number by pressing the cursor buttons
(left or right) or the number buttons.

_________________________________________________________________________

5

  Change the settings with the cursor buttons.

_________________________________________________________________________

6

  If you want to store the changes, press the OK button.

Each programme channel must be adjusted separately.

Teletext functions are described in the section "Teletext".

    1

W. EUROPE

   LOW

 Program settings

Program no.

Volume
Picture

Noise reduction
Teletext character

    Go back


3P58  83041010-GB

Summary of Contents for CP2896TA

Page 1: ...CP2896TA CP2996TA BEDIENUNGSANLEITUNG USER MANUAL ISTRUZIONI PER L USO GEBRUIKSAANWIJZING KULLANMA KILAVUZU ...

Page 2: ...plug the receiver from the wall sockets during thunderstorms or when the TV will not be used for a long time This TV is for indoor use only Do not expose it to rain or excessive moisture Before cleaning your TV switch it off and unplug it from the wall sockets Use a soft damp cloth and a mild solution of washing up liquid to clean the cabinet and screen Do not use petrol thinners alcohol wax remov...

Page 3: ...E REC VCR VCR STOP TEXT NEXTVIEW MENU 1 2 3 4 5 6 7 8 9 0 1 Standby button to switch off the TV set temporarily 2 Number buttons to select a TV programme 3 Sound volume control 4 Sound mute button to turn the sound on or off 5 Clock button to display the current time if a teletext service is available 6 TV button to switch the TV set on from the stand by mode or to exit menus 7 Cursor buttons up d...

Page 4: ...___________________________________________________ 4 WAIT The Tv set will show the tuning scale and channeol numbers which have been found Leave the TV set to complete tuning before continuing When the tuning scale shows 100 all channels have been located and stored in the preset order and the TV set will display a new APSi menu In certain countries e g in Belgium and Netherlands the Automatic Ch...

Page 5: ...______________________________ B By stepping up and down While you are watching a TV programme select another programme by pressing the cursor button up or down _________________________________________________________________________ C By scrolling the programme list When you keep the cursor button up or down depressed a programme list will appear on the screen Let the list scroll until the progr...

Page 6: ...________________________________________________________________________ 2 Select the required setting by pressing the cursor buttons left or right _________________________________________________________________________ 3 Return to TV programme reception by pressing the TV button For further information see the section Sound and picture controls __________________________________________________...

Page 7: ...EC VCR VCR STOP TEXT NEXTVIEW MENU 1 2 3 4 5 6 7 8 9 0 i MENU 0 9 TV TEXT SIZE STOP CURSOR BUTTONS COLOUR BUTTONS Selecting favourite pages You can store your preferred teletext pages as favourite pages under up to 60 programme numbers The stored favourite pages can be selected directly using the coloured buttons when the numbers of favourite pages are shown on the bottom of the screen When enteri...

Page 8: ...n the page is updated the title line will appear on the screen Press the TEXT button to view the received page and after reading press the red button again to continue programme reception Return to normal TV reception by pressing the TV button Note During update reception it is not possible to select another TV programme Hidden information Hidden information e g answers to quizzes can be revealed ...

Page 9: ..._________________________________ 4 Store by pressing the OK button ON Panel lock Front panel lock Go back Store Parental lock When a programme is locked it cannot be viewed without entering a code The code is a 4 digit number selected by the user when locking the programme Also access to the menus is denied when one of the programmes is locked Locking a programme 1 Press the MENU button under the...

Page 10: ...ns to adjust sound tone The lowest tones are adjusted in the the left columns and the higher tones in the right columns In each column when the bar is below the centre line the selected tone is de emphasized The higher above the centre line you move the bar the more emphasis is given to that particular tone ________________________________________________________________________ 3 If you want to s...

Page 11: ...o store the changes press the OK button Preferred settings Brightness Contrast Colour Go back Store PREFERRED Vision Settings Store Display Preferred set up settings Go back HIDE ENGLISH SHOW Display set up Program number Volume bar Menu language Sharpness Tint Go back Store Programme settings This function allows you to compensate for the difference in sound volume and picture contrast between pr...

Page 12: ..._________________________ 3 Start the channel search by pressing the red button _________________________________________________________________________ 4 If the programme is not the one you require press the red button again If the programme is not transmitted using the PAL BG standard resulting in a picture with no colours or no sound alter the System setting for multistandard sets only The oth...

Page 13: ...Video recorder DVD Min 8 Ω and 12 W Audio out connectors External audio amplifier Scart E3 VHS RGB E g satellite receiver orange Connectors On the rear panel The illustration shows how equipment should be connected to your TV set For the best sound and picture quality we recommend that you use the Scart connectors whenever possible The Scart E2 connector is preset for VCR use To change E2 settings...

Page 14: ...u can change the input settings for any connector This may be necessary for example when you are connecting several devices or when the input settings have been changed 1 Repeat steps 1 5 above ________________________________________________________________________ 2 Select the required device from the list ________________________________________________________________________ 3 Press the green...

Page 15: ...on by pressing the OK button E2 Video recorder Video camera Scart SVHS VCR record Lock this program to VCR connector E2 press Go back VCR record Unlock program from VCR connector E2 press Go back Connecting a decoder If you have a decoder that has an aerial cable connected to it follow instructions in the section Setting up external devices Select Decoder in step 7 when the Add new unit menu is di...

Page 16: ... programmed for DVD use VCR or SAT down and simultaneously press the required function button The list below is meant to be a guideline for the most common functions U Switching on off 0 9 Entering a programme number VCR Cursor up down Selecting a programme number VCR Red Stop Green Rewind Yellow Fast forward Blue Play REC Recording VCR STOP Pause DVD Operating your satellite receiver Hold the SAT...

Page 17: ...aintains the picture format and colour purity When selecting a programme number not E programme number either a programme from a device connected to the Scart E1 connection is shown or there is no picture at all on the screen Some programme channels or menus cannot be selected or the message Enter code number to open lock appears on the screen See instructions in the section Parental lock If you h...

Page 18: ... ITALY Tel 39 02 487861 Tel 39 02 38073415 Servizio Clienti Fax 39 02 48786381 2 Email customerservice italy hitachi eu com HITACHI Europe AB Box 77 S 164 94 Kista SWEDEN Tel 46 0 8 562 711 00 Fax 46 0 8 562 711 13 Email csgswe hitachi eu com HITACHI EUROPE S A S Lyon Office B P 45 69671 BRON CEDEX FRANCE Tel 04 72 14 29 70 Fax 04 72 14 29 99 Email france consommateur hitachi eu com HITACHI EUROPE...

Reviews: