


Examples for Node-RED
123/263
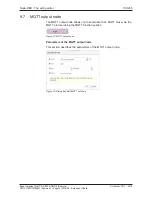
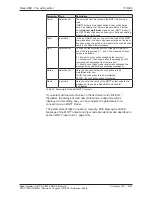
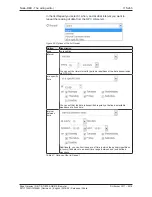
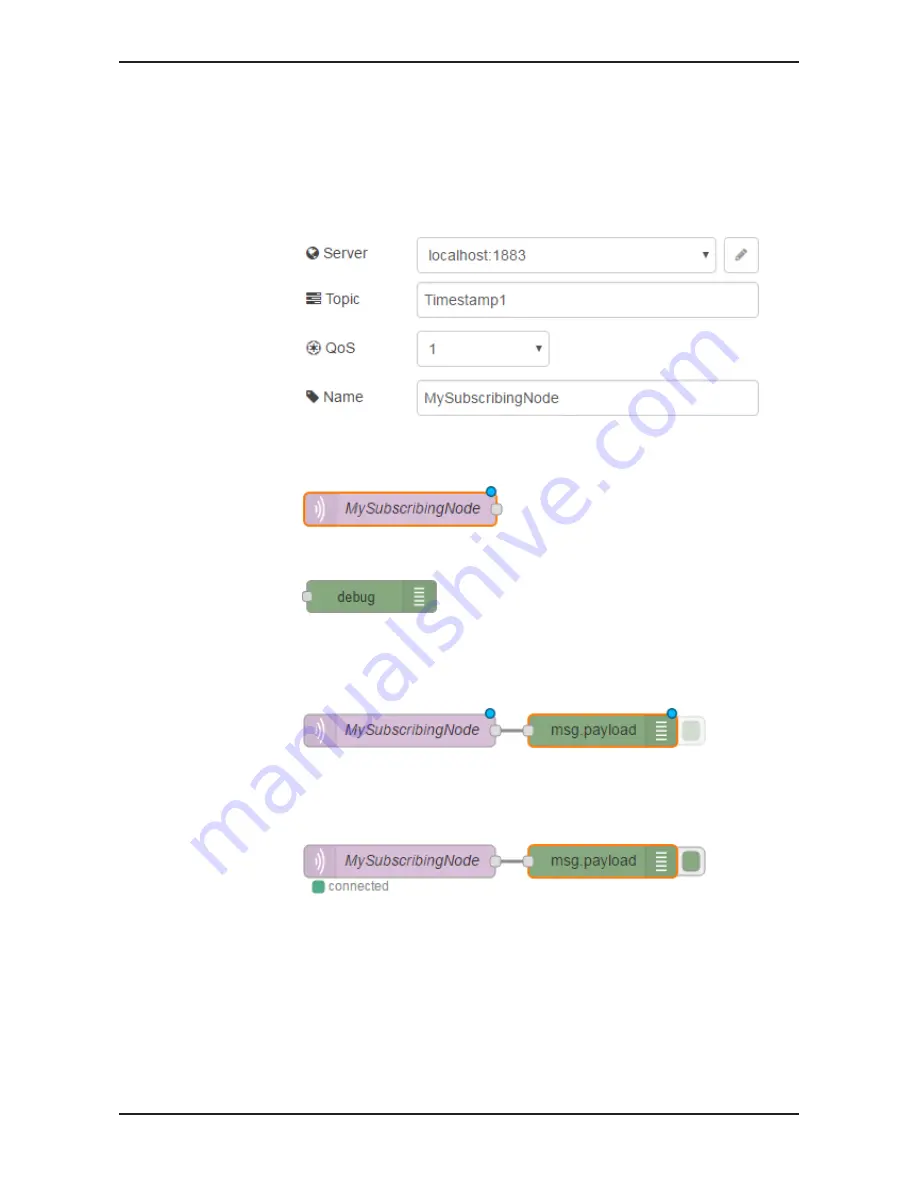
5. Configuring the MQTT input node:
Ø
Enter the name of the topic that you want to receive in the field
Topic
,
e.g.
Timestamp1
. To receive all topics, enter #.
Ø
For
QoS
enter the value
1
.
Ø
Enter the name of this node, e.g.
MySubscribingNode
, in the field
Name
.
Ê
All parameters are entered.
Ø
Click
Done
.
Ê
The configuration of the MQTT input node is completed and the red
triangle has disappeared.
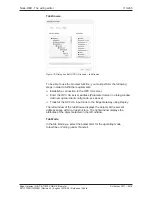
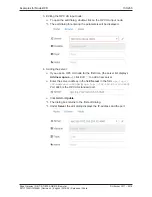
6. Inserting a Debug node:
Ø
Drag a
Debug
node from the node library and drop it in the worksheet.
7. Connecting the nodes:
Ø
To connect the
MQTT
node with the
Debug
node, hold down the left
mouse button and draw a connecting line (wire) from the output port of
the MQTT node to the input port of the Debug node.
ð
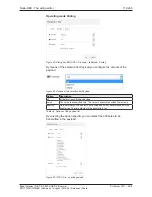
8. Deploy:
Ø
Click
Deploy
to transmit the nodes, that have so far existed in the editor
only, to the device and activate them.
ð
The flow is activated in the Edge Gateway.
ð
As soon as the topic
Timestamp1
changes, the Debug output will
display the new value.
The section
MQTT input node
[
}
page 104] describes the parameters of the
MQTT input node.
Edge Gateway | NIOT-E-TIB100-GB-RE (Remote)
DOC170501UM04EN | Revision 4 | English | 2018-08 | Released | Public
© Hilscher 2017 – 2018


