


Digital Video Recorder Quick Start Guide
12
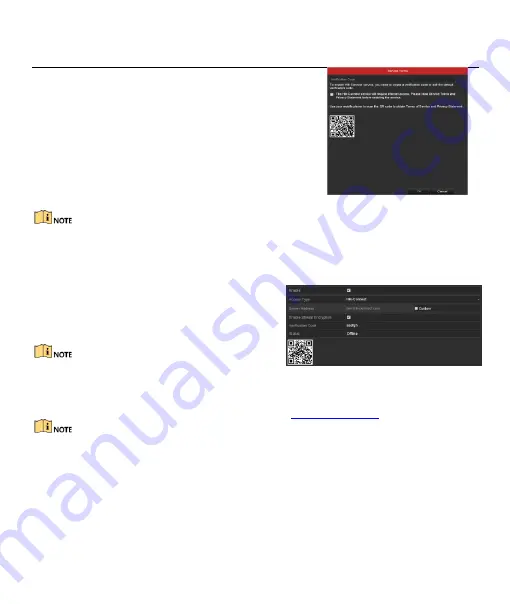
Step 2
Check the
Enable
checkbox to activate the function.
Then the
Service
Terms
interface pops up.
1)
Create the verification code and enter the code in
the
Verification Code
text field.
2)
Check the checkbox of
The Hik-Connect service will
require internet access. Please read Service Terms
and Privacy Statement before enabling the
service
.
3)
Scan the QR code on the interface to read the
Service Terms and the Privacy Statement.
4)
Click
OK
to save the settings and return to the
Hik-Connect interface.
Figure 3-11
Service Terms
Hik-Connect is disabled by default.
The verification code is empty when the device leaves factory.
The verification code must contain 6 to 12 letters or numbers and is case sensitive.
Every time you enable Hik-Connect, the Service Terms interface pops up and you should check the
checkbox before enabling it.
Step 3
(Optional) Check
Custom
and enter the
Server
Address
.
Step 4
(Optional) Check
Enable Stream Encryption
.
After this feature is enabled, the verification
code is required for remote access and live view.
You can use the scanning tool of your phone to quickly get
the code of the device by scanning the QR code.
Figure 3-12
Hik-Connect Settings
Step 5
Click
Apply
to save the settings.
After configuration, you can access and manage the DVR by your mobile phone on which the
Hik-Connect application is installed or by the website (
Please refer to the help file on the official website (www.hik-connect.com) and the
Hik-Connect Mobile Client
User Manual
for adding the device to Hik-Connect and more operation instructions.


