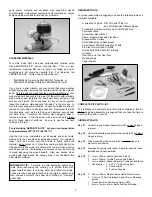
good power margins and excellent high speed-low speed
characteristics. Using larger engines is not recommended. Larger
engines weigh more and will cause CG problems.
COVERING MATERIAL:
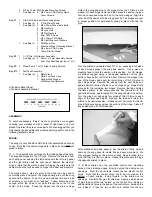
Your Little Extra ARF has been professionally covered using
SIG AEROKOTE-LITE
™
iron-on covering film.
This is a low
temperature covering film that is both very tough and light,
weighing only 5.9 grams per square foot.
For reference, the
AEROKOTE-LITE
™
colors used on this model are:
#SIGSGX204 Cream and #SIGSGX241 Turquoise or
#SIGSGX100 Brilliant White and #SIGSGX360 Violet
If you live in a drier climate, you may notice that some wrinkles
might develop after removing the covered parts from their plastic
bags. This is does not mean that the covering is defective! Your
model was built and covered in a part of the world with relatively
high humidity and therefore the wood was likely carrying a fair
amount of moisture. When exposed to drier air, wood typically
loses this moisture, dimensionally "shrinking" in the process. In
turn this may cause some wrinkles. However, wrinkles are easy to
remove by just using a hobby type heat iron. Remember that with
thin structures, such as the tail group and ailerons, excess heat
will warp them.
Therefore, be careful when applying heat to
remove a wrinkle - a Trim Seal tool, with a small shoe is always
best for these kinds of surfaces - be sure to use the low heat
setting on this tool.
For reshrinking AEROKOTE-LITE
™
set your iron temperature
to approximately 140
O
-180
O
F (60
O
-82
O
C).
Use the iron to go completely over all seams and color joints,
making sure they are all well sealed and secure. If a wrinkle is
found, hold the hot iron over the wrinkle to lightly shrink the
material - do not press on it. Once the covering is tight, lightly iron
it back down to the wood. Be careful with the iron when working
around any seams. Overheating a seam may cause the covering
to creep, exposing the wood beneath. Also, use caution when
working with heat around the canopy area - heat will distort this
clear plastic material.
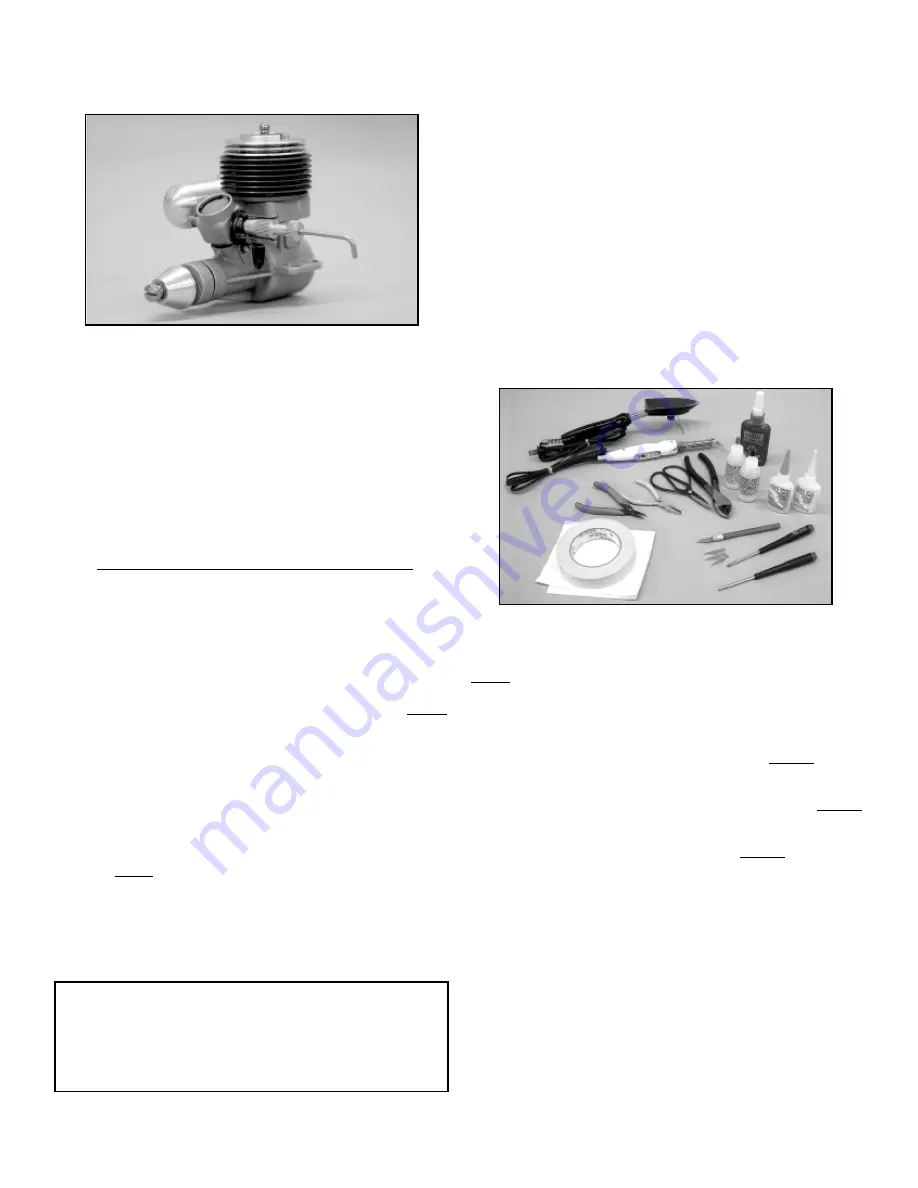
REQUIRED TOOLS:
For proper assembly, we suggest you have the following tools and
materials available:
A selection of glues - SIG Thin and Thick CA
and SIG Kwik-Set 5-Minute Epoxy
Threadlock Compound, Such as Loctite
®
#242 Non-
Permanent Blue
Screwdriver Assortment
Pliers - Needle Nose and Flat Nose
Diagonal Wire Cutters
Small Allen Wrench Assortment
Small Power Drill With Selection of Bits
Pin Vise for Small Dia. Drill Bits
Hobby Knife With Sharp #11 Blades
Scissors
Heat Iron and Trim Seal Tool
Masking Tape
Paper Towels
COMPLETE KIT PARTS LIST:
The following is a complete list of all parts contained in this kit.
Before beginning assembly, we suggest that you take the time to
inventory the parts in your kit.
AIRCRAFT PARTS:
Bag #1
Vertical Fin and Rudder Assembly (with 3 unglued hinges
in place)
Bag #2
Horizontal Stabilizer and Elevator Assembly (with 6 unglued
hinges in place)
Bag #3
Wing Assembly with Ailerons (with 4 unglued hinges in
place for each aileron)
Bag #4
Fuselage Assembly (with rudder & elevator pushrod tubes
installed and canopy installed)
Bag #5
2
1mm x 126mm Aileron Pushrods Z-Bend
1
1mm x 325mm Throttle Pushrod with Z-Bend
1
1mm x 495mm Rudder & Elevator Pushrods with Z-Bend
1
Sub Bag (a)
1
4-40 x 1" Nylon Wing Bolt
4
Control Horns
5
Pushrod Keepers
Bag #6
2
42mm x 58mm Plastic Aileron Hatch/Mount Covers
4
7.2mm x 10.2mm Hardwood Aileron Servo Mounting
Blocks
1
Plywood Aileron Positioning Guide (APG)
1
6mm x 12mm x 63mm Balsa Fuel Tank Retainer
2
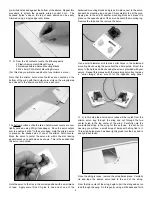
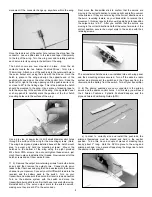
MODELER'S TIP: A method to avoid damaging seams and
joints when reshrinking the covering is to protect them with
paper towels soaked in cold tap water and rolled into strips.
These are then arranged directly onto the joints or seams and
their coolness protects the seam from shifting or "crawling"
under heat.


