10
Submenu “Settings”:
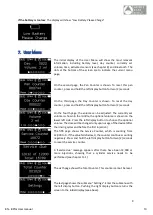
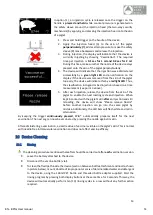
On the first page of the submenu, the Position Sensor can be
controlled. Press the left display button to disable or enable the
position sensor. Recommended setting is an enabled Position Sensor.
(Disabling is only recommended when using the tubing adapter
supplied with the device and having vaccine delivered via tubing.) For
further details, see chapter 8 “Sensors”.
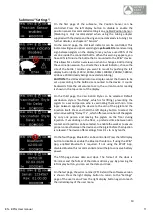
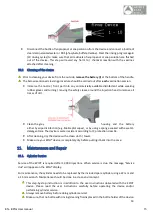
On the second page, the Vial level indicator can be controlled. This
indicator will give an optical warning (via
yellow LED
bars and warning
sign between piglets on the display) once you have used 90% of the
vaccine inside the connected bottle. When this warning appears, you
have 10% left inside the bottle that is mounted to the EPIG® device.
This allows for a better overview on when to change a bottle during
the vaccination session. To activate the vial level indicator, choose the
size of the bottle / canister you want to mount by pushing the left
display button (50ml, 100ml, 200ml, 500ml, 1000ml, 2000ml, 5000ml,
all above 200ml ideally being connected via tubing.)
CAUTION:
The vial level indicator is a simple counter that needs to be
set up according to the bottle size mounted to the device. It counts
backwards from the set volume to zero, the current counter reading
is shown in the top center of the display.
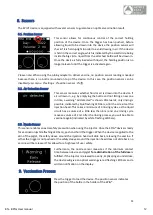
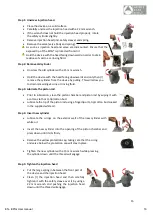
On the third page, the Vaccination Style can be selected. Default
vaccination style is “No Delay”, which is for lifting / presenting the
piglets to a second person who is vaccinating them with min. time
lapse between applying the device to the skin of the piglet and the
injection itself. Press and hold the left display button to select the
alternative setting “Delay ?? s”, which offers vaccination of the piglets
by only one person and leaving the piglets on the floor during
injection. If vaccinating on the floor, a preferred time between skin
contact and injection can be selected, to enable the worker to ensure
proper contact between the device and the piglet before the injection
is released. The device offers settings from 0.1s to 1s by tenths.
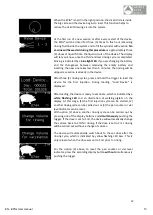
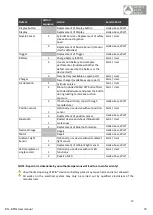
On the fourth page, Bluetooth can be controlled. Press the left display
button to disable or enable the Bluetooth antenna. If using the EPIG®
App, enabled Bluetooth is required. If not using the EPIG® App,
disabled Bluetooth is recommended and will help to conserve battery
power.
The fifth page shows date and clock. The format of the clock is
hh:mm:ss and the format of the date is dd.mm.yyyy. By pressing the
left display button, you can set the date and clock.
On the last page, the serial number (PT1.0x) and the software version
is shown. Press the right display button to return to the “Settings”
page of the user menu. Press the right display button again to reach
the initial display of the user menu.
EN - EPIG User manual
11
Summary of Contents for EPIG
Page 24: ...23 17 EC declaration EN EPIG User manual 24 ...
Page 48: ...24 17 EC verklaring NL EPIG Handleiding 48 ...
Page 72: ...24 17 EC Erklärung DE EPIG Bedienungsanleitung 72 ...
Page 95: ...23 17 Déclaration CE FR EPIG Manuel d utilisation 95 ...
Page 119: ...24 17 Declaración CE ES EPIG Manual de usuario 119 ...


