Heat & Glo • 350X-AU, 550X-AU Installation Manual • 2279-980
• 12/17
50
A. Remove Fixed Glass Assembly
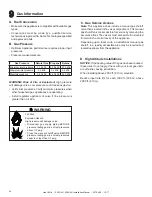
WARNING! Risk of Asphyxiation!
Handle fixed glass
assembly with care. Inspect the gasket to ensure it is
undamaged and inspect the glass for cracks, chips or
scratches.
•
DO NOT
strike, slam or scratch glass.
•
DO NOT
operate appliance with glass removed, cracked,
broken or scratched.
•
Replace as a complete assembly.
11
Appliance Setup
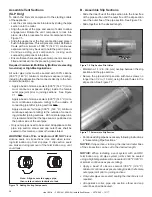
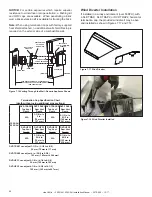
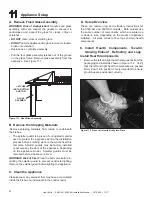
Figure 11.1 Fixed Glass Assembly
B. Remove the Shipping Materials
Remove shipping materials from inside or underneath
the firebox.
• The splatter guard is a piece of corrugated material
used to protect the appliance during the installation
process before finishing work on the whole hearth is
complete. Splatter guards may be factory installed
or accompany the door of the appliance, depending
on the appliance model. Splatter guards must be
removed before appliance is fired.
WARNING! Risk of Fire!
Close the ball valve before in-
stalling the splatter guard to prevent accidental lighting.
Remove the splatter guard before lighting the appliance.
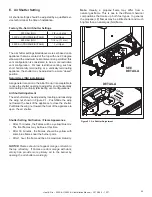
• Pull the four glass assembly latches out of the groove
on the glass frame. Remove glass assembly from the
appliance. See Figure 11.1.
GLASS
ASSEMBLY
LATCHES
(BOTH BOTTOM
AND TOP)
D. Setup Overview
These are common log and refractory instructions for
the 350X-AU and 550X-AU models. Both models use
the same number of components, which are scaled up
or down in size, depending on the model of appliance
installed. All sizes consist of five logs and two hearth
components.
E. Install Hearth Components, Teco-Sil,
Glowing Embers
®
, Refractory and Logs
Install Hearth Components
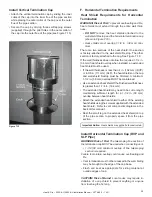
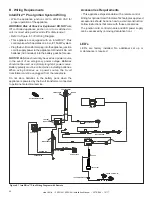
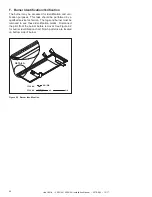
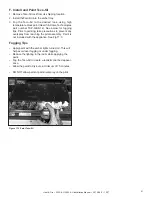
1. Remove the left and right hearth components from the
packaging and install as shown in Figure 11.2. Verify
that the left and right hearth components are pushed
firmly “down” into position. This is important to ensure
grout lines are positioned correctly.
Figure 11.2 Press Left Hearth Firmly Into Place
C. Clean the Appliance
Clean/vacuum any sawdust that may have accumulated
inside the firebox or underneath in the control cavity

