1
Betriebsanleitung
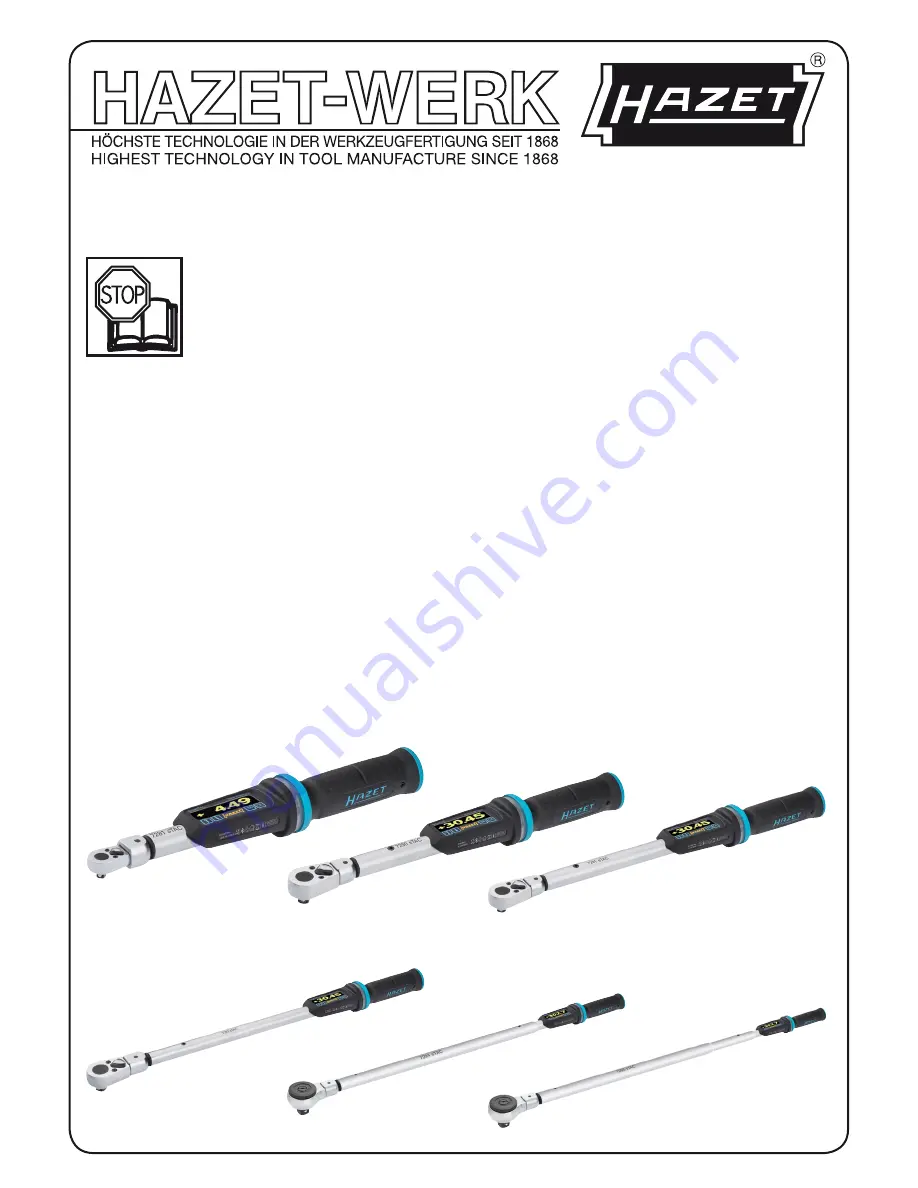
Elektronischer Drehmoment- / Drehwinkel-Schlüssel
Operating instructions
Electronic torque wrench with built-in angle gauge
SmartTAC
SYSTEM 7000 sTAC
22
41
51
Page 1: ...1 Betriebsanleitung Elektronischer Drehmoment Drehwinkel Schlüssel Operating instructions Electronic torque wrench with built in angle gauge SmartTAC SYSTEM 7000 sTAC 224151 ...
Page 2: ...er Bahnhofstraße 25 29 42857 Remscheid GERMANY 10 04 61 42804 Remscheid 49 0 21 91 7 92 0 49 0 21 91 7 92 375 Deutschland 400 International hazet de info hazet de Ursprungsprache deutsch original language German Langue d origine allemand Lingua originale tedesco ...
Page 3: ...ertigung nach geltenden anerkannten Regeln der Technik gebaut und gilt als betriebssicher Vom Werkzeug können jedoch Gefahren aus gehen wenn es von nicht fachgerecht ausgebildetem Personal unsachgemäß oder nicht bestimmungsgemäß verwendet wird Jede Person die mit Arbeiten am oder mit dem Gerät beauftragt ist muss daher die Betriebsanleitung vor Beginn der Arbeiten gelesen und verstanden haben 2 Ve...
Page 4: ...teck Werkzeugs Setzen Sie das Werk zeug so an dass es nicht von der Schraub verbindung abrutschen kann Andern falls besteht die Gefahr von Personen und oder Sachschäden Bei der Verwendung von Einsätzen bzw Einsteck Werkzeugen beachten Sie unbedingt deren normgerechte Ausführung sowie die richtige Form und Größe für die Verbindung mit der anzuziehenden Verschraubung Ebenfalls zu beachten ist die ma...
Page 5: ... im Koffer 3 Funktionsweise Signalstufen Der Drehmoment Drehwinkel Schlüssel verfügt über vier Signalstufen aus kombinierten sicht hör und fühlbaren Signalen die beim Erreichen eingestellter Werte ansprechen Die sichtbaren Signale erscheinen unter dem mattierten Ring am Handgriff die hörbaren Signale werden durch einen Summer im Gehäuse und die fühlbaren Signale werden durch einen Vibrationsmotor ...
Page 6: ...m Wechsel mit einer i O oder n i O Bewertung im Display angezeigt Im Programm Drehmoment Anzeigend wird das aktuell aufgebrachte Drehmoment ohne Vorgabe eines Zielwertes oder einer Toleranz auf dem Display angezeigt In diesem Programm wird nur die vierte Signalstufe bei Erreichen des maximal zulässigen Drehmomentwertes aktiviert Nach Beendigung der Krafteinleitung wird der höchste Drehmomentwert d...
Page 7: ...rehwinkel 000 3 Drehwinkel Fügemoment 000 0 Einheit Drehwinkel 000 Rechts Links Toleranz 00 Drehmoment kontrolle Nein Ja u Drehmom 000 0 Einheit o Drehmom 000 0 Einheit 4 Einheit Nm Lbfft Lbf in Kqfm 5 Wirklange Wirklange 000 0 mm 6 Signale Schwellwert 00 Buzzer aus Buzzer ein Vibration aus Vibration ein 7 Reset Reset Werkseinstellunq Aus Ein 8 Display Dimmunq Ein Aus 9 Stand by Stand by 00 min 10...
Page 8: ...is Batterie leer Es kann nicht mehr weiter gearbeitet werden ACHTUNG Verwenden Sie nur Li Ion 14650 3 7 Volt Akkus 3 Stecken Sie den neuen Akku mit dem Pluspol voran in das Hauptrohr 4 Verschließen Sie den Schraubdeckel am Griff Ende leicht handfest HINWEIS Der Drehmoment Drehwinkel Schlüssel speichert die Einstellungen von Datum und Uhrzeit ohne Energieversorgung ca 1 min 5 Laden Sie den Akku übe...
Page 9: ... 8 Programmierung Nachdem Sie den Schlüssel eingeschaltet haben erscheint die Anzeige mit dem zuletzt programmierten Einstellungen Die Anzeige der einzelnen Modi unterscheidet sich wie folgt Modus Drehmoment Drehmoment anzeigend Modus Drehmoment Drehmoment auslösend Modus Drehmoment Drehmoment auslösend mit Drehwinkel Kontrolle Modus Drehwinkel Modus Drehwinkel mit Drehmoment Kontrolle Ablaufplan ...
Page 10: ...rogrammierung abgeschlossen 8 1 1 Anzeigend HINWEIS Im Programm Drehmoment Anzeigend wird das aktuell aufgebrachte Drehmoment ohne Vorgabe eines Zielwertes oder einer Toleranz auf dem Display angezeigt IndiesemProgrammwirdnurdievierteSignalstufebei Erreichen des maximal zulässigen Drehmomentwertes aktiviert Nach Beendigung der Krafteinleitung wird der höchste Drehmomentwert dieses Vorganges ohne B...
Page 11: ...itten 21 Bestätigen Sie den eingegebenen Wert mit 8 3 Parameter Ablaufplan Im Menüpunkt Parameter können für bis zu 25 verschie dene Schraubfälle die entsprechenden Programme gespei chert werden Im Menüpunkt Ablaufplan können in bis zu 25 Ablaufplänen jeweils bis zu 25 Parameter in belie biger Reihenfolge auch wiederholend hinterlegt werden Ein Ablaufplan kann auch nur aus einem Parameter beste he...
Page 12: ...n 22 In der nächsten Menüebene können Sie den Buzzer ein oder ausschalten Wählen Sie die gewünschte Einstellung mit aus Die ausgewählte Einstellung ist gelb unter legt Bestätigen Sie die gewünschte Einstellung mit 23 In der folgenden Menüebene können Sie die Vibration ein oder ausschalten Wählen Sie die gewünschte Einstellung mit aus Die ausgewählte Einstellung ist gelb unter legt Bestätigen Sie d...
Page 13: ...hten Einstellungen übertragen werden Maßgeblich ist immer die Anzeige im Startdisplay des Drehmoment Drehwinkel Schlüssels Kontrollieren Sie die ein gestellten Werte auf dem Startdisplay sorgfältig und bestätigen diesemitder TastebevorSiedenDrehmoment Drehwinkel Schlüssel betätigen 21 Betätigen Sie Es erscheint die Anzeige Code 0000 Die erste Ziffer ist markiert 22 Geben Sie den Code ein in dem Si...
Page 14: ... die Seriennummer dasDatumderletztenKalibrierungund die verbleibende Anzahl an Auslösungen bis zur näch sten Kalibrierung des Schlüssels 1 Um die Informationen unter dem Menüpunkt Version aufzurufen müssen Sie mit in das Menü wechseln und vorzugsweise mit den Menüpunkt Version auswählen 2 Nach Betätigung von im Menüpunkt Version können Sie die Informationen zum Softwarestand einsehen 3 Die weitere...
Page 15: ...el zum Kalibrieren zu Ihrem HAZET Service Die Drehrichtung der Drehmoment Zielwert und die Toleranz Angabe in wird beim Einschalten nicht ange zeigt Sie befinden sich im Modus Drehmoment Anzeigend Sie können im Programm Drehmoment Anzeigend arbeiten Sie können das Drehmoment Programm ändern Siehe unter Punkt 8 Programmierung Bei Betätigung des Drehmoment Drehwinkel Schlüssels wird kein Wert auf de...
Page 16: ... durch gleichzeitiges drü cken von und Sie haben die Möglichkeit die Daten im Speicher auf zurufen oder extern abzuspeichern Wenn Sie weiter arbeiten wird der erste Block mit Speicherplätzen gelöscht Batterien leer Der Akku ist entladen Betätigen Sie den Drehmoment Drehwinkel Schlüssel nicht mehr Wechseln oder laden Sie den Akku Siehe Punkt 7 Inbetriebnahme Die Drehwinkelmessung anzeige steigt wäh...
Page 17: ...ringerung von Umweltbelastungen und die Bewahrung der Umwelt stehen im Mittelpunkt unserer Aktivitäten 3 Ersatzteile Lassen Sie alle Service oder Reparaturarbeiten immer nur durch Fachpersonal ausführen Wenden Sie sich dazu bitte an den HAZET Service Es dürfen nur Original HAZET Ersatzteile verwendet werden Falsche oder fehlerhafte Ersatzteile können zu Beschädigungen Fehlfunktionen oder Totalausf...
Page 18: ...18 Notizen Notes ...
Page 19: ...the device This device was developed and manufactured according to the recognized technical norms and standards valid at the time and is considered to be operationally reliable Nevertheless the tool can present a danger when it is not used as intended in an inap propriate way or by unqualified personnel Please make sure that any person using this device or carrying out maintenance work carefullyre...
Page 20: ...s improper use Before using the device check that the insert and or the insert tool holder used are seated firmly Position the tool so that it cannot slip from the screw joint This poses a hazard to persons and a risk of material damage When using inserts or insert tool holders ensure their designconformstostandardsandthattheirshapeandsize are correct for the screw joint to be tightened Also adher...
Page 21: ...nation certificate rechargeable Li ion battery USB 3 1 A C cable and insert reversible ratchets per the table above in the case 3 Function signal levels The torque wrench with built in angle gauge has four signal levels combined visual audible and physical signals that are activated when configured values are reached The visible signals are shown below the matted ring on the handle the audible sig...
Page 22: ...angle mode the screw action stops after 4 seconds if no torque is applied during this time Every screw action is stored in the memory with a corre sponding date and time Pressing a key rotates the display in order to read the display regardless of direction of actuation The torque wrench with built in angle gauge switches off automatically after the set stand by time when it is not being used If n...
Page 23: ... rotation angle 000 0 unit Upper rotation angle 000 3 Rotation angle Snug torque 000 0 unit Rotation angle 000 Right Left Tolerance 00 Torque check No Yes Lower torque 000 0 unit Upper torque 000 0 unit 4 Unit Nm Lbfft Lbf in Kqfm 5 Effective length Effective length 000 0 mm 6 Signals Threshold 00 Buzzer off Buzzer on Vibration off Vibration on 7 Reset Reset Factorysetting Off On 8 Display dim min...
Page 24: ...charge Flat battery is displayed if the rechargeable battery is drained Work can no longer continue CAUTION Only use Li ion 14650 3 7 volt rechargeable batteries 3 Insert the new rechargeable battery into the main tube positive terminal first 4 Gently tighten the screw cap on the end of the handle by hand NOTE The torque wrench with built in angle gauge saves date time settings for approx 1 min wi...
Page 25: ...t tool holder used with 3 Confirm the entered value with 8 Programming The last programed settings are displayed when the wrench is switched on The display of individual modes is as follows Torque mode track torque Torque mode peak torque Torque mode peak torque with control of rotation angle Rotation angle mode Rotation angle mode with torque control Workflow with parameter Mode The Mode menuopti...
Page 26: ...ter confirming the lower rotation angle value with you can use to set the upper rotation angle value of the check range 9 Confirm the upper rotation angle value with 8 2 Rotation angle The Rotation angle menu option enables you to carry out the programming for the tightening method Rotation angle 1 After pressing in the Rotation angle menu option you can set the value for the snug torque with 2 Af...
Page 27: ...wn with a yellow background Confirm the required setting with Design and function 8 3 Parameters Workflow The Parameters menu option enables the appropriate pro grams to be saved for up to 25 different screw joints Up to 25 parameters can be stored in up to 25 workflows each in any order and with repetitions in the Workflow menu option A workflow can also be made up of just one para meter Activati...
Page 28: ...ontents After confirming with Delete all is displayed again so the user can be absolutely sure of the deletion The entire memory contents are not deleted until is pressed again Please wait is displayed and then All deleted Press to return to the Memory menu option 8 6 Entering changing the code The menu and the settings of the torque wrench with built in angle gauge can be blocked to prevent unint...
Page 29: ...s sets and workflows will be deleted 8 11 Live Data for designs with a Bluetooth Low Energy BLE module In the Live Data menu option the torque wrench with built in angle gauge connects to mobile end devices that have the HAZET SmartTAC app installed Select the Live Data menu option in the menu with the but ton After pressing the button select On with the button and confirm with the button The Live...
Page 30: ...ng number of releases until the next calibration of the wrench 1 To access the information in the Version menu option you must switch to the menu with and select the Version menu option with 2 The software version information is displayed after pres sing in the Version menu option 3 Further information is shown on the second page of the display Use to move to the 2nd screen and to return to the 1s...
Page 31: ...continues to be displayed every time the device is switched on Send the torque wrench with built in angle gauge to your HAZET partner for calibration The direction of rotation the torque target value and the tolerance specification in are not displayed when swit ched on You are in mode Track torque You are able to work in program Track torque You are able to change the torque program Refer to Sect...
Page 32: ...nfirm the message by pressing and simul taneously Youareabletoaccessthedatainthememoryorsave itexternally Ifyoucontinuetowork thefirstblockwith memory slots is deleted Batteries flat The rechargeable battery is discharged Stop using the torque wrench with built in angle gauge Replace or charge the rechargeable battery See Section 7 Commissioning The rotation angle measure ment display does not con...
Page 33: ...time Battery leakage can damage the tool Reprogram the date and time every time the device is reused See 7 2 4 in Section 7 Commissioning 2 Transport Only transport the torque wrench with built in angle gauge in its case and ensure that it does not fall during trans portation Avoid any mechanical shock effects such as hard impacts or falls Failure to do so may result in damage to the electronic co...
Page 34: ...34 Notizen Notes ...
Page 35: ...35 Notizen Notes ...
Page 36: ...ver GmbH Co KG Güldenwerther Bahnhofstraße 25 29 42857 Remscheid GERMANY 10 04 61 42804 Remscheid 49 0 21 91 7 92 0 49 0 21 91 7 92 375 Deutschland 400 International hazet de info hazet de 224151 I 02 2018 1 be MC Das Werkzeug ...