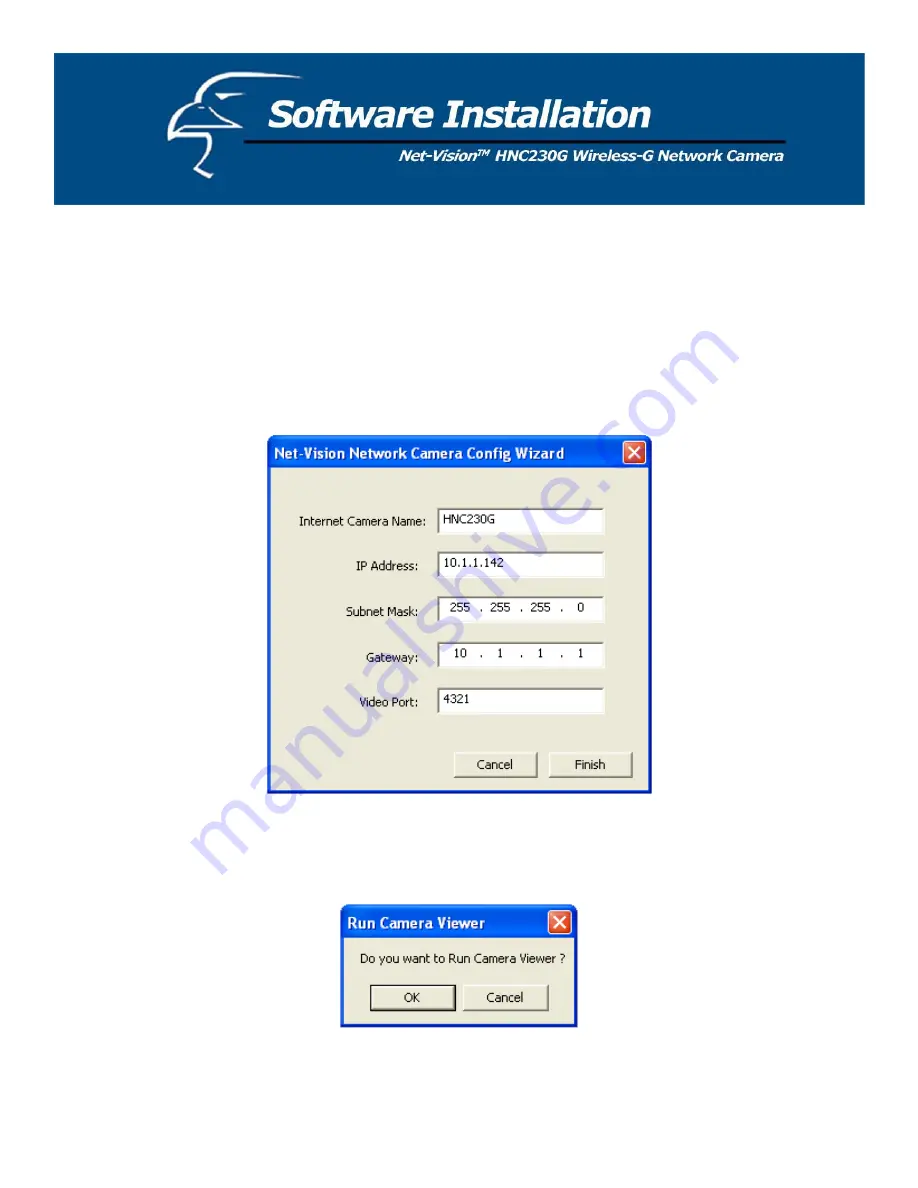
10. As an alternate method to the Quick Setup Wizard, you can set up the network camera using the Admin utility. The
network camera is connects and functions through the network (using the TCP/IP Protocol). Therefore, the camera’s
IP address settings must be consistent with your network settings, or you will be unable to access it. The wizard
program within the Admin utility will automatically detect the IP address status of your network and suggest a free IP
address for the Camera. You can either accept the suggested settings or manually enter the settings in the fields
provided. If you configure the settings manually, please note that the “Subnet Mask” must be the same for both the
camera and your PC. (If you would like to learn more about how to ensure that your network camera’s IP settings are
consistent with those of your network, you can refer to the section in the Quick Installation Guide titled “Example on
How to Set the IP Address Manually”.) Click “Finish” to apply the new settings.
11. This wizard will pop up a window that will ask you if you want to run the Camera Viewer and see the camera video
immediately. Select “OK” to run the Camera Viewer.
16


