

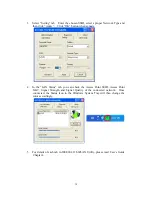

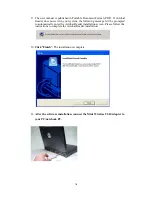


21
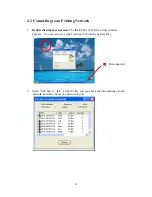
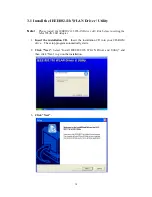
3.2 Verifying the Driver/Utility
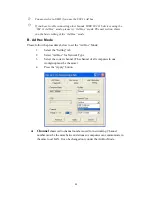
1. Windows 98SE/Me:
Step 1. Right-click “My Computer” icon on the desktop and choose “Properties”.
Step 2. Select “Device Manager” tab and open “Network adapters”. You should
see your 802.11b WLAN USB Adapter in the list. Highlight it and click
“Properties” button.
Step 3. From the “Device status”, you should see the line “This device is working
properly”. If, instead, you see error messages displayed, please remove
this Adapter (highlight this Adapter and click “Remove” button). Restart
your PC and go through the installation process again.
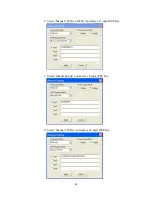
2. Windows 2000:
Step 1. Right-click “My Computer” icon on the desktop and choose “Properties”.
Step 2. Select “Hardware” tab and click “Device Manager”. Open “Network
adapters”. You should see your 802.11b WLAN USB Adapter in the list.
Right-click this Adapter and choose “Properties”.
Step 3. From the “Device status”, you should see the line “This device is working
properly”. If, instead, you see error messages displayed, please uninstall
this Adapter (right-click this Adapter from the “Network adapters” list and
choose “Uninstall”). Restart your PC and go through the installation
process again.
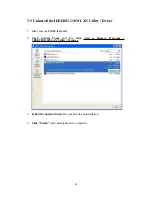
3. Windows XP:
Step 1. Click “Start>Control Panel> System”.
Step 2. Select “Hardware” tab, and click “Device Manager”. Open “Network
adapters”. You should see your 802.11b WLAN USB Adapter in the list.
Right-click this Adapter and choose “Properties”.
Step 3. From the “Device status”, you should see the line “This device is working
properly”. If, instead, you see error messages displayed, please uninstall
this Adapter (right-click this Adapter from the “Network adapters” list and
choose “Uninstall”). Restart your PC and go through the installation
process again.


