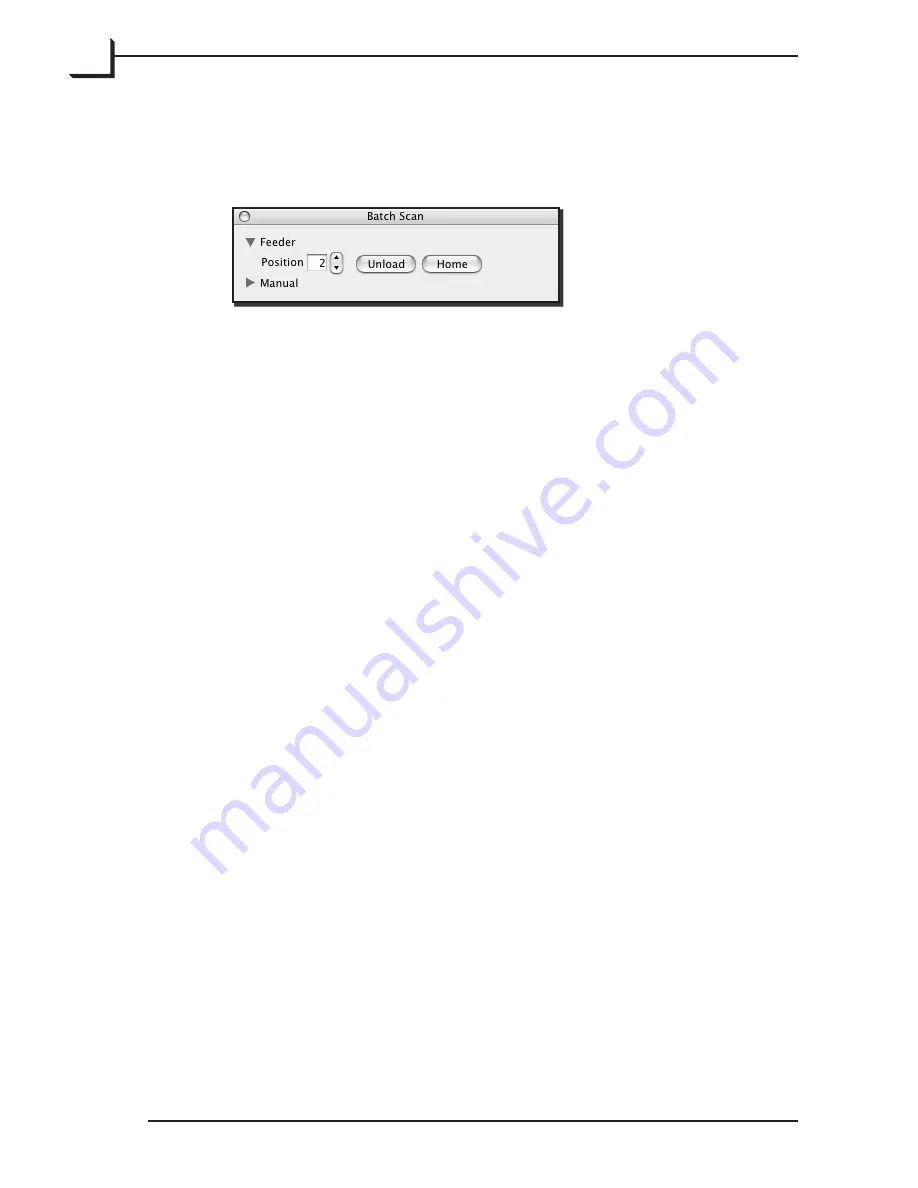
Click on the
Batch Scan
button to open the
Batch Scan
window.
If it is not already shown, expand the
Feeder
heading in the
Batch
Scan
window by clicking on the triangle next to the heading.
Set the
Position
field to the slide number you wish to scan. You can
enter the number directly using your keyboard, or select it by clicking
on the up and down buttons next to the field.
In the main FlexColor window, make sure that the auto-focus button
(labeled
AF
) is enabled. You must always enable auto-focus when
scanning slides because mountings can vary in thickness and each
slide may sit slightly differently in its mounting.
Click on
Preview
in the main FlexColor window. The scanner then
advances the Feeder to your selected slide and makes a preview.
Make image settings, such as rotation, crop, corrections and output
size, using the various FlexColor tools as described in the
FlexColor
User’s Guide
.
Either make a final scan now by clicking on
Scan
in the main
FlexColor window or add the image to the
Manual
list in the
Batch
Scan
window by clicking on the
Add
button there (this enables you
to set up several scans based on their previews and then scan them all
at once later).
1.
2.
3.
4.
5.
6.
7.
Summary of Contents for Flextight 949
Page 1: ...User s Guide Slide Feeder for Flextight 949 Scanners by Hasselblad ...
Page 35: ...35 CE Declaration ...
Page 36: ...36 ...


