background image


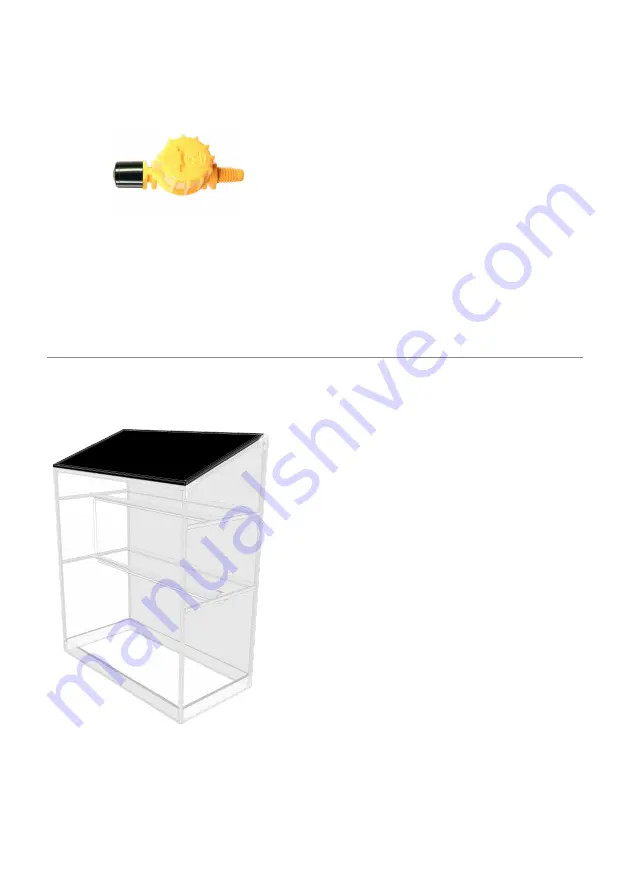
9. Screw in the mister nozzles 


Parts 

5 x Yellow mister nozzle 

1 x Lid assembly 

 
Screw the yellow mister nozzles into 

the pre-punched holes in the black 
pipe which runs underneath the ridge 
(attached to the lid assembly) 
 

Set the arrow on the nozzle facing 
forwards (towards you) for the nozzle 
to be on. Twist it sideways to turn that 
nozzle off. 

10. Fit the lid  


Parts 

1 x Lid Assembly 

2 x 30mm stainless screws 

 
Place the lid onto the top of the unit 
with the pipes facing down at the rear 

of the greenhouse. 
 
Slide the top of the rear panels 
between the irrigation pipe and the 

ridge piece. 
 
Align the holes in the end of the ridge 
piece with the holes in the top of the 

end panel uprights. 
 
Use the screws to secure the ridge. 
Tighten them well. 

Summary of Contents for Yard

Page 1: ...Your Yard mini greenhouse Setup and assembly guide Document version 2 Yard model 2 x...

Page 2: ...Your mini greenhouse will look like this when it s built lid and doors shown separately for clarity...

Page 3: ...x 20mm wide sections of black panel 2 x Front shelf assembly with pipe 2 x Rear shelf 30mm angle 1 x Automatic lid opener 2 x Front door 1 x Lid prop 1 x Short hose assembly with snap on garden hose...

Page 4: ...button 6 You should see your WiFi network listed Choose your WiFi network by clicking its name If you don t see yours click Refresh 7 Enter your password and click save 8 The unit will pause for a whi...

Page 5: ...ocket The mains powered Harvst control units come with 5m of cable Water If you have a garden hose you can run a connection to your greenhouse It can be as far as you like from the tap If you don t ha...

Page 6: ...single black plastic track is on the back Attach the timber base boards to the end panels using the furniture bolts Tighten well 3 Fit the rear shelves Parts 2 x 30mm aluminium shelf 4 x 20mm M5 bolt...

Page 7: ......

Page 8: ...next step Fit to the brackets in the same way as you fitted the rear shelves and do the nuts up tightly 5 Fit water valves Parts 1 x twin water valves See photos at www harvst co uk setup Fit the wat...

Page 9: ...e penny washer on the outside Fit the panels so that the holes for the control system are at top right From behind drop the two large panels into the slot on the timber base and outwards into the slot...

Page 10: ...ront track Parts 1 x Crossbar 25mm box section with twin black plastic track 2 x M5 40mm bolt and nuts 2 x Door panel 1 x Door handle 2 x M5 16mm bolt and nuts On the left hand door you ll see two hol...

Page 11: ...ds you for the nozzle to be on Twist it sideways to turn that nozzle off 10 Fit the lid Parts 1 x Lid Assembly 2 x 30mm stainless screws Place the lid onto the top of the unit with the pipes facing do...

Page 12: ...raised 12 Connect the mister hose Parts 1 x 1m water hose with elbow at one end TIP You will need to warm the ends of the hose in hot water for a few seconds to soften it before fitting After warming...

Page 13: ...e black cylinder has been screwed Fully in the lid will start to open at around 20C Fully out it s nearer 30C WARNING this part is springy and may catch your fingers if you let go of it unexpectedly w...

Page 14: ...e long section of clear hose fits to the bottom of the drain in the front upper corner of the right hand panel and runs out through one of the holes in the bottom part The black filter washer with a m...

Page 15: ...ar panel for off grid greenhouses If your greenhouse is solar powered run the solar panel cable through the hole in the rear panel and plug it into the control box Mount the solar panel to something s...

Page 16: ...e point the elbow on the end of this short pipe out through one of the holes in the right hand end panel 4 Put the pump wire and the tank level sensor wire through the hole in the right hand panel now...

Page 17: ...nges to settings on the dashboard can take up to 30 minutes to be updated on your control unit to speed this up when you are testing click the green get latest settings button on the grey device scree...

Page 18: ...rs and the top shelf is zone 2 watered by the mister bar The soil sensors plug into the 4 pin connector on the control unit via a Y splitter To measure the soil moisture place the sensor so that the b...

Page 19: ...the point where you think this really needs water now These will be your two extremes Put one sensor in one pot and the other sensor in the other pot Wait a few hours for data to come into your app a...

Page 20: ...tray into that Slide the dual purpose sensor down the side of the soil in the top tray so it measures the moisture and temperature of the control tray When the control tray gets dry or too hot we can...

Page 21: ...ill be lost at the same time as heat is being put in so you have a lower achievable maximum temperature Place your temperature sensors somewhere sensible so that they report the temperature of the soi...

Page 22: ...r outlet on the left hand side of the control box The grow lights are provided with a versatile clamp and flexible stalk so you can position them wherever you want them We recommend that lights for to...

Page 23: ...his would typically be the middle shelf In the Terrace model you might want to set one side of the shelf for mid level crops and one side for seedlings Typically the mid level crops are sown directly...

Page 24: ...our smart garden system The standard irrigation system can be modified in multiple ways to give your plants just the right amount of water in the right place The misters and sprayers fitted in the fac...

Reviews: