Configuration
14
MXA-MP & MXA-MPL Instruction Manual
Configuration
Overview
To use the MXA-MP or MXA-MPL, the Modero X Series touch panel to which it is connected needs to be configured to receive its
signals. This is done through the touch panel’s
Settings
pages.
NOTE:
For more information on accessing a Modero X Series touch panel’s Settings Pages, please refer to the
Modero X Series
Programming Guide
, available at www.amx.com.
To configure the touch panel:
1.
From the
Settings
page, select
Connections & Networks
.
2.
From the
Connections & Networks
page, select
Breakout Box
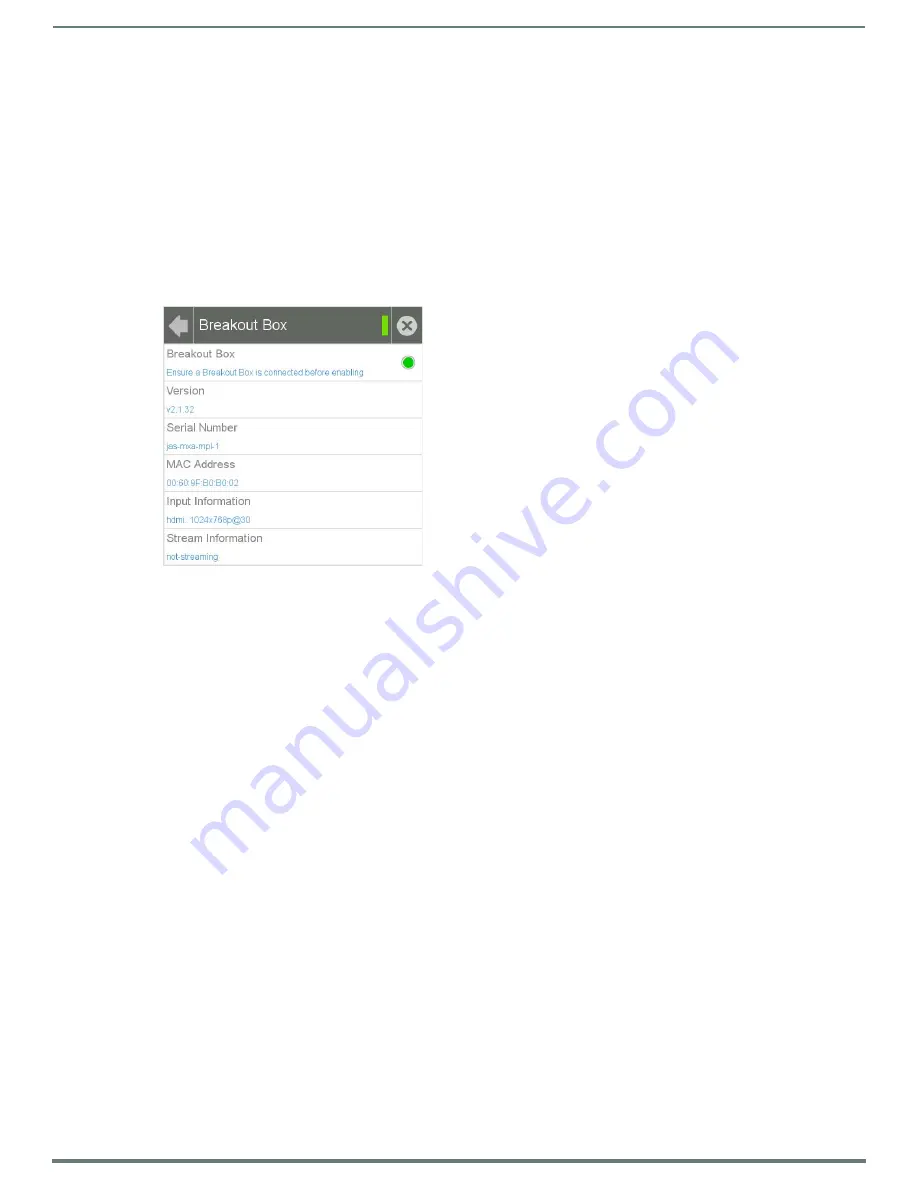
to open the
Breakout Box
page (FIG. 8).
3.
Press the
Breakout Box
button to enable the panel to receive information from the device.
4.
If the device is connected, the remaining information on the
Breakout Box
page will self-populate as the touch panel receives
that information from the device.
NOTE:
If the device is not connected to the touch panel at this time, any attempts at enabling the panel will fail, and the
Breakout Box
page will be blank other than the Breakout Box button.
5.
The touch panel will now display images or video from the device.
Uploading MXA-MP and MXA-MPL Firmware
Firmware updates and upgrades for the MXA-MP and MXA-MPL must be done through NetLinx Studio.
NOTE:
Verify you are using the latest NetLinx Master and Modero firmware, as well as the latest version of NetLinx Studio and
TPDesign 4. Configuring the MXA-MP or MXA-MPL in NetLinx Studio requires at least version 3.3, available at www.amx.com.
To upload new firmware to the MXA-MP and MXA-MPL:
1.
Connect the MXA-MP or MXA-MPL to the intended Modero X Series touch panel and network. For more information on the
connection, please refer to the
2.
Once the Modero X Series panel is booted and connected to the device, select the appropriate method for Master connection.
3.
Ensure that the device is visible to the Modero X Series panel. The
Status
LED on the device (FIG. 1) should toggle on and off
every 5 seconds.
4.
Ensure the
Reboot Device
button is checked in NetLinx Studio.
5.
Locate and download the latest firmware update at
www.amx.com
.
6.
Begin the upgrade by downloading the file.
7.
After the transfer, the panel and the device will reboot and perform the firmware upgrade. After the upgrade, the device
contains the latest firmware release.
NOTE:
The device will not be ready for use and will not show up on the online tree in NetLinx Studio until AFTER its
Status
LED begins
to blink again.
FIG. 8
Breakout Box Settings page


