36
TEST SCREEN
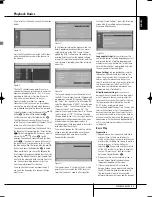
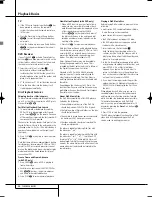
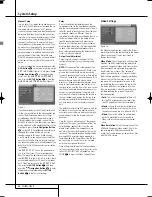
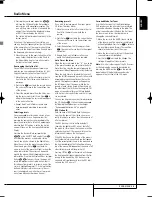
Test Screen
Picture Calibration Using the
supplied Test Disc
When doing the calibration first insert the disc in
the slot loader
6
. The disc will start reading, and
a main menu will appear on the screen. Select
the test pattern required using the
K
or
L
Buttons
9
. Once the pattern appears on the
screen, press the
Pause Button
C
to make
sure the test pattern will stay long enough on the
screen to make the adjustments.
With the requested test pattern on the screen
press the
Mode Button
repeatedly until the
TV Button turns red. This will change the remote
control to the TV mode, without changing the
system's source to TV. Next, press the
Setup
Button
8
, and use the
KLN M
Buttons
9
to select any of the calibration settings to be
changed and follow the directions mentioned
previously to find the right settings.
When the first calibration setting has been cor-
rectly made, press the
Enter Button
6
to go
back to the Setup Menu. Use the
KL
Buttons
9
to select the next calibration setting.
Once all calibration settings for the specific video
input have been confirmed, press the
Mode
Button
once so that the DVD Button turns
red. Should additional calibration settings be
made using the supplied disc, these can be
selected by pressing the
Disc Menu Button
B
and select the next calibration setting to be
changed. Follow the directions above to make all
other calibration settings.
Once all calibration settings have been made,
press the
Mode Button
until the DVD
Button turns red to change the remote control
back to controlling the DVD receiver.
0007CSK - DigitalLounge 632_640_646 ENG v11.qxp:0007CSK - DigitalLounge 632,640,646 UK 12/06/08 11:11 Side 36 (Sort/Black plade


