34
SYSTEM SETUP
Manual Setup
In most cases it is simpler, easier and more accu-
rate to let EzSet/EQ take care of entering the sys-
tem parameters for speaker “size”, speaker
crossover, channel output and individual channel
delay time. However, if you feel that your listen-
ing room or system components are best suited
to manual entry of these settings, the Digital
Lounge also allows you to enter or trim any of
these traditional system parameters. Even if you
do make the settings manually, we recommend
that you run the EzSet/EQ tests first so that a
baseline setting is established, and then make
your adjustments from there. Note that once
EzSet/EQ has been run you do not need to adjust
all system settings, only those that you want to
adjust.
To view or change the current settings, press the
OSD Button
8
on the remote to bring up the
SET-UP MENU
(Figure 1). Next, press the
¤
Navigation Button
9
as needed until the
cursor is on the
AUDIO ADJUSTMENTS
line. Press the
ENTER Button
6
to view the
AUDIO ADJUSTMENTS
menu (Figure 7).
Figure 7
If you have already run the EzSet/EQ calibration
system, the second line of the menu enables you
to hear the difference between the settings
established by EzSet/EQ. The default setting is
ON
, which plays the incoming source with the
EzSet/EQ settings. To hear the system in a Bypass
mode, with none of the equalization filters in the
circuit path, press the
‹
/
›
Navigation Button
9
so that
OFF
is highlighted. Note that once
changed, this setting will remain until you
change it again in this menu. While you may
want to use this menu option to hear the differ-
ence that EzSet/EQ makes, we recommend that
you leave the setting on to take advantage of the
benefits of EzSet/EQ’s advanced room correction
technology.
The
EZSET TILT
line on the menu enables
you to set the system’s Tilt, or high-frequency
boost. To make this adjustment, first make sure
that
EZSET EQ
line is set to ON, as this item is
not available when EzSet EQ is not in the signal
path. When the cursor is on the
EZSET TILT
line, press the
ENTER Button
6
, and then
press the
‹
/
›
Navigation Button
9
to enter
the desired setting followed by the
ENTER
Button
6
to confirm your setting.
Delay
Due to the different distances between the
listening position for the front channel speakers
and the surround speakers, the amount of time it
takes for sound to reach your ears from the front
or surround speakers is different. You may
compensate for this difference through the use of
the delay settings to adjust the timing for the
specific speaker placement and acoustic con -
ditions in your listening room or home theater.
Measure the distance from the listening position
to each of the individual loudspeakers. Once
done, select per loudspeaker the distance that is
closest to the one measured.
Output level adjustment
Output level adjustment is a key part of the
configuration process for any surround sound
pro duct.
NOTE:
Listeners are often confused about the
operation of the surround channels. While some
assume that sound should always be coming
from each speaker, most of the time there will be
little or no sound in the surround channels. This is
because they are only used when a movie
director or sound mixer specifically places sound
there to create ambiance, a special effect or to
continue action from the front of the room to the
rear. When the output levels are properly set it is
normal for surround speakers to operate only
occasionally. Artificially increasing the volume to
the rear speakers may destroy the illusion of an
enveloping sound field that duplicates the way
you hear sound in a movie theater or concert
hall.
The default settings of the DVD player is 0 dB for
all channels. In case you feel adjustments are
necessary in your setup, we advise you to make
the adjustments using the internal test tone
generator.
Once the cursor is moved to any of the speaker
level icons, the test noise will be heard from the
corresponding speaker. If this is not the case
please check whether the loudspeaker is con-
nected to the correct loudspeaker output on the
rear panel. The speaker level can be adjusted by
pressing ENTER and selecting an appropriate
level indicated in the Lower Menu Line. The test
noise will stop as soon as the cursor is moved
away from any speaker level icon.
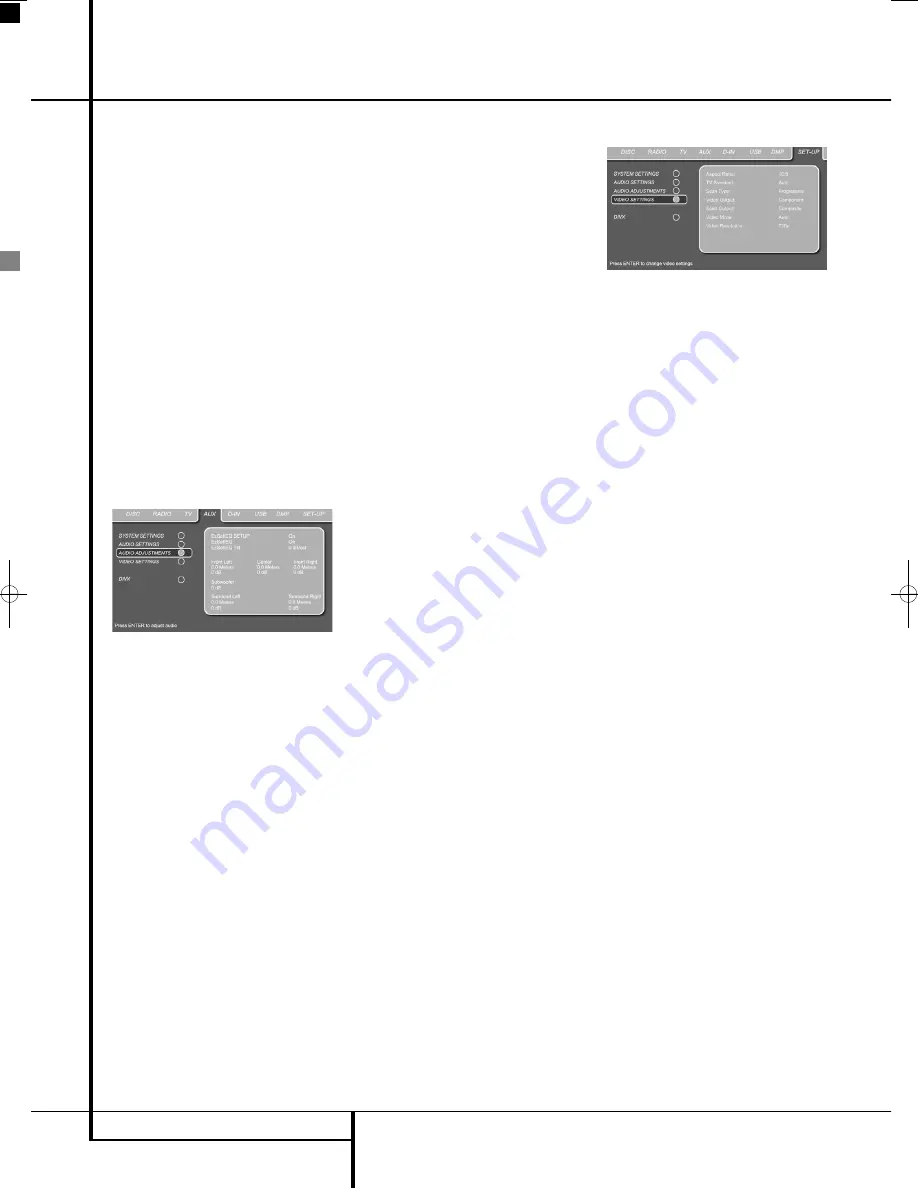
Once all Audio Adjustment Settings have been
set to your personal taste, move the cursor to the
left until VIDEO SETTINGS is highlighted. Press
ENTER
6
to access the Video Settings Menu.
Video Settings
Figure 7a
The Video Setting Submenu contains the follow-
ing settings. Follow the explanations in the Upper
Menu Line on the bottom of your screen to
change the settings.
Video Mode:
This setting affects only the video
signal on the HDMI output and the progressive
signals on Component video and it controls how
the video signals are optimized for progressive
scan display. In most cases, the “automatic”
mode is your best choice, as it senses whether
the disc being played was originally recorded on
video or shot on film. However, in some cases
you may wish to compensate for errors in the
disc authoring that occur when the lag for the
film mode detection is not properly set when
films are converted to video. Three choices are
available reducing the impact of the digital
source perceptibly.
•
Auto:
This is the recommended setting, as it
lets the DVD player analyze the signals from
the DVD and adjust the output accordingly.
•
Movie:
Choose this option for optimal play-
back of material that was shot on film, even
though you are viewing it on video via a DVD.
•
Video:
Choose this option for optimal play-
back of material that was shot directly to
video, such as concerts and sports program-
ming.
Video Resolution:
Selects the resolution of the
HDMI and Component video output. Due to the
one-wire, digital HDMI connection with the
screen, the Cinema Lounge system performs best
with the 720p setting.
System Setup
0007CSK - DigitalLounge 632_640_646 ENG v11.qxp:0007CSK - DigitalLounge 632,640,646 UK 12/06/08 11:11 Side 34 (Sort/Black plade


