background image

overview

4_

 overview 

Class   construction

An apparatus with CLASS   construction shall be connected to a MAINS socket outlet with a 

protective earthing connection.

Battery

Batteries(battery pack or batteries installed) shall not be exposed to excessive heat such as 

sunshine, fire or the like.
The battery cannot be replaced. 

Disconnection Device

Disconnect the main plug from the apparatus, if it’s defected. And please call a repair man in 

your location.

When used outside of the U.S., it may be used HAR code with fittings of an approved 

agency is employed.

CAUTION

RISK OF EXPLOSION IF BATTERY IS REPLACED BY AN INCORRECT TYPE. 

DISPOSE OF USED BATTERIES ACCORDING TO THE INSTRUCTIONS.

ATTENTION

IL Y A RISQUE D’EXPLOSION SI LA BATTERIE EST REMPLACÉE PAR UNE BATTERIE DE 

TYPE INCORRECT.  

METTRE AU REBUT LES BATTERIES USAGÉES CONFORMÉMENT AUX INSTRUCTIONS.
These servicing instructions are for use by qualified service personnel only.  

To reduce the risk of electric shock do not perform any servicing other than that contained in 

the operating instructions unless you are qualified to do so. 
Please use the input power with just one camera and other devices must not be connected.
The Micro USB port of the product is provided for easier installation, and is not recommended 

for monitoring purposes.
When a new product box is opened (or during the initial use of the product), moisture might 

build up on the glass of the camera. The built-up moisture disappears naturally within a few 

hours after powered on.
Do not arbitrarily loosen or tighten the gore valve.

The ITE is to be connected only to PoE+ networks without routing to the outside plant.
The wired LAN hub providing power over the Ethernet (PoE) in accordance with IEEE 

802.3at shall be a UL Listed device with the output evaluated as a Limited Power Source 

as defined in UL60950-1 or PS2 as defined in UL62368-1.
Unit is intended for installation in a Network Environment 0 as defined in IEC TR 62102. 

As such, associated Ethernet wiring shall be limited to inside the building.

Please read the following recommended safety precautions carefully.


~

Do not place this apparatus on an uneven surface.


~

Do not install on a surface where it is exposed to direct sunlight, near heating equipment or 

heavy cold area.


~

Do not place this apparatus near conductive material.


~

Do not attempt to service this apparatus yourself.


~

Do not place a glass of water on the product.


~

Do not install near any magnetic sources.


~

Do not block any ventilation openings.


~

Do not place heavy items on the product.


~

Please wear protective gloves when installing/removing the camera. 

The high temperature of the product surface may cause a burn.

User’s Manual is a guidance book for how to use the products.
The meaning of the symbols are shown below.


~

Reference : In case of providing information for helping of product’s usages


~

Notice : If there’s any possibility to occur any damages for the goods and human caused by 

not following the instruction 

  Please read this manual for the safety before using of goods and keep it in the safe place.

We do not guarantee the quality of third-party products (e.g. lenses, accessories) that you 

separately purchase.

In particular installation environments, there might be interference in radio communications. 

When interference of electromagnetic waves occurs between the product and radio 

communication device, it is recommended to keep a certain distance between the two or 

change the direction of the receiving antenna.
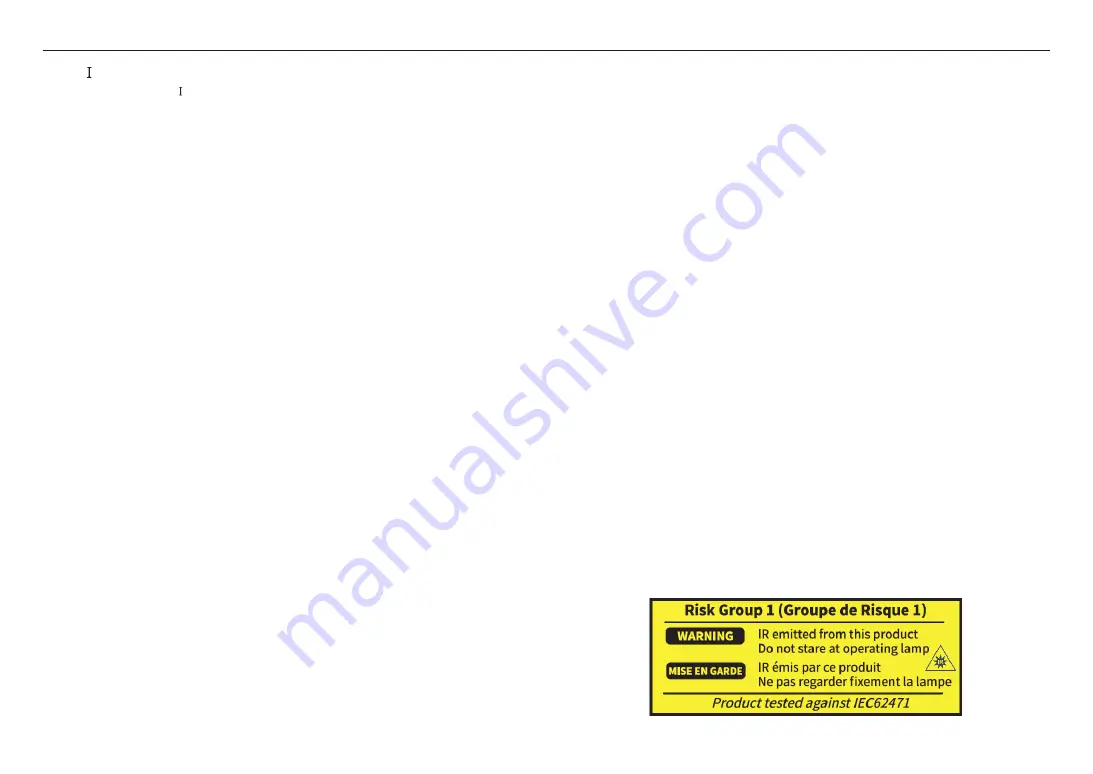
WARNING

To Prevent damage which may caused by IR LED, don't stare at operating lamp.

For below models only.

PNM-C32083RVQ
PNM-C16083RVQ

Summary of Contents for PNM-C32083RVQ

Page 1: ...NETWORK CAMERA User Manual PNM C32083RVQ PNM C16083RVQ...

Page 2: ...correctness of the contents in this document but no formal guarantee shall be provided Use of this document and the subsequent results shall be entirely on the user s own responsibility Hanwha Vision...

Page 3: ...Do not install the product in a place where chemical substances or oil mist exists or may be generated As edible oils such as soybean oil may damage or warp the product do not install the product in t...

Page 4: ...accordance with IEEE 802 3at shall be a UL Listed device with the output evaluated as a Limited Power Source as defined in UL60950 1 or PS2 as defined in UL62368 1 Unit is intended for installation in...

Page 5: ...UP 24 24 Connecting the Camera Directly to Local Area Networking 24 Connecting the Camera Directly to a DHCP Based DSL Cable Modem 25 Using Device Manager 25 Automatically searching camera 25 Configur...

Page 6: ...s and types It is recommended to use a memory card of 16 GB or more that conforms to the UHS 3 class MLC type specification J Micro SD card can support up to 1 TB if two slots are used Each slot suppo...

Page 7: ...ing Mount Wall Mount Base Corner Mount Installation Box Audio alarm cable SBP 300WMW Wall Mount SBP 300PMW2 required for pole installation SBP 300WMW1 Wall Mount SBP 300PMW2 required for pole installa...

Page 8: ...rview Ceiling Mount Parapet Mount Assembly Individual Parts SBP 156CMW SBP 300CMTW SBP 300CMW1 SBP 900CMW SBP 150CMI SBP 300CMI SBP 180CMB SBP 140CMB SBP 150CMP SBP 300CMP SBP 900CMP SBP C15P SBP 300L...

Page 9: ...tion a Lens 4 camera lenses show different directions b Illumination Sensor Detects incoming light to control the IR LED c IR LED These infrared LED s are controlled by the illumination sensor d MICRO...

Page 10: ...boot the system J If you reset the camera the network settings will be adjusted so that DHCP can be enabled If there is no DHCP server in the network you must run the Device Manager program to change...

Page 11: ...t Stuck in or peeled off cables can cause damage to the product or a fire For safety purposes keep anyone else away from the installation site And put aside personal belongings from the site just in c...

Page 12: ...hown in the figure J Before installing the camera the Micro SD card should be inserted while the power source and the body are separated Do not forcefully insert it in the reverse direction It might d...

Page 13: ...and then drill the holes 1 2 Fix the mount plate using appropriate screws 1 3 Take out the necessary cables from among the network and audio alarm cables through the hole of the mount plate Installin...

Page 14: ...o alarm cables through the pipe Attaching to the unbundled adapter Choose and purchase a necessary one of the following options unbundled that is suitable to the installation site or for your convenie...

Page 15: ...g from the camera body as shown in the figure Installing the network cable IP66 J Use a cable bushing compliant with the network cable to be connected Camera main use a cable with the diameter of 5 to...

Page 16: ...nnection 6 Insert the cable bushing of the network cable into the camera body 7 Connect the network cable jack to the PoE port of the camera Installing audio alarm cables 8 Pull out the cable bushing...

Page 17: ...separately sold into the camera body 10 Connect the connector of the audio alarm cable to its connection port 11 Lift up the camera body and push the mounting clips until they click into place 12 Usin...

Page 18: ...bolts tightly TR20 6x Outdoor installation When you install it outside of the building please waterproof it with waterproof butyl rubber tape can be purchased in stores so that water does not leak fro...

Page 19: ...ng on the angle Do not pan over the specified rotation angle It might damage the cable leading to a product malfunction Methods of adjustment 1 After installing the camera in consideration of the dire...

Page 20: ...ended for monitoring purposes Powering and networking Connect the PoE device with the PoE port of the camera J Connect and use a PoE enabled router Use a PoE device that complies with the IEEE 802 3at...

Page 21: ...NETGEAR WNA3100M IODATA WN G150UMW IODATA WN S150UM TOTOLINK N300UM Connecting to Audio Input Output Network PC Microphone Speaker Microphone Speaker 1 Connect the AUDIO IN port of the camera with th...

Page 22: ...Function Description ORANGE ALARM I O 1 BROWN ALARM I O 2 ALARM I O 1 ALARM I O 2 These two ports are configurable from the web viewer as they can be used as Alarm in or Alarm out Alarm I O changes ca...

Page 23: ...cifications are connected by using the open collector method it may cause damage 12VDC 20 mA MAX Refer to the alarm out connection diagram below case Alarm Out Wiring Diagram example ALARM POWER ALARM...

Page 24: ...hange the IP address use the Device Manager For further details on Device Manager use refer to Using Device Manager Page 25 CONNECTING THE CAMERA DIRECTLY TO A DHCP BASED DSL CABLE MODEM 1 Connect the...

Page 25: ...Port Used to access the camera using the Internet browser defaulted to 80 RTSP Port A port that controls real time streaming The initial value is 554 If using a Broadband Router IP Address Enter an a...

Page 26: ...ed click OK MANUALLY REGISTERING CAMERA If the camera cannot be found using search function the camera can be registered remotely by manually inserting IP information if the camera is connected to ext...

Page 27: ...ng setting is an example of setting CISCO IP router The settings may differ depending on the connected Broadband Router model For more information refer to the user manual of the applicable router Set...

Page 28: ...A THE INTERNET On a remote computer that is not in the Broadband Router s network cluster is not allowed users can access cameras within a Broadband Router s network by using the camera s DDNS URL 1 B...

Page 29: ...erating system in support of the UPnP protocol 2 Click the camera name for search In the Windows operating system click the camera name searched from the network menu The login window is displayed Con...

Page 30: ...by using a memo pad or memorizing it LOGIN Whenever you access the camera the login window appears Enter the User ID and password to access the camera 1 Enter admin in the User name input box The admi...

Page 31: ...e after Factory default initialize it by pressing the RESET button then start adjusting it TROUBLESHOOTING PROBLEM SOLUTION No video is displayed when accessing the plug in free webviewer on Safari vi...

Page 32: ...f where and how they can take these items for environmentally safe recycling Business users should contact their supplier and check the terms and conditions of the purchase contract This product and i...

Page 33: ......

Reviews: