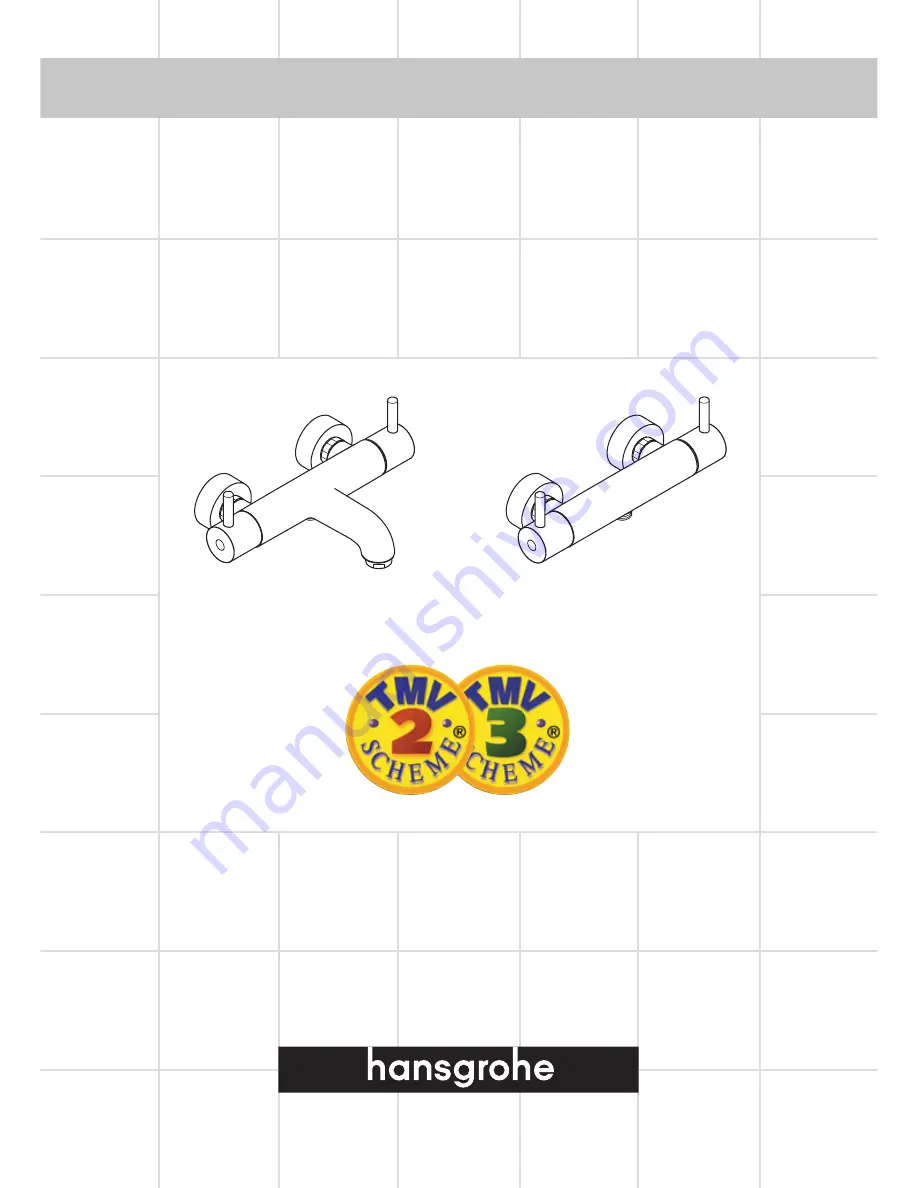
Installation Instructions
Ecostat 1001 SL Care
13282000
13284000
Page 1: ...Installation Instructions Ecostat 1001 SL Care 13282000 Ecostat 1001 SL Care 13284000...
Page 2: ...e tests 10 Frequency of in service tests 10 Thermostatic Adjustement Temperature Limitation 11 Operating your Shower 12 Cleaning 13 Spare Parts 14 15 Trouble Shooting 16 The Ecostat 1001 SL Care 13284...
Page 3: ...ustry Approved Plumber Scheme WIAPS Dispose of plastic bags carefully Keep children well away from the work area Check for hidden pipes and cables in the wall before drilling holes The unit must be mo...
Page 4: ...ith the following Ecostat 1001 SL Care 13282000 1 Ecostat 1001 SL 3 Escutcheons 2 Mesh washers 4 S unions 1 2 3 4 Ecostat 1001 SL Care 13282000 Ecostat 1001 SL Care 13284000 1 Ecostat 1001 SL 3 Escutc...
Page 5: ...emperature C 52 to 65 52 to 65 Cold supply temperature C 5 to 20 5 to 20 Mixed water temperature Application Mixed water temperature at point of discharge Bidet 38 C max Shower 41 C max Washbasin 41 C...
Page 6: ...int 1 0 10 bar Unvented System pressure balanced 1 0 10 bar Pumped System 1 0 10 bar IMPORTANT If you install this mixer with a gravity fed system there must be a minimum head vertical distance from t...
Page 7: ...7 Unvented System pressure balanced Pumped System...
Page 8: ...tape round the S unions and screw into the backplate elbows The S unions must protrude beyond the tiled surface between 32 and 41mm figs 2 3 4 Seal the gap between the S unions and the tiles fig 3 5...
Page 9: ...e mixed water in accordance with the manufacturer s instructions and the requirement of the application and then carry out the following sequence a record the temperature of the hot and cold water sup...
Page 10: ...nce of any other instruction or guidance on the means of determining the appropriate frequency of in service testing the following procedure may be used 1 6 to 8 weeks after commissioning carry out th...
Page 11: ...he spindle and slide off the locking ring fig 1 2 Turn the spindle until the required maximum temperature is reached 43 C You will need to use a thermometer fig 2 3 Replace the locking ring back onto...
Page 12: ...1001 SL Care Flow ON OFF Control Shower Turn the flow control handle fig 2a anti clockwise to turn the water on and to increase the flow for the shower outlet Turn it clockwise to decrease the flow a...
Page 13: ...ing Instructions for Mixers and Showers Please follow the cleaning materials manufacturer s inistructions In addition pay attention to tlie following points Clean the mixers and showers as and when re...
Page 14: ...ement 94282000 2 Shut off and diverter unit 96509000 3 Handle for shut off and diverter unit and temperature control 98664000 4 Check valve NV15 DN15 96737000 5 S unions 94140000 6 Escutcheon 96467000...
Page 15: ...DN15 1 Thermostatic element 94282000 2 Shut off unit 94149000 3 Handle for shut off unit and temperature control 98664000 4 Check valve NV15 DN15 96737000 5 S unions 94140000 6 Escutcheon 96467000 7...
Page 16: ...r or spout dripping Dirt in the flow valve or shut off Clean or replace shut off unit unit damaged Warranty You have purchased a quality product from Hansgrohe All parts which show any kind of fault a...