29
Hangar 9 P-51 PTS Mk II Assembly Manual
Setting the Flap Position
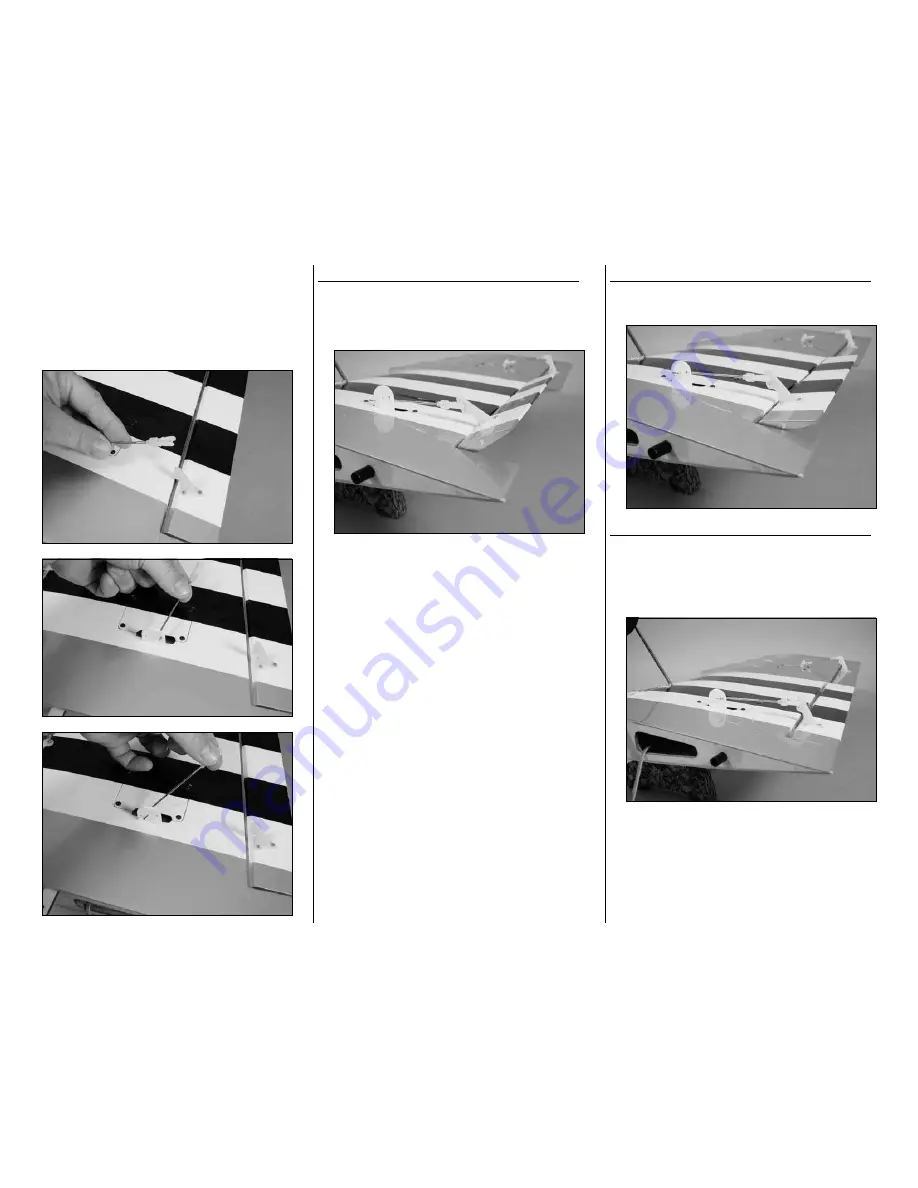
To set the flap position, slide the clevis retainer off of the
clevis so it can be opened Use a flat blade screwdriver to
open the clevis and remove it from the control horn rotate
the flap linkage wire to remove it from the flap stay. Insert
the linkage into the appropriate hole and reconnect the clevis
to the center hole of the flap control horn.
Initial Training Flap Settings
Setting the linkage to the forward hole of the stay sets the
flaps to the position for initial flight training. This will allow
the plane to fly at its slowest speed and will be slowest
during landing as well.
Intermediate Setting
As you continue to advance, the flap linkage can again be
moved to the center hole.
Advanced Setting
Setting the linkage in the most rearward hole will place the
flap in the full “UP” position. This is the preferred position
for those with flight experience, as the plane will fly more
like a sport aircraft and will require the greatest amount of
skill (for this type of aircraft) during landing.


