26
4. Confi guring the software and the computer
After you have successfully installed the network adapter, you still have to install or confi gure a protocol. This
protocol governs the data exchange between the computer and the network. TCP/IP is most common. Each
computer has to be assigned its own address for the protocol. Automatic address assignment is only reliable
if a DHCP server exists in the network, e.g. a router or access point. If you have one of these devices with a
DHCP function, you should leave the setting on “Get automatically”.
Proceed as follows to check the settings on your PC:
Start => Settings => Control Panel => Network connections
Select the connection (network adapter) via which your PC is connected to the router, e.g. “LAN connection”.
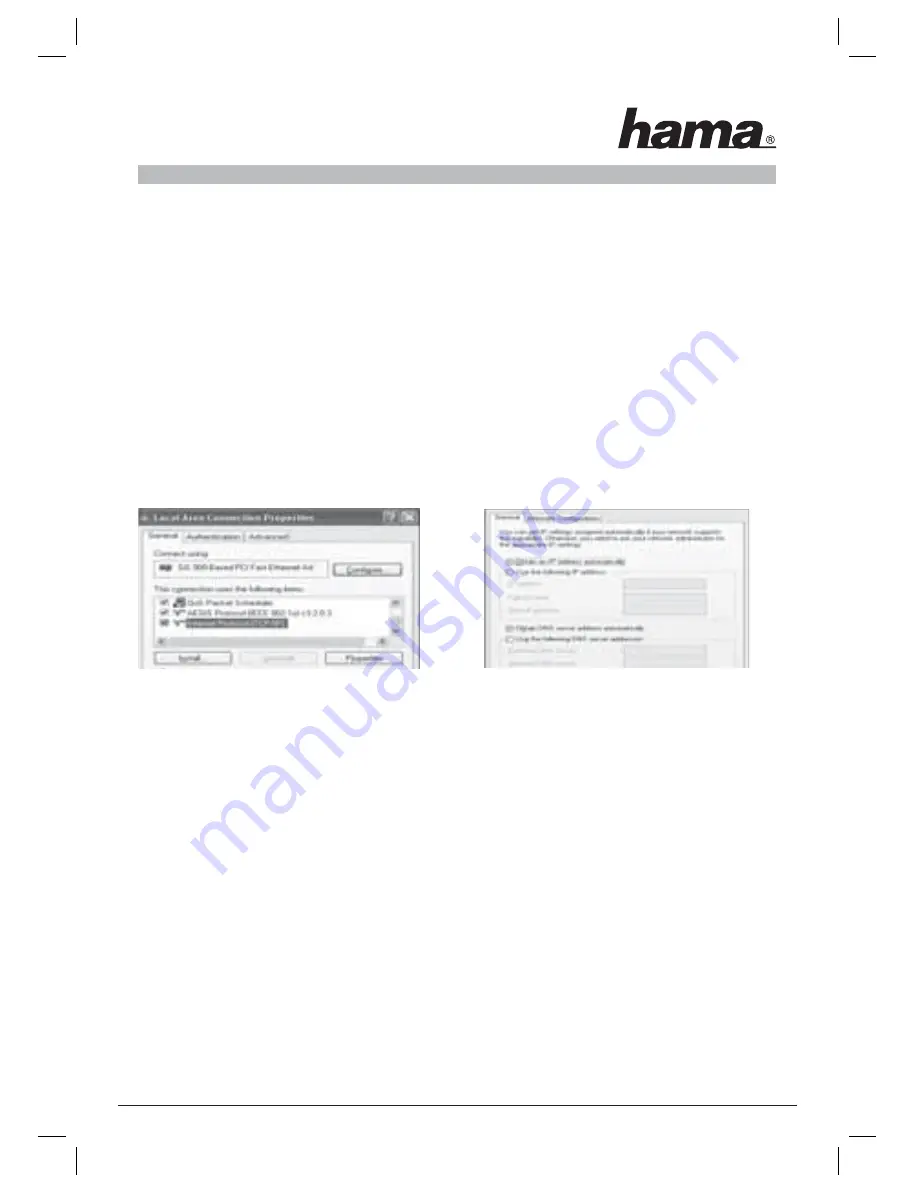
When you right-click the corresponding connection, a menu is displayed in which you select Properties.
Select the
Internet Protocol (TCP/IP)
entry in the list and click
Properties
.
Select
Obtain an IP address automatically
and
Obtain DNS server address automatically
, if there is a DHCP
server in your network! Confi rm by clicking
OK
, and again in the subsequent window.
Your PC is now confi gured such that the router assigns the IP address automatically.
If you do not have one of these devices, you must assign the IP addresses manually. The following example
describes basic setup using manual address assignment. For local networks, special address ranges are pro-
vided which are not transmitted over the internet. As an example, a range that you can use for your network
is 192.168.1.1 to 192.168.1.254. The fi rst PC is assigned the address 192.168.1.1, the second 192.168.1.2, the third
192.168.1.3, etc.
Select
Use the following IP address
and enter your IP address in accordance with the sample.
1.PC = IP address 192.168.1.1 Subnet mask 255.255.255.0
2.PC = IP address 192.168.1.2 Subnet mask 255.255.255.0
Click
Ok
to confi rm your entries.


