Device Setup
January 2023
•
Rev. 0
• Standard Devices User Manual
27
Serial Communications Configurations
MENU
→
SETUP
→
RS-232 Serial
or
RS-485 Serial
You can operate your device via its data connection for easy
streaming and logging of all data. Before connecting the
device to a computer, ensure that it is ready to communicate
by checking the options in this menu.
For more on how to issue commands from over serial
communications, see
Unit ID
MENU
→
SETUP
→
RS-232 Serial
or
RS-485 Serial
→
Unit ID
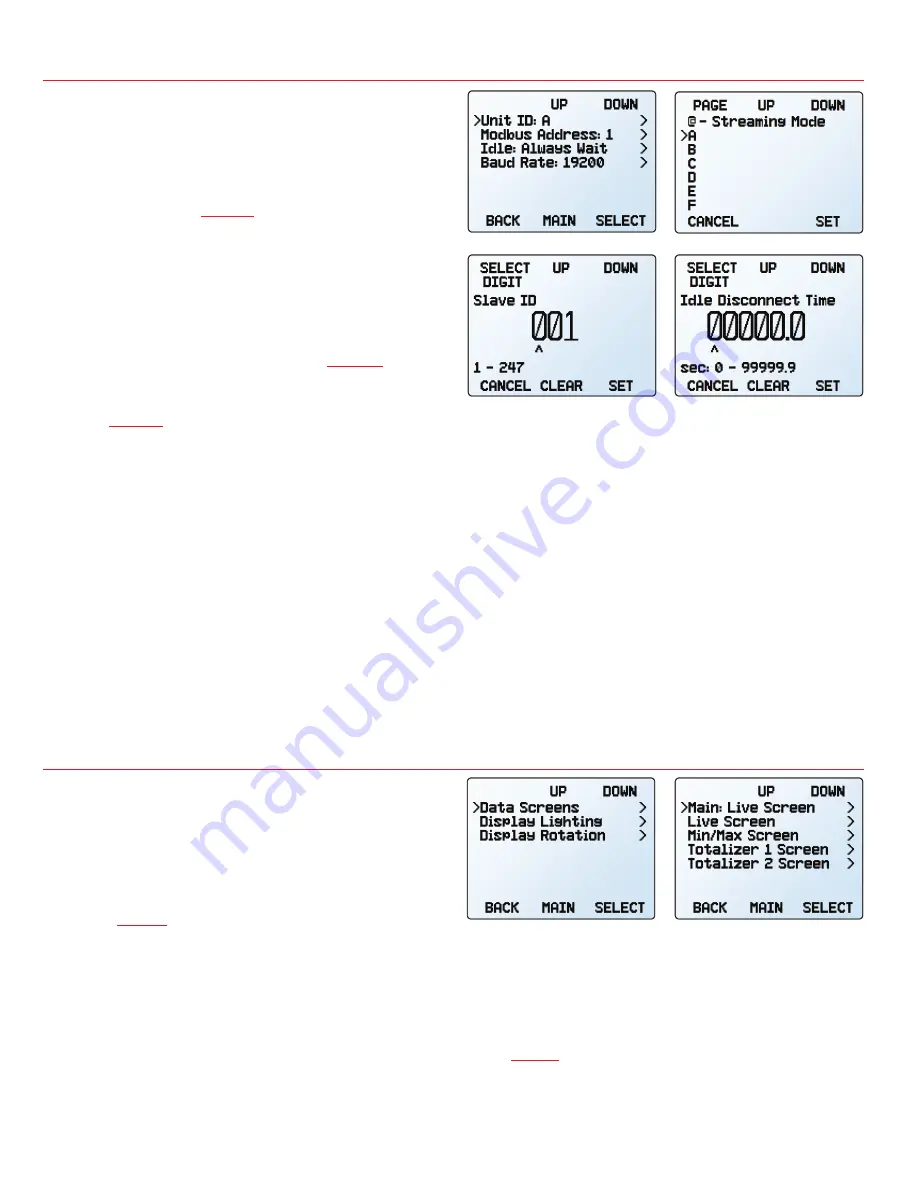
The unit ID is the identifier that a computer uses to distinguish
your device from other, similar devices when it is connected
to a network. Using the unit ID letters
A
–
Z
, you can connect
up to 26 devices to a computer at the same time via a single
COM port. This is called
polling mode
(
). Unit ID
changes take effect when you select
SET
.
If you select “
@
” as the Unit ID, the device enters
streaming
mode
(
Modbus RTU Configuration
MENU
→
SETUP
→
RS-232 Serial
or
RS-485 Serial
→
Modbus Address
The Modbus address is the identifier that a computer or
programmable logic computer (PLC) uses to distinguish your
device from other devices when connected to a Modbus
network. Values of 1–247 are available for use.
Manage Setpoint when Connection is Idle
MENU
→
SETUP
→
RS-232 Serial
or
RS-485 Serial
→
Idle:
If a connection is idle for a specified amount of time, the
controller can either move to a zero setpoint, or maintain
the previous setpoint. The idle time will be infinite by default
(
Idle: Always Wait
) and can be set in seconds up to
99999.9 seconds (1 day, 3 hours, 46 minutes, 39.9 seconds).
Baud Rate
SETUP
→
RS-232 Serial
or
RS-485 Serial
→
Baud Rate
Baud rate is the speed at which digital devices transfer
information. The device has a default baud rate of 19200
baud (bits per second). If your computer or software uses
a different baud rate, you must change the device’s baud
rate in the
BAUD
menu
to ensure they match. Alternatively,
you can change your computer’s baud rate (use Windows®
Device Manager for most applications). Baud rate changes
take effect once you press
SET
, but you may need to restart
any software for it to recognize the change.
Display Setup
The options in the
display setup menu
adjust the contrast/
brightness of the display and enable screen rotation.
Data Screens
MENU
→
SETUP
→
Display
→
Data Screens
The data screens menu provide options for the various
screens of the device. For more information on the contents
of the screens and their functions, see the
Data Screens
section (
).
Main Screen
MENU
→
SETUP
→
Display
→
Data Screens
→
Main:
To select which screen displays when
MAIN
is pressed, select
from one of the options in this menu. Only screens that have
been enabled are available for selection. If the live screen
is not selected, it can be reached by pressing
NEXT
on the
main screen.
Live Screen Options
MENU
→
SETUP
→
Display
→
Data
Screens
→
Live Screen
•
Any Key Press
changes what happens when
any of the parameter buttons on the
main display
) are pressed (pressure or temperature,
for example). By default, these buttons highlight
Serial communication menu
.
Choosing a unit ID, or streaming.
Modbus address menu
.
Setting a Modbus idle
disconnect time.
Data screens menu
.
D
isplay setup menu
.


