Service Manual
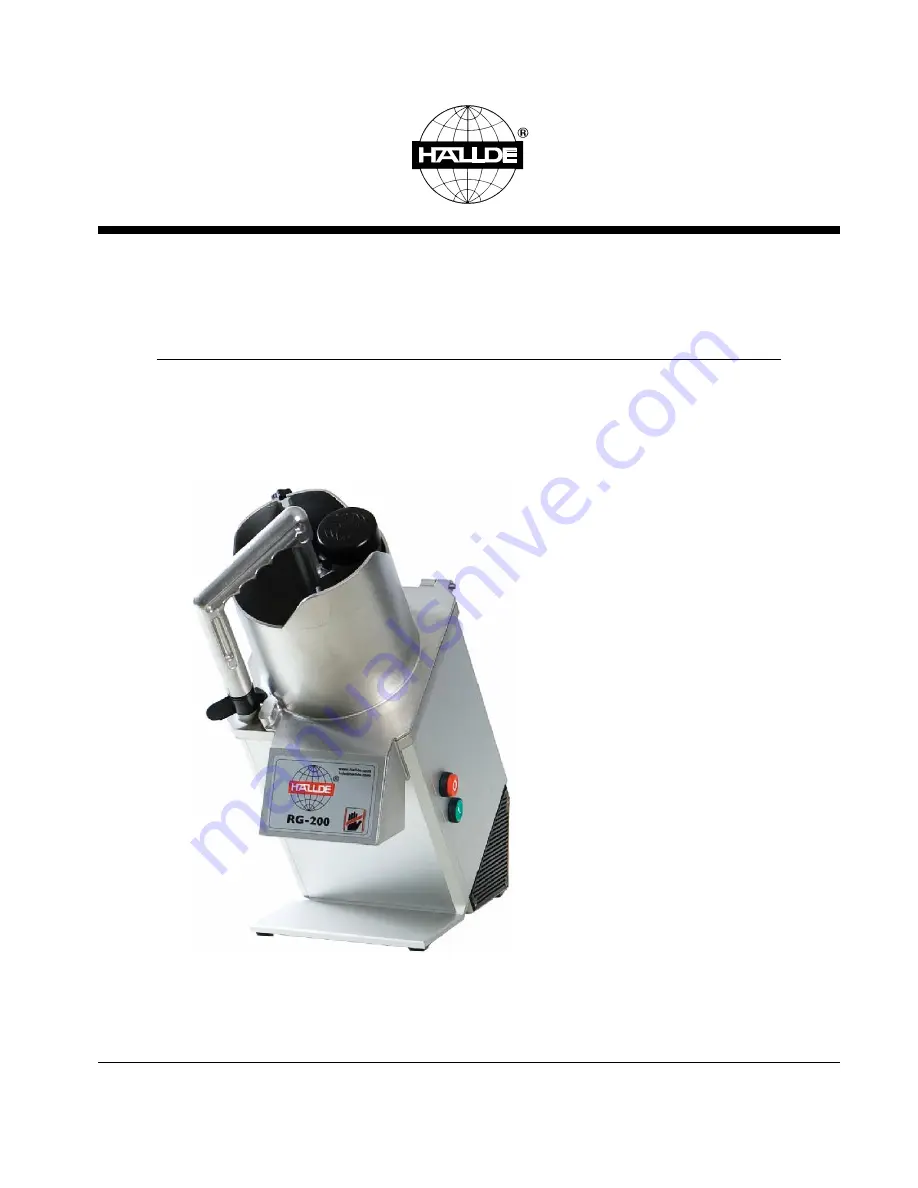
Vegetable Preparation Machine RG-200
100 – 230 V Single Phase
Date:
2015-0
8
-27
Approved:
Henrik Artursson
Page 1: ...ServiceManual VegetablePreparationMachineRG 200 100 230 V Single Phase Date 2015 08 27 Approved Henrik Artursson...
Page 2: ...tches 3 Feed hopper switch 4 Pusher plate switch 4 RC Network 5 Contactor 6 Motor capacitor 7 Pusher plate and seal 7 Motor 9 Planetary gears 10 Seal washer 13 SERVICE PROCEDURES AND ADJUSTMENTS 14 El...
Page 3: ...service techniciansandshould not be used by those not properly qualified Installation operationandcleaning Refer to HALLDE User Manual Tools Standardsset of hand tools Gear puller Standard VOM Multim...
Page 4: ...Machinehousingpanels Note Disconnect the electric powerto the machine 1 Positionthe machine as shown and remove 4 access nuts to remove base 2 Remove base 3 Carefully slide both housingpanels up and c...
Page 5: ...Note Disconnect the electric powerto the machine 1 RemoverightsidemachinehousingpanelasoutlinedunderMACHINEHOUSINGPANELS 2 Lift the locking tab to release switch from actuator body 3 Disconnect lead w...
Page 6: ...r MACHINE HOUSING PANELS 2 Disconnect wiring to switch 3 Unscrew the switch to remove from machine 4 When installing feed hopper switch thread the switch into the hole until it stops turning Tightenth...
Page 7: ...d re position the switch toward pusher plate shaft Tighten screws and re check operation If activator pin does not return smoothly when released remove mounting bracket screws then remove pin from bra...
Page 8: ...Contactor Note Disconnect the electric powerto the machine 1 RemoverightsidemachinehousingpanelasoutlinedunderMACHINEHOUSINGPANELS 2 Disconnect lead wires fromcontactor 3 Remove 4screws and remove co...
Page 9: ...Remove capacitor from motor plate When installing a replacement capacitor remove threadedinsert from bottom of originalcapacitor theninstallonreplacement capacitor 6 Reassemble in reverse order and ch...
Page 10: ...pply Loctite 243 to threads of guide pinwhenreinstallingpin 4 Remove pusher plate assembly 5 Removeseal Note When new sealis installed apply a light coat of mineral oil toinside surface of seal 6 Remo...
Page 11: ...Motor Note Disconnect the electric powerto the machine 1 Remove machine housingpanels as outlined under MACHINE HOUSINGPANELS 2 Remove 4 torxscrews securing the motor mountingplate 3 To replace motor...
Page 12: ...c Remove capacitor d Reassemble in reverse order and check for proper operation Planetarygears Note Disconnect the electric powerto the machine 1 Remove ring gear by liftingout 2 Remove ejector plate...
Page 13: ...11 3 Remove 3screws securing planetary assembly 4 Remove planetary assembly by tappingonknifeshaftwith brass or plastic hammer 5 Remove and replace shaft seal Ejector pin Sealwasher 3x screws...
Page 14: ...mbling 7 Remove planetary washer retainingring then lift planetary wheelfromshaft 8 Reassemble in reverse order and check for proper operation Don not re use the retaining rings when assembling the pl...
Page 15: ...onto knife shaft with the beveledside up b Slide new seal washer onto shaft until seal is just clear of guide pin hole and install guide pin c Installejectorplateandpushitdownasfarasitwillgo Thiswillp...
Page 16: ...etoremoveitfromthefeedhead Turn lock handle to the locked position and remove pusherplate from the feed head 9 Press ON button You will hear the contactor energize but the food processor does not run...
Page 17: ...power to control circuit momentary on OFF Switch Removes power from control circuit momentary off FeedHeadSwitch Ensures feed hopper is down feed switch closed before food processor operationcanbegin...
Page 18: ...nd properly grounded b Motor thermaloverload is closed c Geedheadswitch is closed d OFF switch is closed e ON switch is open f Pusher plate switch is closed Motor Contactor Feed headswitch Pusher plat...
Page 19: ...g circuit opens and motor stops Close feed head switch and press ON switch to restart motor 4 If stop switch is pressed contactor is de energized and motor stops 5 If pusher plate switchis opened moto...
Page 20: ...ction Motor does not stop when pusher plate is raised out of feed hopper and rotated past the 1 3 16 maximum allowable feed hopper opening 1 Pusher plate switch not adjustedproperly 2 Tab on pusher pl...