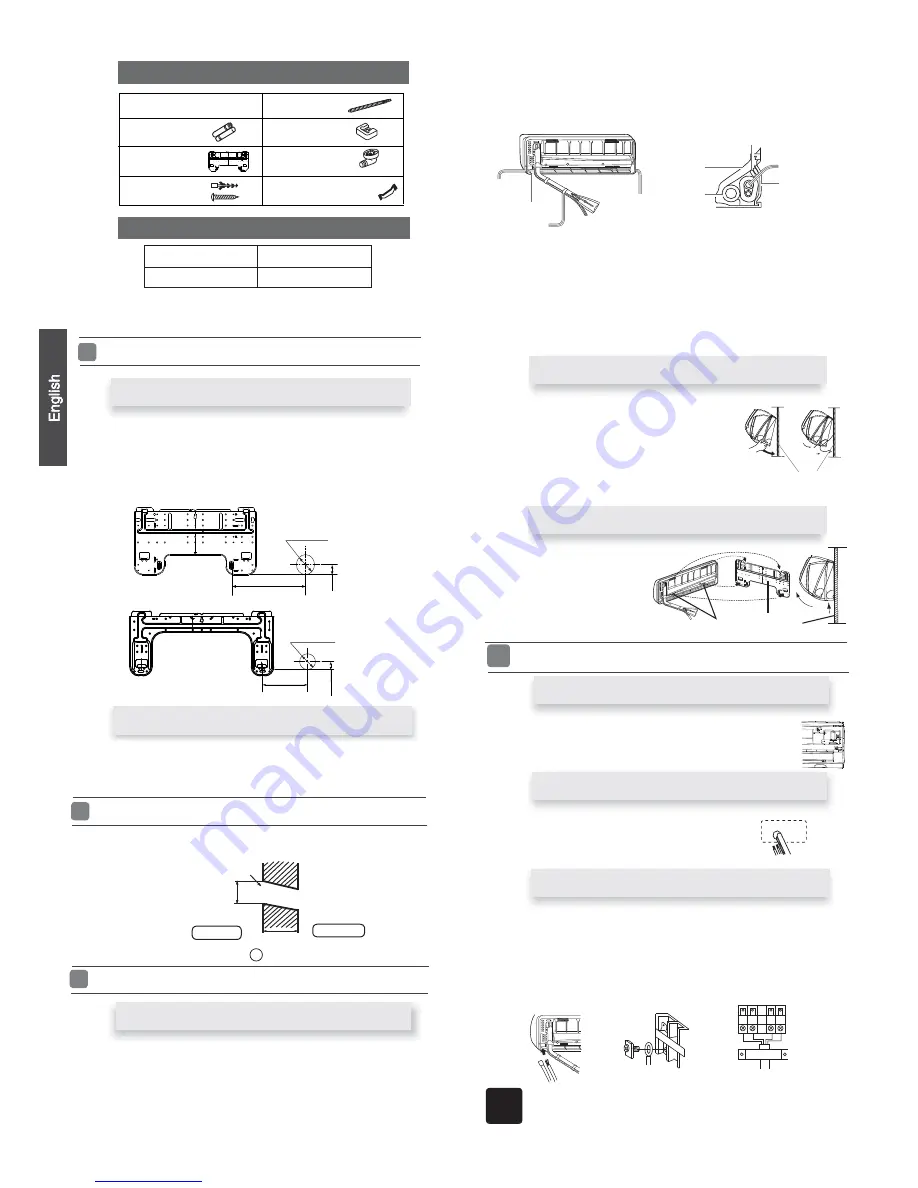
Indoor unit
Fix to side bar and lintel a mounting bar, Which is separately sold, and then
ƽ
fasten the plate to the fixed mounting bar.
Refer to the previous article, “ When the mounting plate is
ƽ
position of wall hole.
Make a hole of 60 mm in diameter, slightly descending to outside the wall.
ƽ
Install piping hole cover and seal it off with putty after installation
ƽ
When the mounting plate is first fixed
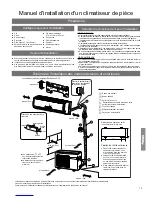
1. Carry out, based on the neighboring pillars or lintels, a
to be fixed against the wall, then temporarily fasten the plate with one steel nail.
2. Make sure once more the proper level of the plate, by hanging a thread with a
weight from the central top of the plate, then fasten securely the plate with the
attachment steel nail.
3. Find the wall hole location A using a measuring tape
When the mounting plate is fixed side bar and lintel
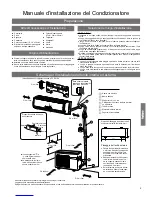
Fitting of the Mounting Plate and Positioning of the wall Hole
Lid for right
piping
Lid for under piping pipe
Fix with adhesive tape
Lid for left piping
Indoor/outdoor electric cable and drain hose must be bound with refrigerant
ƽ
piping by protecting tape.
[ Other direction piping ]
Cut away, with a nipper, the lid for piping according to the piping direction and
ƽ
then bend the pipe according to theposition of wall hole. When bending, be
careful not to crash pipes.
Connect beforehand the indoor/outdoor electric cable,
ƽ
and then pull out the
connected to the heat insulation of connecting part specially.
proper leveling for the plate
first fixed “, for the
Making a Hole on the Wall and Fitting the Piping Hole Cover
Drawing of pipe
Installation of the Indoor Unit
[ Rear piping ]
Draw pipes and the drain hose, then fasten them with the adhesive tape
ƽ
[ Left
・
Left-rear piping ]
In case of left side piping, cut away, with a nipper, the lid for left piping.
ƽ
In case of left-rear piping, bend the pipes according to the piping direction to
ƽ
the mark of hole for left-rear piping which is marked on heat insulation materials.
1. Insert the drain hose into the dent of heat insulation materials of indoor unit.
2. Insert the indoor/outdoor electric cable from backside of indoor unit, and pull it
out on the front side, then connect them.
3. Coat the flaring seal face with refrigerant oil and connect pipes.
Cover the connection part with heat insulation materials closely, and make sure
fixing with adhesive tape
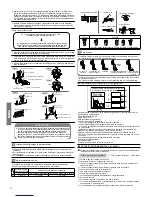
Fixing the indoor unit body
Hang surely the unit body onto the upper notches of the
ƽ
mounting plate. Move the body from side to side to verify its
secure fixing.
In order to fix the body onto the mounting plate,hold up
ƽ
the body aslant from the underside and then put it down
perpendicularly.
Connecting the indoor/outdoor Electric Cable
Removing the wiring cover
Remove terminal cover at right bottom corner of indoor unit, then take
ƽ
off wiring cover by removing its screws.
1. Insert from outside the room cable into left side of the wall
hole, in which the pipe has already existed.
2. Pull out the cable on the front side, and connect the cable
making a loop.
Note
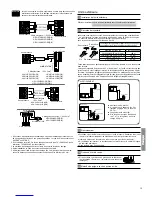
When connecting the cable, confirm the terminal number of indoor and
outdoor units carefully. If wiring is not correct, proper operation can not
be carried out and will cause defect.
Insert the cable from the back
ƽ
side of the unit, then pull it out on the front side.
Loosen the screws and insert
ƽ
the cable ends fully into terminal block, then
tighten the screws.
Pull the cable slightly to
ƽ
make sure the cables have been properly inserted and
tightened.
After the cable connection,
ƽ
never fail to fasten the connected cable with the
wiring cover.
mounting plate
When connecting the cable after installing the indoor unit
When connecting the cable before installing the indoor unit
When you unload the indoor unit,please use
then lift the bottom of the body outward
slightly and lift the unit aslant until it
leaves the mounting plate.
agraffe
mounting plate
Unloading of indoor unit body
ƽ
your hand to arise the body to leave agraffe,
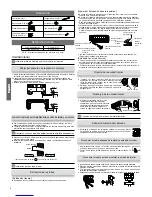
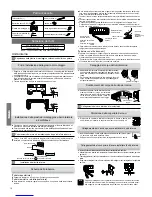
Remote controller (1)
R-03 dry battery (2)
Mounting plate (1)
Drain hose (1)
Ø4X25 Screw (4)
Plastic cap (4)
Drain-elbow (1)
Cushion (4)
Pipe supporting plate (1)
Accessory parts
Liquid pipe (Ø)
6.35mm(1/4”)
Gas pipe (Ø)
9.52mm(3/8”)
NOTE
˖
The thickness of the pipe must be 0.8mm at least.
Selection of pipe
2
A=145mm
30mm
A=145mm
B=
60mm
Ø
30mm
B=
60mm
Ø
Heat insulation
material
Drain hose
Piping
Pipe supporting
plate
Indoor/outdoor electric cable
Indoor side
Outdoor side
Ø60mm
Wall hole
Thickness of wall
(Section of wall hole)
Piping hole pipe
G


