


– 23 –
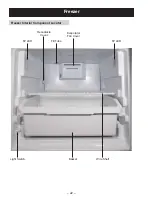
Icemaker (Optional)
An icemaker is available as an optional
accessory. The refrigerator accepts the IM4D
kit. The icemaker will produce seven cubes per
cycle approximately 100–130 cubes in a 24-
hour period, depending on freezer compartment
temperature, room temperature, number of
door openings and other use conditions. The
LFHPDNHU ZLOO ¿OO ZLWK ZDWHU ZKHQ WKH PROG ERG\
thermistor of the icemaker cools to 15°F (–10°C).
A newly installed refrigerator may take 12 to 24
hours to begin making ice cubes. When the bin
¿OOV WR WKH OHYHO RI WKH IHHOHU DUP DQG NHHSV WKH
arm from moving forward, the icemaker will stop
producing ice.
Normal Icemaker Operation
To hear buzzing sound each time the ice
PDNHU ¿OOV ZLWK ZDWHU
For several cubes to be joined together.
If ice is not used frequently, old ice cubes will
become cloudy, taste stale and shrink.
Fill Cup
$ ¿OO FXS ZLOO FRPH LQ WKH ,0' NLW EXW LW VKRXOG
not be used because it will not align with the
¿OO WXEH 7KH FRUUHFW ¿OO FXS FRPHV ZLWK WKH
refrigerator shipped in the handle pack. Should
WKH ¿OO FXS EH PLVVLQJ RU GDPDJHG D QHZ ¿OO FXS
FDQ EH RUGHUHG 7KH ¿OO FXS FDQ EH IRXQG E\
looking the refrigerator model number up in the
illustrated parts catalogue.
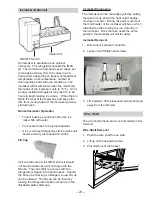
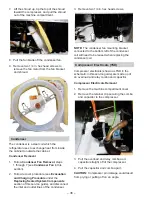
ON/OFF Switch
Feeler Arm
Icemaker Diagnosing
The icemaker can be manually cycled by pulling
the rake arm up and to the right until it begins
moving on its own. During rake arm movement,
the mold heater of the icemaker will be on which
will allow the rake to drop any ice currently in
the icemaker. Once the rake nears the home
position, the icemaker will call for water.
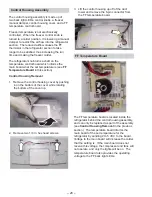
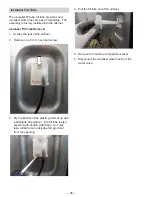
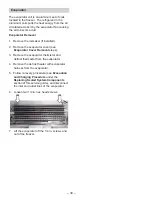
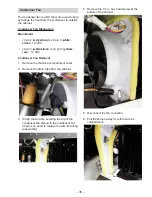
Icemaker Removal
1. Disconnect icemaker connector.
2. Loosen two Phillips head screws.
3.
/LIW LFHPDNHU Rႇ WKH ORRVHQHG VFUHZV DQG SXOO
away from the left wall.
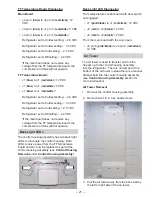
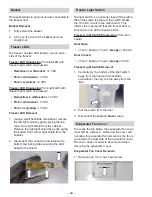
Wire Shelf
7KH ZLUH VKHOI LV ¿[HG DQG LV QRW LQWHQGHG WR VOLGH
forward.
Wire Shelf Removal
1. Push the wire shelf to one side.
2. Lift up on the opposite corner.
3. Pull shelf out of the freezer.
Summary of Contents for GE ABE21D
Page 11: ... 11 LUÀRZ ...
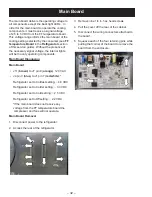
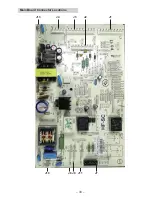
Page 33: ... 33 Main Board Connector Locations J10 J8 J11 J13 J4 J3 J1 J2 J7 J9 ...
Page 40: ... 40 Schematic ...