H Y D R O T E C H P E R F O R M A N C E M O N I T O R
A D VA N C E D F I LT R AT I O N S Y S T E M
w w w. f l u v a l - g . c o m
EN.
12
STEP 5: CONNECTING HOSES
Important: Hosing should always follow a straight
path from the filter to the aquarium rim with
some slack but no loops. The filter will not work
efficiently if the hose is too long or too short.
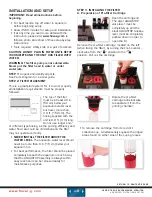
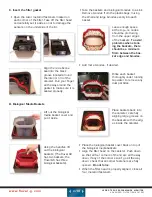
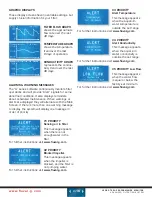
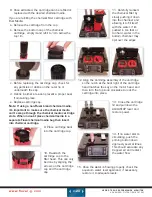
A. Install the AQUASTOP
Ê UÊvÌÊÌ iÊÃÛiÀÊ+1-/"*ÊÛ>ÛiÊiÛiÀÊÊÌ«ÊvÊ
the filter to a full upright position. Next lift the
black AQUASTOP release lever to the left.
Important: to avoid damaging the AQUASTOP
levers, always follow the recommended
sequences/procedures and never force anything.
Insert the AQUASTOP
Valve into the top of the
filter, with indicator
arrows facing front and
close the AQUASTOP
release lever. This
engages the
AQUASTOP valve.
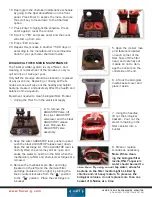
Then pull the aquastop
valve lever down.
Note: Don’t force the
silver valve lever or re-
lease lever. If it doesn’t
close easily then you
need to reinstall the
Aquastop assembly
making sure to align it
properly.
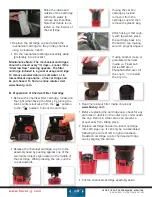
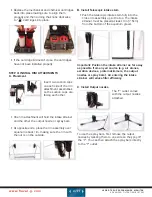
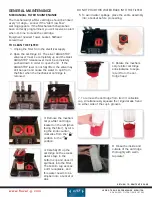
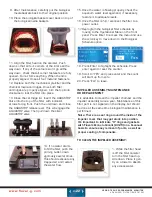
B. Connect the intake hose
The intake hose will con-
nect to left side of the
AQUASTOP valve (down
arrow). Push one end of
the hose all the way onto
the barbed adaptor, turn
the nut counter-clock-
wise as tightly as pos-
sible without forcing it.
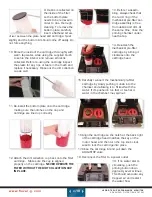
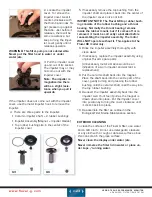
Ê UÊ-ÌÀiÌV ÊÌ iÊ ÃiÊÕ«ÊÌÊÌ iÊÌ>iÊVÀÃÃÊÀÊ
assembly . Using scissors or a utility knife, cut
the hose just above the lock nut.
Ê UÊ/>iÊÌ iÊVÀÃÃÊÀÊ>ÃÃiLÞÊvvÊÌ iÊÀÊ
attachment and push the hose onto the barbed
connector, turn the nut lock clockwise securing
the hose to the rim connector.
Place the intake
assembly back onto the
rim attachment, press-
ing it into place until you
hear it ”click.”
Summary of Contents for FLUVAL G 3
Page 1: ...USER GUIDE ENTER...


