- 8 -
High accuracy cursor
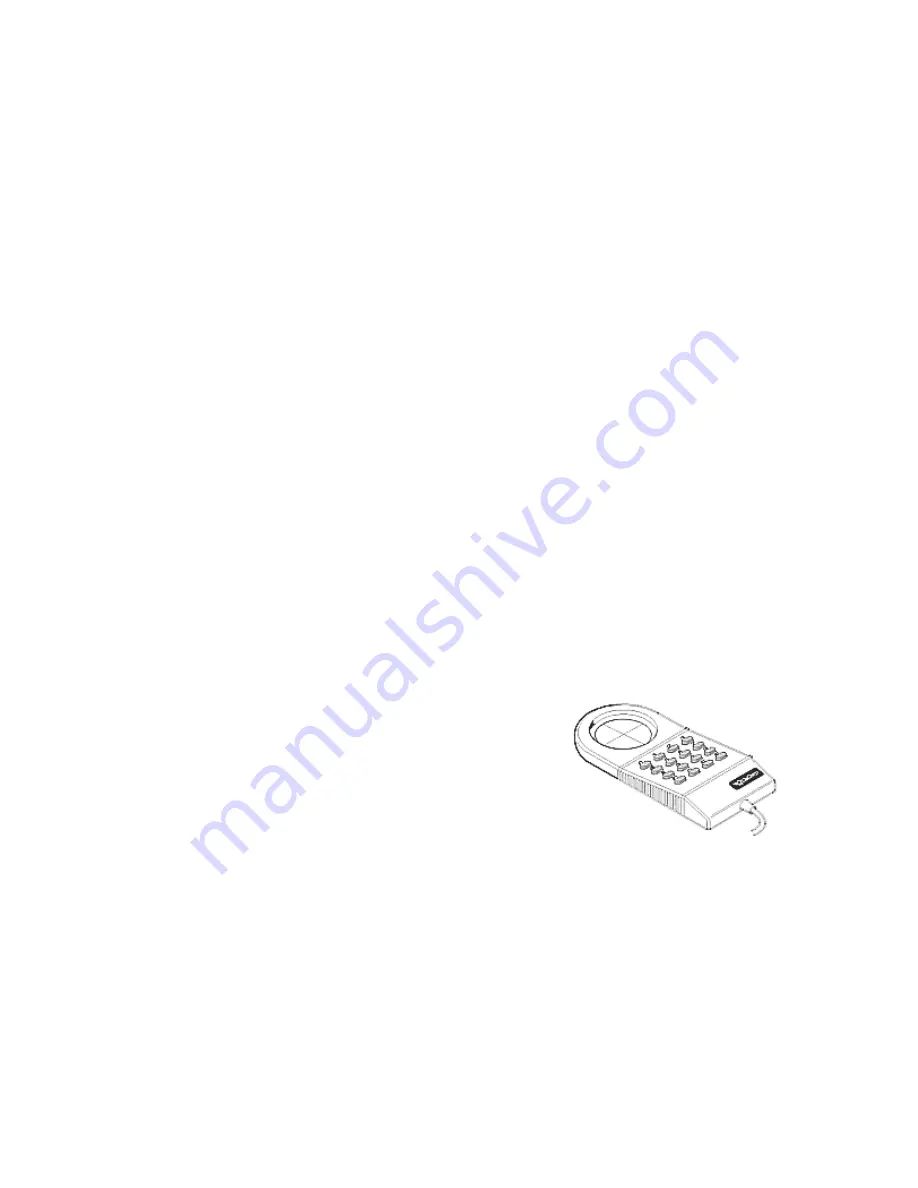
To illuminate the lens area of the high accuracy cursor, press and hold any button in the far right column (3, 7, B
or F); at the same time, press and hold any button in the far left column (0, 4, 8 or C). The right column button
must be held down while pressing the left column button. This same procedure turns the illumination off. The
illumination defaults to off when the tablet is first powered on.
Because you will always need one right column button and one left column button free to control the cursor
illumination, you should reserve one button in each column from any macro recording.
Warning:
The DrawingBoard III high accuracy cursor resembles the cursor for the 9500 series tablet. Although
the only difference seems to be the presence of the row of LEDs above the top row of buttons on the 9500 series
cursors,
do not interchange these cursors
as damage to both tablet and cursor may result.
Installing the software
The TabletWorks software included with your DrawingBoard III tablet allows you to use your tablet both as a
mouse and a digitizer, and to access all tablet features and capabilities through the TabletWorks control panel.
Refer to TabletWorks Help for instructions on installing the software and for customizing your tablet.
Special cases
Some unique situations may not require the use of the Digitizer Software. These cases are rare, usually in a
non-Windows CAD application where the tablet is used solely as a digitizer with no mouse functions. In these
situations, you can set up DrawingBoard III manually via the menu strip. Refer to the
Customizing the Tablet
section for step-by-step instructions.
All mouse applications, including all Windows applications and AutoCAD, must have the Digitizer Software
installed to work properly with the tablet.
Learning the Basics
You will find that using your
DrawingBoard III
tablet is as easy, or easier, than using a mouse. The
DrawingBoard III pointing tools are more accurate than a mouse giving you greater control over your move-
ments.
Topics discussed in this section:
Using the pointing tools
Learning basic movements
Using the pointing tools
The pointing tool does not need to be in contact with the tablet surface in order for the tablet to sense its pres-
ence. It can be detected up to 1/2" above the drawing area. This allows you to trace through materials placed on
the surface, such as a drawing or a book. Also, before using the pointing tool, be sure that sleep mode is turned
off by pressing any button on the tool.
Using the cursor
When you use the cursor, the intersection point of the
crosshairs on the lens identifies the point you are selecting.
The crosshairs are etched on the bottom of the lens to in-
crease accuracy. For maximum precision, look through the
lens from directly over it.
Button 0 on the cursor is used as the pick (or left mouse)
button. All other buttons are defined by the TabletWorks
software or through your own software application.


