


Step 5: Enter User name and Password to access the IP Camera.
Installing the GRUNDIG Viewer Software Online :
For initial access to the IP Camera, a client program, GRUNDIG Viewer, will be automatically installed to your PC
when connecting to the IP Camera.
If the Web browser does not allow the GRUNDIG Viewer installation, please check the Internet security settings or
ActiveX controls and plug-ins settings (see 14. Internet Security Settings) to continue the process.
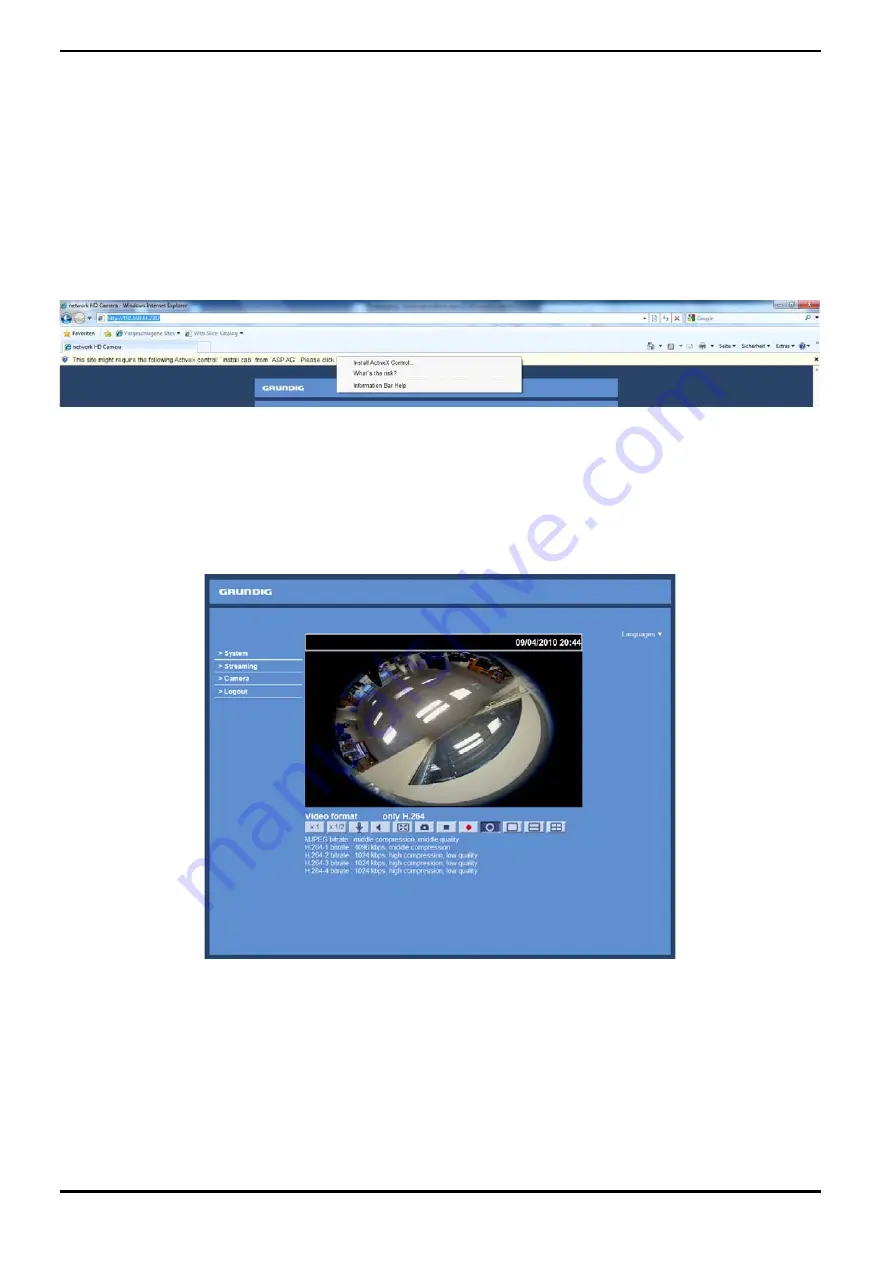
The Information Bar (just below the URL bar) may come out and ask for permission to install the ActiveX Control
for displaying video in browser (see the picture below). Right-click on the Information Bar and select “Install
ActiveX Control…” to allow the installation.
Then the security warning window will pop up. Click “Install” to carry on with the software installation.
Click on “Finish” to close the GRUNDIG Viewer window when download is finished. For detailed software
download procedure, please refer to chapter 15. GRUNDIG Viewer Download Procedure.
NOTE: If the Live Video Pane on the Home Page cannot be shown to the users who have installed the GRUNDIG
Viewer on the PC previously, please refer to the procedure in chapter 17. Delete the Existing GRUNDIG Viewer.
Once logged in to the IP Camera, users will see the Home page as shown below:
Administrator/User Privileges :
“Administrator” represents the person who can configure the IP Camera and who authorises users to have
access to the camera; “User” refers to someone who has access to the camera with limited authority, i.e. to enter
the Home and Camera setting pages.
Image and Focus Adjustment :
Adjust zoom and focus of the lens as necessary to produce a clear image. To set the correct angle of view and
focus, you can use the BNC output on the camera. For this, please connect a PAL monitor to the BNC output.
9
English
Summary of Contents for GCI-G1536F
Page 2: ......
Page 13: ...11 English...


